DIY Restoration: Fixing Vintage Musical Instruments
If you’ve ever found yourself captivated by a vintage musical instrument, you understand the irresistible pull of its unique charm and rich history.
Embarking on a DIY restoration journey presents a fulfilling adventure for both music enthusiasts and skilled craftsmen. It allows you to revive these cherished treasures.
This article delves into the myriad benefits of restoring vintage instruments, outlines the essential tools and materials you’ll need, and guides you through the step-by-step processes for cleaning, repairing, and refinishing.
It also tackles common challenges you might encounter and offers expert tips to ensure your restoration project flourishes.
Don t wait uncover the secrets of DIY restoration today and transform a piece of history into your very own personalized masterpiece!
Contents
- Key Takeaways:
- Benefits of Restoring Vintage Musical Instruments
- Tools and Materials for DIY Restoration
- Steps for Restoring Vintage Musical Instruments
- Common Challenges in DIY Restoration
- Tips and Tricks for Successful DIY Restoration
- Frequently Asked Questions
- 1. How can I safely remove rust from my vintage musical instrument during DIY restoration?
- 2. Is it necessary to replace all of the original parts during DIY restoration of a vintage musical instrument?
- 3. What is the best way to clean and polish the wood on a vintage musical instrument?
- 4. Can I repair cracks in the body of a vintage musical instrument myself?
- 5. How can I safely remove old, stubborn stickers from my vintage musical instrument?
- 6. What should I do if my vintage musical instrument needs restringing during DIY restoration?
Key Takeaways:
- DIY restoration allows for personalized preservation of vintage instruments, connecting us to the past and adding character to our music.
- You’ll need the right tools for successful restoration don t skip this step!
- Overcoming common challenges and utilizing expert advice can greatly increase the success of DIY restoration projects.
What is DIY Restoration?
DIY restoration is where you, the enthusiast, take on the rewarding challenge of bringing vintage musical instruments back to life. You ll employ various restoration techniques and materials while ensuring that the instrument’s strength and historical accuracy of each piece remain intact.
This journey enhances the tonal quality of the instruments and invites a personal touch, deepening your connection to the music they produce.
Taking on DIY restoration is a rewarding way to save musical history! Your efforts contribute significantly to the collective understanding of musical history.
Commonly restored instruments include vintage guitars, which resonate with the sounds of bygone decades, and brass instruments that embody the essence of orchestral traditions.
Through your skilled craftsmanship, these restoration efforts highlight the importance of repair ethics. Each instrument retains its authenticity while enhancing its playability.
By breathing new life into these cherished pieces, you not only keep musical traditions thriving but also inspire future generations to appreciate the art and narrative behind every instrument.
Benefits of Restoring Vintage Musical Instruments
Restoring vintage musical instruments offers you a wealth of benefits, from preserving unique craftsmanship to enhancing tonal quality. This enriches your personal collection and contributes to the broader musical community.
Each restoration project maintains the instrument’s historical value while adding to its legacy. This allows you to connect with the captivating stories behind these exceptional pieces.
Preserving History and Personalization
The art of preserving history through vintage musical instrument restoration is a dance between honoring craftsmanship and infusing personalization. As a musician, you have the opportunity to express your individuality while respecting the original work’s historical accuracy.
This delicate balance ensures that each unique instrument retains its charm and character while being finely tuned to your preferences.
Careful consideration of repair ethics is pivotal in this journey. It guides you to make informed decisions that uphold the integrity of the instrument.
By employing techniques that echo traditional craftsmanship, you create a harmonious blend of the old and the new. Each restoration you undertake becomes a narrative that honors the instrument’s past while paving the way for your artistic future.
This thoughtful approach enhances the aesthetic appeal and ensures that the musicality is preserved, allowing every note you play to resonate with both authenticity and your personal flair.
In conclusion, DIY restoration is not just a project; it’s a journey that connects you to musical history and allows your creativity to shine. Start your project today!
Tools and Materials for DIY Restoration
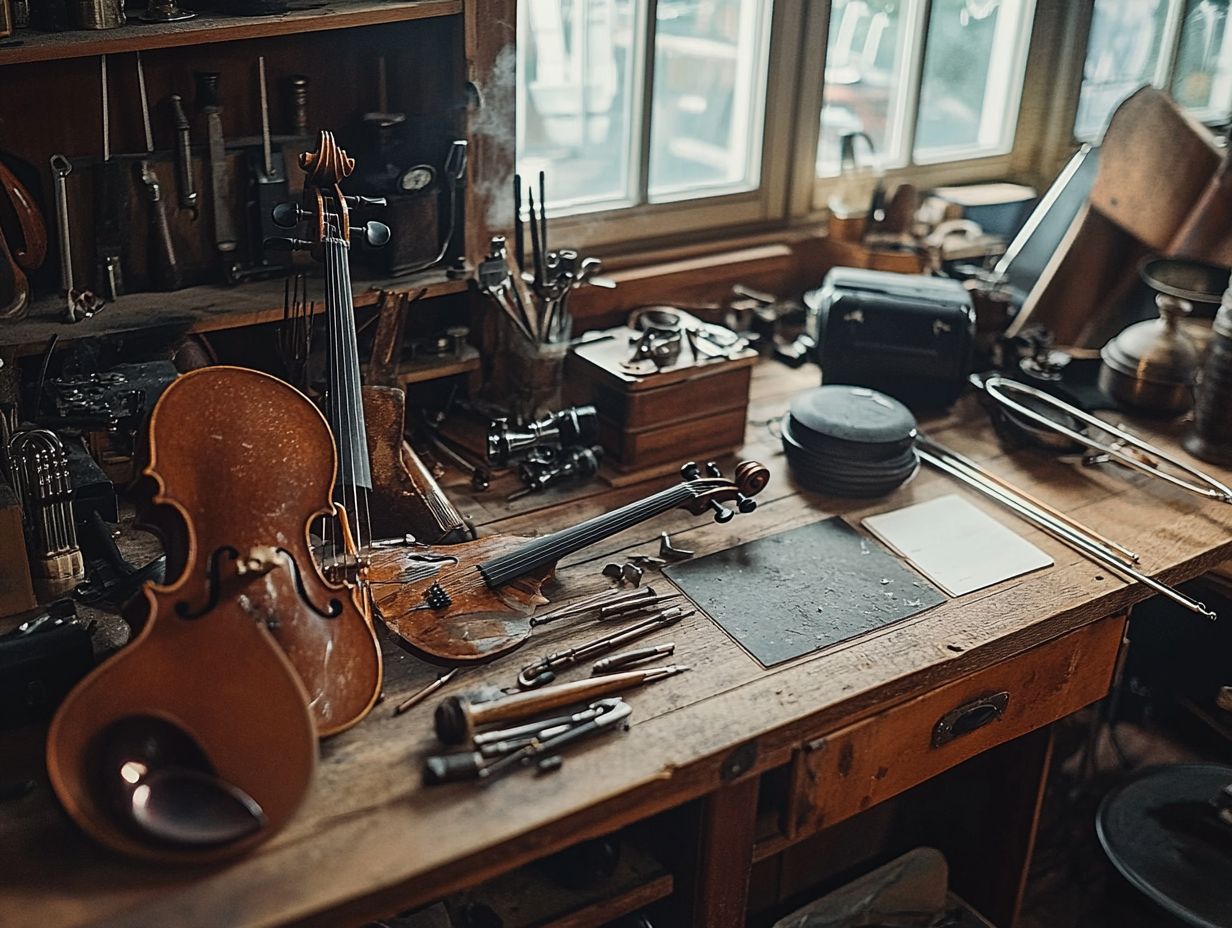
A successful DIY restoration project demands your attention to detail in selecting the right tools and materials. This includes specialized woodworking tools and methods for joining electrical components securely, both of which are vital for addressing a variety of repair tasks.
It s crucial that you conduct a thorough assessment process to ensure nothing is overlooked. Get the right tools and materials to ensure success in your restoration projects. By choosing the right tools, you not only streamline the restoration process but also enhance the overall quality of the finished instrument, setting the stage for impressive results.
Essential Equipment and Supplies
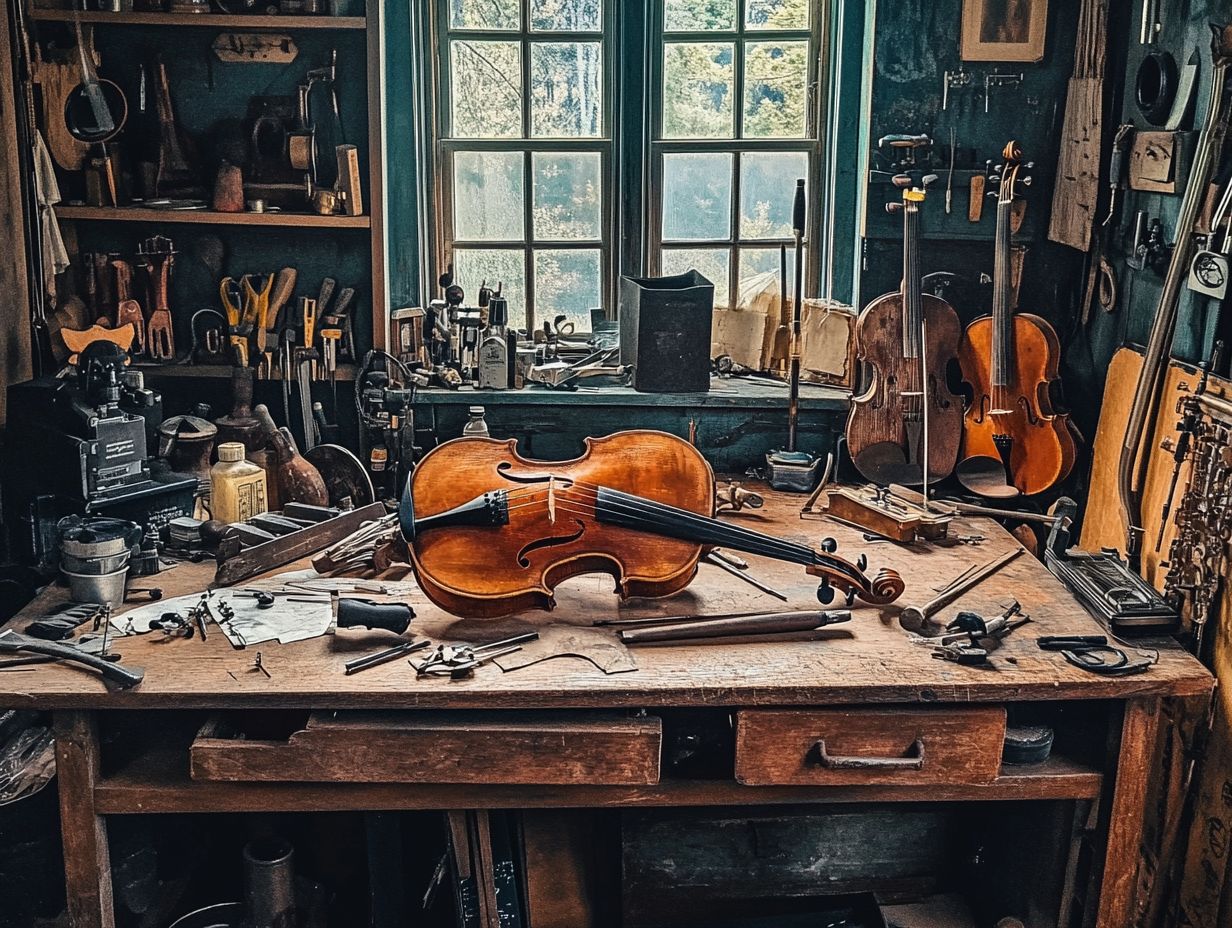
Essential equipment and supplies for your DIY restoration projects include a well-curated selection of woodworking tools, soldering techniques, and high-quality materials that are vital for ensuring the longevity and functionality of your restored instruments. Each tool serves a specific purpose and plays an integral role in maintaining and repairing cherished vintage musical instruments.
For instance, investing in good-quality sanders and chisels will provide you with the precision needed to shape and finish wood beautifully. Various adhesives are crucial for securely bonding components without compromising the instrument’s integrity. A reliable soldering iron is essential, ensuring that your electrical connections are solid especially for electronically enhanced instruments.
Additionally, other materials like fret wire, bridge pins, and tuners not only enhance performance but also embody the craftsmanship standards that you aim to achieve. By using the right tools and materials, you lay the groundwork for successful and lasting results in any restoration project.
Steps for Restoring Vintage Musical Instruments
Restoring vintage musical instruments requires a careful approach. You start with a comprehensive assessment, carefully examining every detail.
Next, you move on to detailed cleaning techniques, ensuring every nook and cranny is addressed. After that, you implement careful repair techniques, followed by those all-important finishing touches that guarantee the instrument is not just functional but also visually stunning.
By following these steps, you’ll bring new life to vintage guitars and brass instruments, transforming them into masterpieces once again. If you’re also interested in restoring electronics, check out our guide on how to repair a vintage radio. Start your restoration journey today and transform those instruments into stunning masterpieces!
Cleaning and Repairing
Cleaning and repairing are fundamental aspects of the restoration process for vintage musical instruments. You ll want to follow proven repair techniques to maintain the integrity and craftsmanship of each piece. Effective cleaning methods not only elevate the aesthetic appeal but also play a crucial role in the overall maintenance and longevity of your instrument.
Proper care means employing specific techniques tailored to the unique needs of each instrument, whether it s brass, woodwind, or string. For instance, delicate wood finishes may call for gentle cleaning compounds, while brass instruments often thrive with specialized polishing solutions that restore their lustrous exterior.
One common challenge in restoration is dealing with the buildup of grime and tarnish, which can obscure the beauty and functionality of these cherished items. Overcoming this challenge typically requires a blend of mechanical and chemical cleaning methods, ensuring that the unique character of each instrument is preserved. Mastering these skills is essential for anyone looking to successfully navigate the complexities of vintage restoration.
Refinishing and Reassembling
Refinishing and reassembling are essential final steps in the restoration process. They ensure that your vintage instruments shine while preserving their original finish and craftsmanship. This stage requires keen attention to detail. Compromising the instrument s structural integrity is not an option.
Using high-quality materials, like specialized wood varnishes or lacquers, enhances the final appearance. These products provide a protective layer that highlights the wood’s natural beauty. When reassembling, precision is crucial; any misalignment can lead to long-term issues, affecting both playability and tone.
Make sure to clean all parts thoroughly for peak performance! Dirt and grime can hinder your instrument’s functionality. Take your time during this step. Align each part carefully for a perfect fit. This not only enhances the aesthetic appeal but also guarantees functionality for years to come.
Common Challenges in DIY Restoration
In DIY restoration, you may encounter various challenges, from minor setbacks to substantial hurdles. These challenges require adept troubleshooting and problem-solving skills, emphasizing the importance of strong repair ethics and craftsmanship.
Issues may arise unexpectedly during different restoration phases, testing your patience and skills, even if you re a seasoned instrument technician.
Troubleshooting and Problem Solving
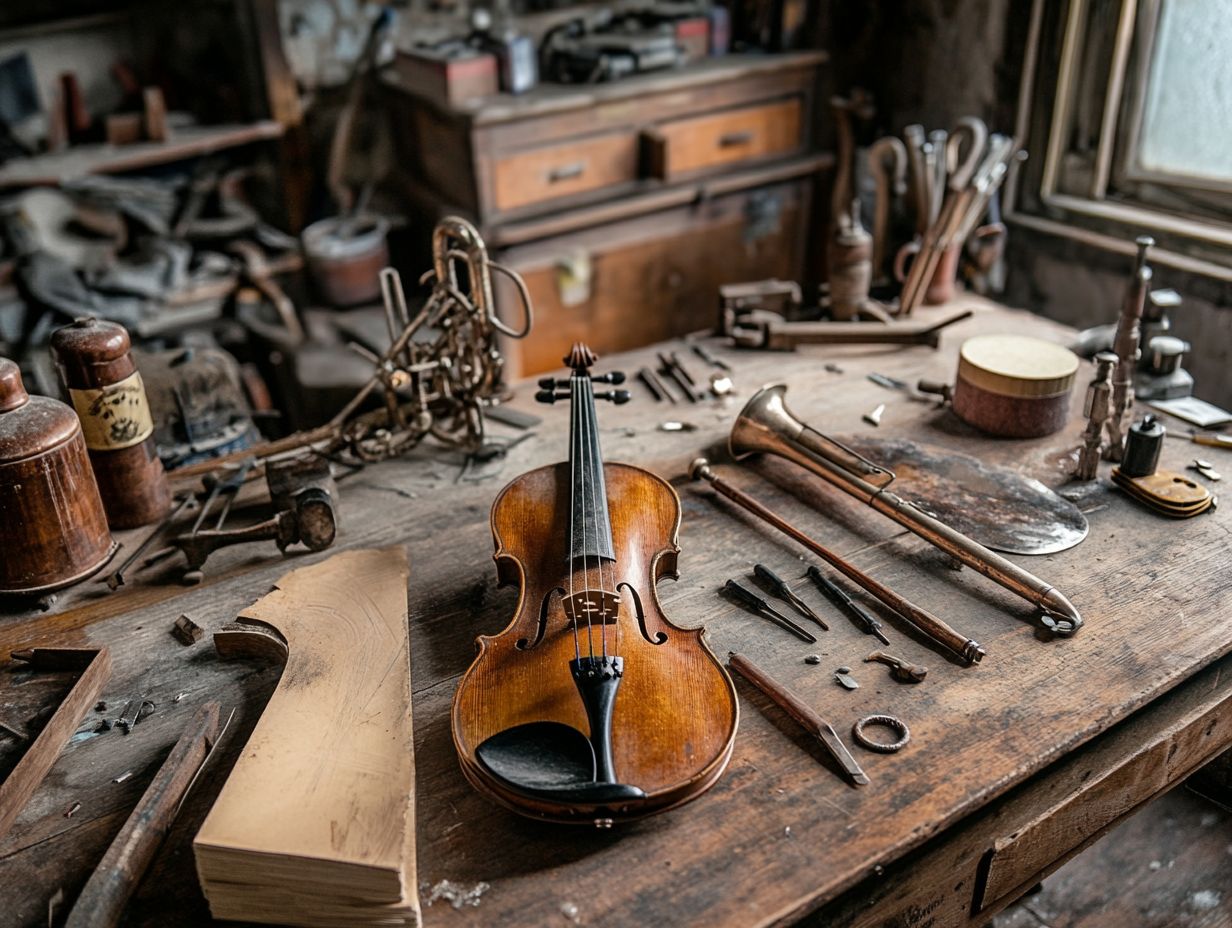
Troubleshooting and problem-solving are invaluable skills in your DIY restoration journey. They help you identify and tackle any issues that arise during your projects. By using effective strategies, you can significantly elevate the overall success and quality of your restoration. This ensures your instrument retains its intended functionality and aesthetic charm.
Consider the common issue of a warped wooden surface. This can undermine both the integrity and beauty of your piece. Techniques like applying moisture or heat can help coax the wood back into shape, aligning it beautifully with the original design.
Vintage devices often have frustrating electrical components. Checking for loose connections or swapping out outdated wiring is essential for optimal performance. Regular maintenance not only helps you avoid these pitfalls but also showcases the artistry in preservation. This transforms the restoration process into a harmonious blend of art and science.
Tips and Tricks for Successful DIY Restoration
To achieve successful DIY restoration, incorporate tips and tricks from seasoned experts. This ensures you adhere to high standards of craftsmanship and employ effective repair techniques, crucial for restoring unique instruments.
These insights offer invaluable guidance for both beginners and experienced craftspeople who make and repair string instruments. They aid you in navigating the complexities of instrument care with confidence and finesse.
Expert Advice and Techniques
Expert advice and techniques are essential in the realm of DIY restoration. They provide guidance on best practices and innovative solutions to common challenges during various projects. This knowledge enhances the quality of your restoration efforts and elevates the craftsmanship and historical accuracy of your instruments, especially when handling antique repairs.
If you re diving into the world of vintage item restoration, insights from renowned restorers can be invaluable. Influential figures like Bob Vila and Norm Abram share wisdom on material selection and tool usage, emphasizing the importance of maintaining the integrity of the original piece.
You need to understand coatings on the surface and aging processes for effective craftsmanship. By incorporating methods such as careful cleaning, proper disassembly, and utilizing period-appropriate materials, you can significantly enhance your restoration outcomes. This ensures that the final product is both functional and aesthetically pleasing.
Frequently Asked Questions
1. How can I safely remove rust from my vintage musical instrument during DIY restoration?
Rust can be safely removed from your vintage musical instrument using a mixture of white vinegar and baking soda. Mix equal parts of both ingredients to create a paste, apply it to the rusted areas, and let it sit for 30 minutes. Then, use a soft-bristled brush to gently scrub the rust away. Rinse thoroughly with water and dry the instrument completely before moving on with the restoration process.
2. Is it necessary to replace all of the original parts during DIY restoration of a vintage musical instrument?
No, it is not necessary to replace all original parts during restoration. Try to keep as many original parts as you can for authenticity and value. However, if certain parts are damaged beyond repair, it may be necessary to replace them with appropriate vintage parts.
3. What is the best way to clean and polish the wood on a vintage musical instrument?
To clean and polish the wood on a vintage musical instrument, use a soft cloth dampened with a mixture of equal parts water and white vinegar. Gently wipe the wood in the direction of the grain, being careful not to saturate the wood. Once clean, use a separate soft cloth to apply a light coat of high-quality wood polish, following the manufacturer’s instructions. This will help restore the shine and protect the wood.
4. Can I repair cracks in the body of a vintage musical instrument myself?
Repairing cracks in the body of a vintage musical instrument requires a certain level of skill and expertise. If you’re inexperienced, it’s often wiser to let a pro handle this! However, if you feel confident in your abilities, carefully research proper techniques and use appropriate tools to repair the crack. Take your time, but don t wait too long to start; your instrument deserves the best!
5. How can I safely remove old, stubborn stickers from my vintage musical instrument?
To safely remove old, stubborn stickers from your vintage musical instrument, first try using a hairdryer on a low heat setting to loosen the adhesive. Then, use a plastic or wooden tool, such as a credit card or popsicle stick, to gently scrape off the sticker. If residue remains, try using a small amount of rubbing alcohol on a soft cloth to remove it. Avoid using sharp objects or harsh chemicals, as these can damage the instrument’s finish.
Now that you have these tips, dive into your restoration journey with confidence! Your vintage instruments will thank you.
6. What should I do if my vintage musical instrument needs restringing during DIY restoration?
If your vintage musical instrument needs restringing during DIY restoration, make sure to use the right strings for your instrument. Research how to string it properly or ask an expert for help.
Handle the instrument with care, especially when tuning the new strings. This will help avoid damage and keep your instrument in great shape.

