How to Restore a Vintage Typewriter: Steps
Restoring a vintage typewriter is not merely a rewarding hobby; it s an immersive journey into the rich history of writing and craftsmanship.
Whether you’ve stumbled upon an old relic at a flea market or inherited a cherished family treasure, this guide will lead you through the meticulous process of revitalizing it.
From gathering essential tools to disassembling and cleaning each intricate part, you’ll discover practical tips and insights to ensure your restoration is nothing short of a success.
You ll learn how to maintain your newly restored typewriter, ensuring it continues to spark your creativity for years to come.
Get ready to dive into the exciting world of typewriter restoration!
Contents
- Key Takeaways:
- Step-by-Step Guide to Restoring a Vintage Typewriter
- Tips and Tricks for a Successful Restoration
- Maintaining and Preserving Your Restored Typewriter
- Frequently Asked Questions
- 1. What are the steps to restoring a vintage typewriter?
- 2. Can I use any type of cleaner to clean a vintage typewriter?
- 3. How do I know if my vintage typewriter needs repairs?
- 4. Where can I find replacement parts for a vintage typewriter?
- 5. How often should I oil and lubricate my vintage typewriter?
- 6. Can I restore a vintage typewriter without any prior experience?
Key Takeaways:
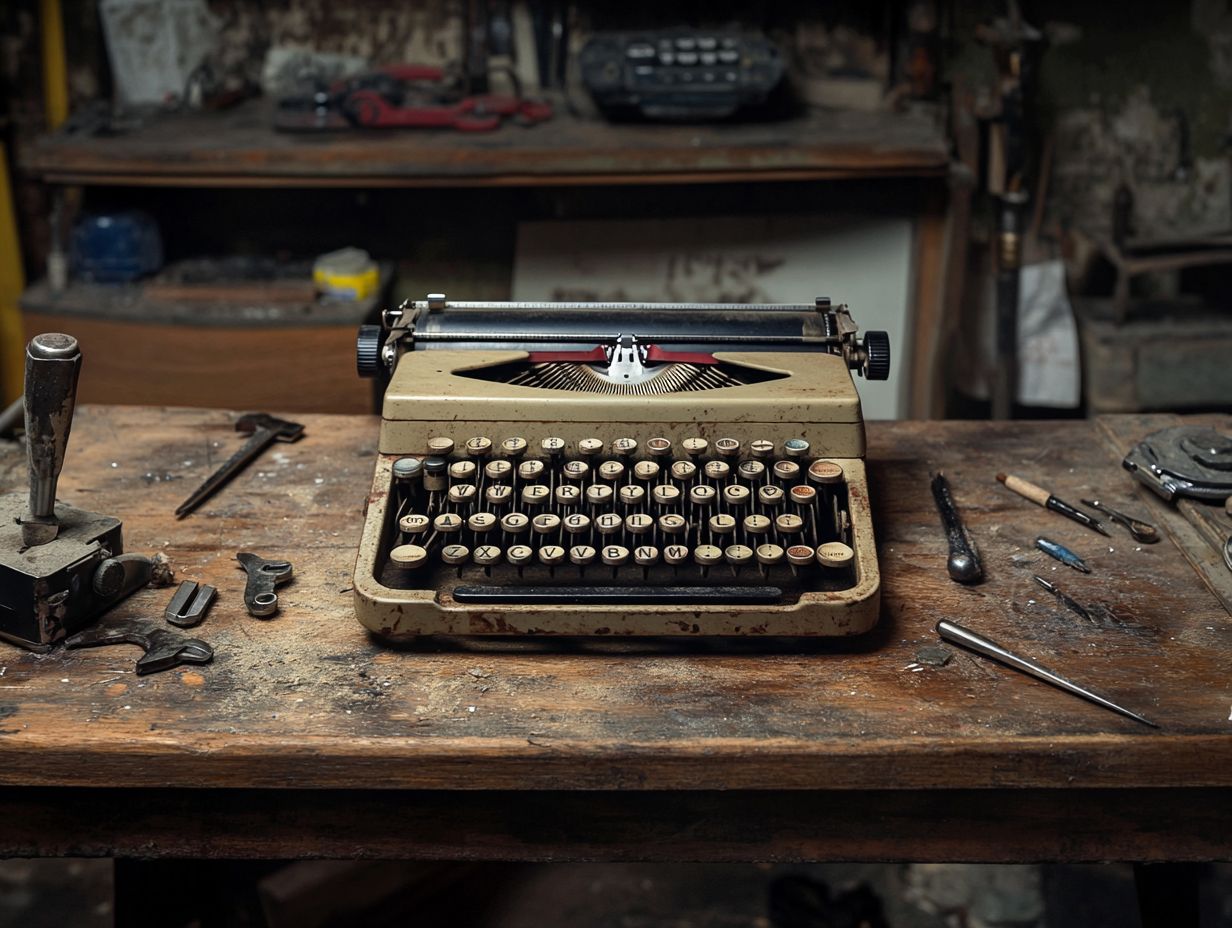
- Restoring a vintage typewriter is a rewarding experience that can bring new life to a historical piece of machinery.
- The key to a successful typewriter restoration is proper disassembly, cleaning, and reassembly using the right tools and techniques.
- Regular maintenance and proper storage are crucial to preserving the restored typewriter for future generations to enjoy.
Why Restore a Vintage Typewriter?
Restoring a vintage typewriter isn’t just about reviving a mechanical relic; it represents a profound appreciation for craftsmanship and the preservation of history. Vintage typewriters, such as the Underwood Model 5 and Remington 7, evoke a sense of nostalgia, harking back to an era when manual typing was a careful craft.
You might find yourself embarking on restoration projects to bring new life to these antique treasures, ensuring they remain cherished for future generations to admire. This journey demands a harmonious blend of techniques, tools, and a deep understanding of the intricate machinery at play.
Engaging in this process allows you to forge emotional connections with the past. Each keystroke brings to mind the thoughts and stories once captured on paper.
As you carefully disassemble, clean, and replace worn parts, you re not just restoring functionality; you re honoring the craftsmanship that crafted these remarkable machines.
Challenges are part of the adventure. From sourcing rare components to mastering specific skills, each step presents its own set of difficulties.
Yet, the satisfaction you experience in witnessing a typewriter s transformation is truly unmatched. Through every hurdle, you become a steward of history, ensuring that the artistry of manual typing continues to resonate with those who come after you.
Step-by-Step Guide to Restoring a Vintage Typewriter
A comprehensive, step-by-step guide to restoring a vintage typewriter will equip you with the essential skills and knowledge necessary to preserve the longevity and functionality of your cherished equipment.
Whether you’re tackling a portable typewriter like the Corona 3 or a more intricate model like the Hermes 3000, each stage of the restoration process demands your careful attention to detail and the appropriate tools.
From disassembly to reassembly, this guide will lead you through the vital techniques, insights, and tools needed for meticulous maintenance and restoration.
Gathering Necessary Tools and Materials
Before you dive into your vintage typewriter restoration project, it s essential to gather the right tools and materials to ensure a smooth and efficient workflow. Key tools like an precision screwdriver, cleaning brushes, and lubricants are critical for both cleaning and maintaining the mechanical parts.
Being well-equipped not only elevates your restoration experience but also showcases the craftsmanship involved in preserving these classic machines.
Don’t underestimate the significance of creating a workspace that caters to the nuances of typewriter restoration. Items such as a magnifying glass and tweezers will help you manage those tiny components with finesse, sparing you the frustration during reassembly.
A high-quality typewriter oil is also crucial; it minimizes friction and guarantees that everything runs smoothly.
Having a variety of brush sizes at your disposal can effectively tackle dirt and debris in those tricky spots, ultimately enhancing the typewriter’s overall cleanliness and mechanical function. Each of these tools plays a vital role in the process, highlighting the commitment required to restore these timeless treasures.
Start your adventure in typewriter restoration today and unlock the stories waiting to be told!
Disassembling the Typewriter
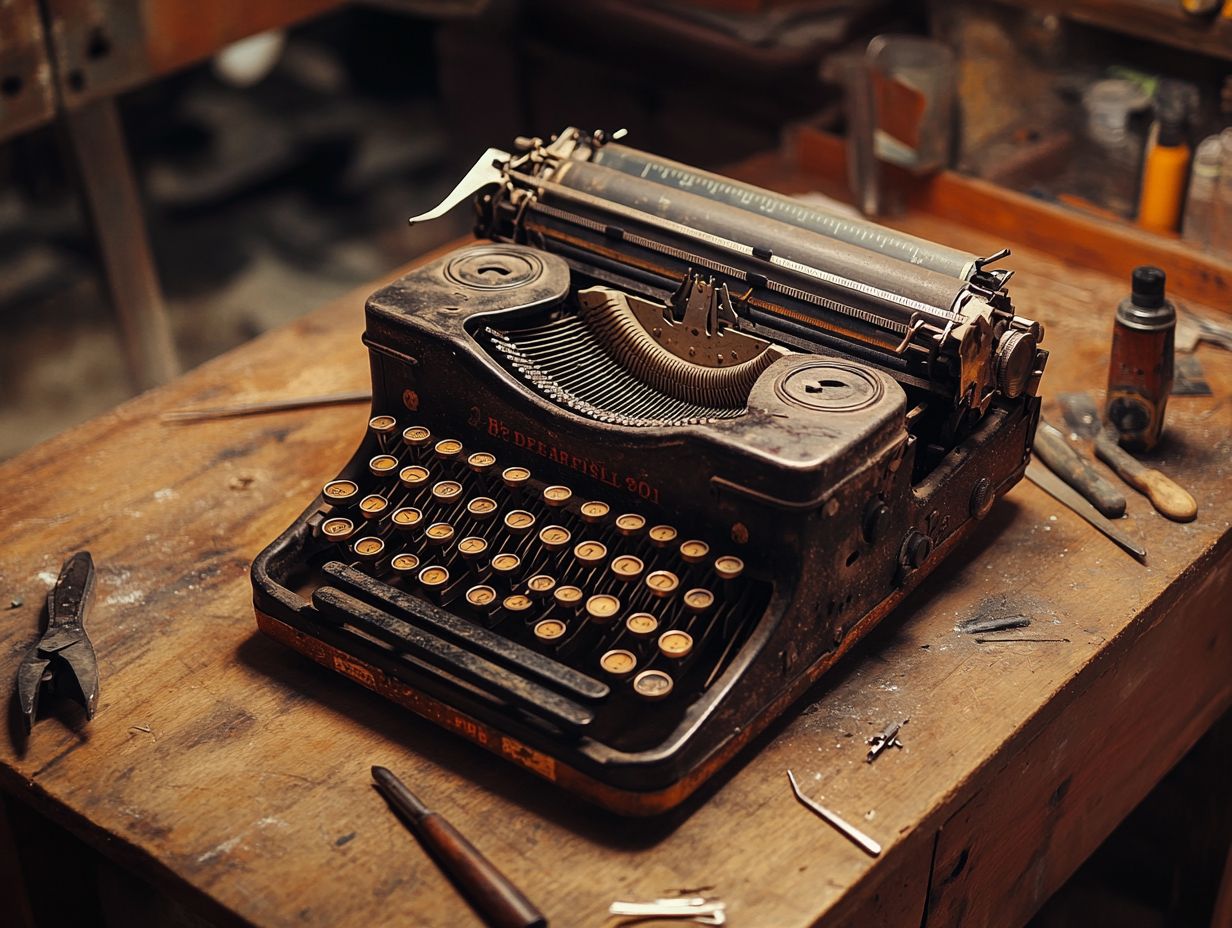
Disassembling a vintage typewriter is an essential step in the restoration journey. It requires careful attention to detail and a solid grasp of the intricate components that make the machine tick.
To set yourself up for success, start by creating a dedicated workspace that is both clean and well-lit. This environment will help you visualize the function and position of each part. Take photographs as you disassemble; these images will serve as invaluable references for reassembly and can save you from confusion later on.
As you remove screws and parts, place them in labeled containers. This keeps everything organized and ensures that nothing gets lost or mixed up.
Watch out for these common mistakes:
- Forcing components apart, which can lead to breakage.
- Neglecting to document the order in which parts are removed.
By following these steps diligently, your restoration can proceed seamlessly, allowing you to preserve the charm and functionality of that vintage typewriter.
Cleaning and Repairing Individual Parts
Cleaning and repairing individual parts of a vintage typewriter is essential for restoring both its functionality and how it looks. It requires a blend of techniques and cleaning solutions tailored to the task.
For you, the enthusiast or collector, understanding each cleaning method can transform a neglected machine into a working masterpiece. Begin with a gentle approach use soft brushes and lint-free cloths to delicately whisk away dust and debris while avoiding any damage.
Your choice of cleaning solutions is critical; a diluted mixture of vinegar and water can work wonders on surface stains, while specialized rust removers will ensure that the metal components remain free from corrosion.
By committing to a meticulous restoration process, you breathe new life into the typewriter and preserve its historical significance, turning it into a cherished possession for generations to come.
Reassembling the Typewriter
Reassembling a vintage typewriter marks the culmination of your restoration journey. This stage demands precise attention and adherence to the notes you took during disassembly. Each screw and component must find its rightful place, allowing you to appreciate the craftsmanship behind these mechanical marvels. Patience is key at this stage!
By employing the right techniques and a meticulous approach, you can ensure that your restored typewriter operates seamlessly, revealing the beauty of this vintage machinery.
During this delicate phase, verify that each part, from the keys to the carriage, slots into place perfectly never force any components, as that could lead to damage. Pay close attention to the orientation and alignment of each piece, because even the slightest misplacement can affect overall functionality.
Consider strategies such as sorting parts by category and using diagrams to enhance this intricate process. Don t skip cleaning and lubricating each part this step is essential to protect your typewriter’s history!
Tips and Tricks for a Successful Restoration
Restoring a vintage typewriter is an art that demands careful planning, expert techniques, and a handful of insider tips to make the journey smoother and more enjoyable, whether you re a seasoned enthusiast or just getting started.
You ll want to familiarize yourself with the distinct requirements of different models, such as the Royal 10 or the Imperial Good Companion, while employing effective cleaning and lubrication strategies.
Cultivating a well-rounded skill set is essential. By exchanging knowledge and experiences with fellow typewriter restorers, you can elevate the entire restoration process, ensuring each machine not only functions optimally but also boasts stunning aesthetics.
Start your restoration journey today! Share your experiences and tips with fellow enthusiasts.
Common Mistakes to Avoid
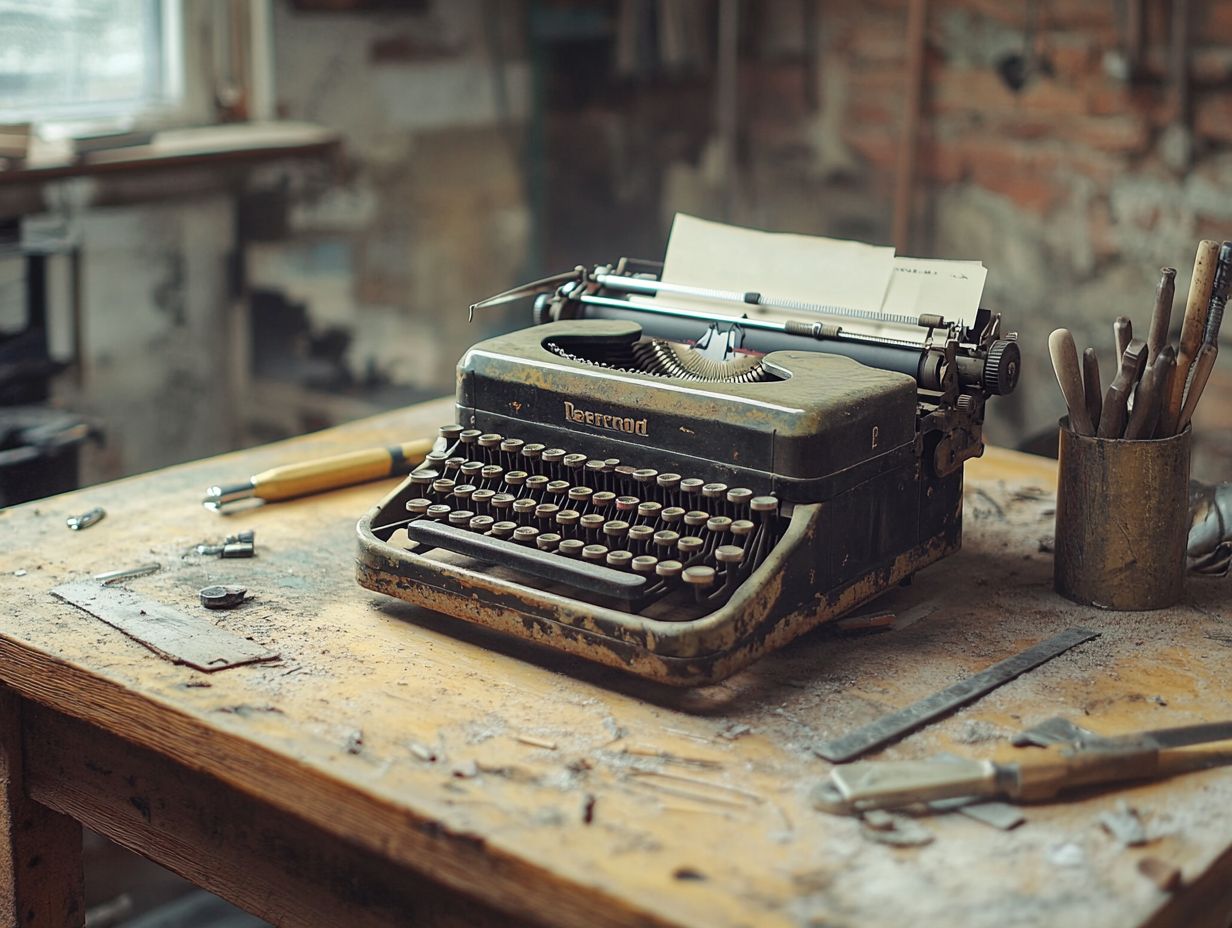
When restoring a vintage typewriter, understanding common mistakes can save you time and elevate the final outcome of your project. One frequent error is neglecting to document the disassembly process. This can lead to confusion during reassembly.
Using inappropriate cleaning fluids or tools can damage delicate components and hinder your restoration efforts. By staying aware of these pitfalls and tapping into the wisdom of fellow enthusiasts, you can navigate the restoration process efficiently and achieve great results.
Overlooking the importance of proper oiling can result in sluggish or even non-functioning mechanisms. This is easily avoided with a bit of foresight. It’s essential to use the correct type of oil and apply it sparingly to prevent buildup.
Another common misstep is failing to test for functionality after every stage of restoration. This practice not only helps catch issues early but also makes troubleshooting much simpler.
Taking shortcuts can lead to subpar results. Take the time to research the history and specific needs of the model you re restoring. Adopting these strategies can significantly enhance your restoration journey.
Expert Recommendations
Expert recommendations are invaluable for enhancing your vintage typewriter restoration experience. They provide insights that can elevate both your process and the final product.
By following their guidance, you can significantly boost the longevity and functionality of these timeless machines. Maintaining an organized workspace and employing proper dismantling techniques are essential for preventing damage during the restoration process.
Professionals also emphasize regular upkeep practices, like dusting and checking for rust. These practices can greatly extend the life of your typewriter.
Sourcing parts from reputable suppliers ensures authenticity and quality, contributing to a more rewarding restoration journey.
By implementing these strategies, you not only achieve a successful restoration but also cultivate a deeper appreciation for the intricate craftsmanship of vintage typewriters.
Maintaining and Preserving Your Restored Typewriter
Maintaining and preserving your restored vintage typewriter is crucial for safeguarding its longevity and functionality. This allows you to relish its mechanical charm for years to come.
Engaging in regular care practices like dusting, applying oil to moving parts, and storing the typewriter in a protective environment is essential for preventing deterioration.
As an enthusiast, developing a routine maintenance strategy tailored to your typewriter s unique needs can significantly enhance both its lifespan and performance. This ensures that it remains a cherished gem in your collection.
Proper Storage and Care Techniques
Cleaning
Proper storage and care techniques are essential for preserving the integrity and functionality of your restored vintage typewriter. Storing it in a dry, dust-free environment will prevent moisture and dirt from causing damage.
Utilizing protective covers and avoiding prolonged exposure to direct sunlight can safeguard delicate components from wear and tear. Developing a consistent care routine that includes regular inspections will further enhance the longevity of your cherished machine.
Lubrication
To effectively maintain this mechanical marvel, regularly clean the keys, ribbon spools, and internal mechanisms. This prevents dust accumulation and ensures smooth operation. Lubricating metal parts, like the carriage and type bars, keeps them functioning seamlessly while reducing the risk of rust.
Periodically checking the alignment of the type bars is crucial, as misalignment can lead to uneven typing results. It’s also essential to replace worn-out ribbons promptly to maintain vibrant imprint quality.
By implementing these straightforward yet effective practices, you can enjoy the beauty and functionality of your vintage typewriter for years to come.
Start your vintage typewriter restoration today and unlock the joy of mechanical writing!
Frequently Asked Questions
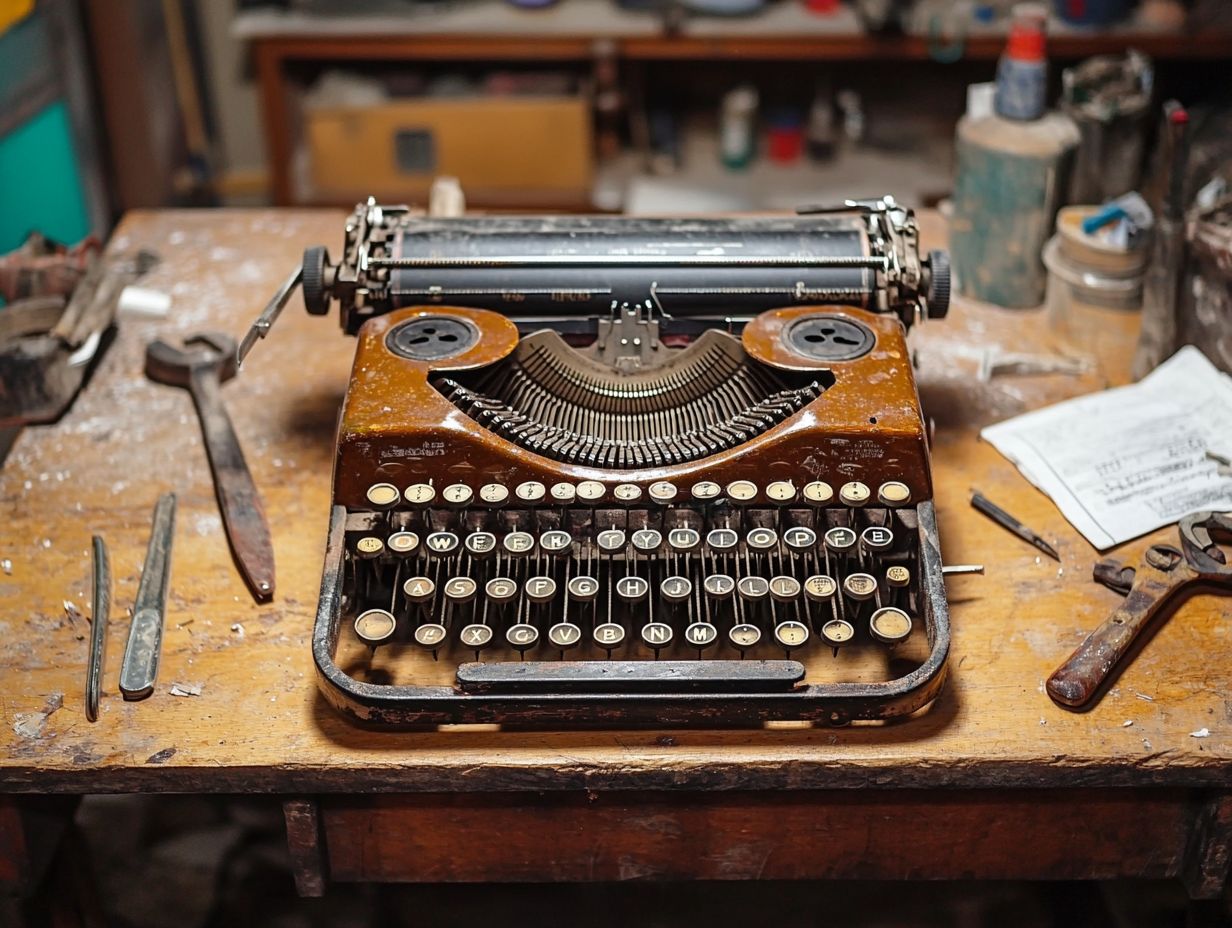
1. What are the steps to restoring a vintage typewriter?
To restore a vintage typewriter, follow these steps: 1) Clean it thoroughly. 2) Check for any necessary repairs.
3) Replace any missing parts. 4) Oil and lubricate the machine. 5) Clean and polish the exterior.
6) Test the typewriter’s functionality.
2. Can I use any type of cleaner to clean a vintage typewriter?
Always use a gentle cleaner to keep your typewriter safe and sound. Harsh chemicals can harm its delicate inner workings.
3. How do I know if my vintage typewriter needs repairs?
Look for obvious issues like broken keys or jammed mechanisms. You can also consult a professional who fixes typewriters for a thorough inspection.
4. Where can I find replacement parts for a vintage typewriter?
Search online for vintage typewriter parts suppliers. You can also check local antique stores or typewriter repair shops.
5. How often should I oil and lubricate my vintage typewriter?
Oil and lubricate the machine every 6-12 months. Do it sooner if you notice squeaks or stiff movements.
6. Can I restore a vintage typewriter without any prior experience?
While some basic handy skills can help, seek professional help or do thorough research first. Restoring a vintage typewriter can be delicate and intricate.

