How to Paint Vintage Furniture: Techniques
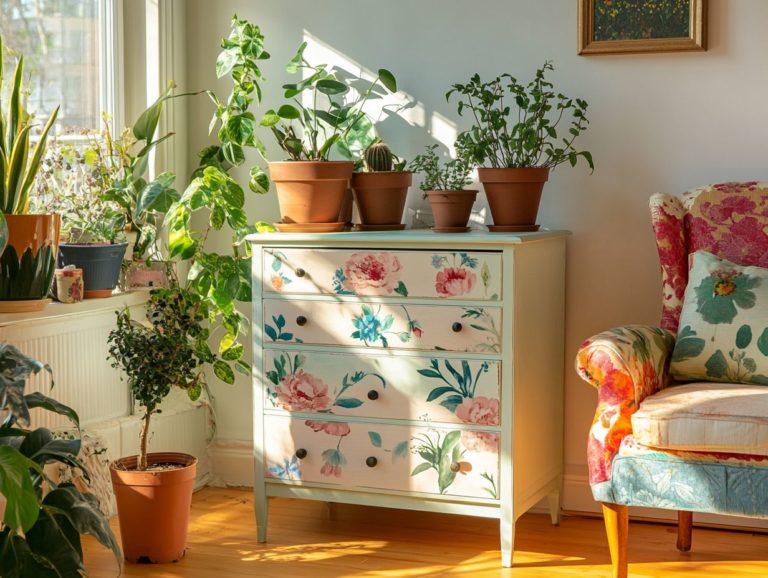
Transforming vintage furniture can refresh cherished pieces, infusing your home with unique character.
This guide will walk you through the painting process. We ll cover everything from choosing the perfect paint and supplies to meticulously preparing your furniture for an impeccable finish.
You ll uncover effective cleaning and sanding techniques. Delve into creative painting styles, such as layering and distressing, and learn how to seal and protect your masterpiece.
With insights to help you avoid common pitfalls, you ll achieve that polished, professional look you re aiming for!
Contents
- Key Takeaways:
- Choosing the Right Paint and Supplies
- Preparing the Furniture for Painting
- Painting Techniques for Vintage Furniture
- Finishing and Protecting the Painted Furniture
- Tips and Tricks for a Professional Finish
- Frequently Asked Questions
- What are some techniques for painting vintage furniture?
- What is the best type of paint to use for vintage furniture?
- Do I need to sand my vintage furniture before painting?
- Can I use regular paint on vintage furniture?
- What is the best way to distress vintage furniture?
- Do I need to seal my painted vintage furniture?
Key Takeaways:
- Choose the right paint and supplies to achieve the desired vintage look. Pay attention to the type of paint and tools needed for the best results, including primers and adhesives for better adhesion.
- Clean and sand vintage furniture properly to ensure a smooth and even surface for painting. This helps the paint adhere better and prevents imperfections, enhancing the overall finish.
- Try layering and distressing techniques to add character and charm to your vintage furniture. Don t be afraid to experiment with different methods for a unique and personalized look that showcases your creativity.
Why Paint Vintage Furniture?
Painting vintage furniture presents a remarkable opportunity to restore and elevate the charm of antique pieces. This process seamlessly integrates them into modern design while honoring their unique character.
Revitalizing old wood furniture breathes new life into your space! You can unleash your creativity through various techniques like distressing and layering with high-quality finishes that accentuate the furniture’s natural beauty. For a comprehensive approach, check out this step-by-step guide on restoring vintage furniture.
Beyond enhancing visual appeal, transforming these treasured items injects new life into your home, creating spaces that feel warmer and more personalized. By carefully selecting colors and finishes, you craft pieces that reflect your unique style and tell compelling stories.
Engaging in the restoration process often serves as a therapeutic escape. It allows you to immerse yourself in mindful activities that yield both emotional satisfaction and practical results. Breathing new life into a vintage furniture piece contributes to sustainability, making thoughtful choices that reduce waste while celebrating the craftsmanship of yesteryears.
Choosing the Right Paint and Supplies
Choosing the right paint and supplies is essential for achieving a breathtaking finish on your vintage furniture project. This establishes the foundation for both application and the durability of the painted surface.
With numerous options available from Real Milk Paint Co. to renowned brands like Sherwin-Williams and Rustoleum, understanding the nuances between various types of paint, primers, and supplementary supplies can significantly elevate your restoration endeavors. For those interested in taking on such projects, exploring the basics of vintage furniture restoration can be incredibly beneficial.
Types of Paint and Tools Needed
Choosing the right types of paint and tools is key to ensuring a successful vintage furniture restoration. The perfect combination guarantees a flawless finish and lasting durability.
Options like chalk paint and natural finishes, such as wood wax, along with high-quality paintbrushes and rollers, are essential in achieving the aesthetic and texture you desire.
Chalk paint delivers a matte finish that enhances rustic, vintage charm, while satin or semi-gloss finishes add elegance and provide easy-to-clean surfaces.
Your choice of tools is crucial for applying these paints. Wide paintbrushes excel in reaching detailed areas, while high-density foam rollers efficiently cover larger surfaces, ensuring a smooth application.
Mastering the right application techniques helps you avoid unsightly brush marks and streaks, which can detract from that perfect finish you re aiming for!
Preparing the Furniture for Painting
Get your vintage furniture ready for a stunning paint finish! Proper preparation is essential. This process requires thorough cleaning and sanding to ensure optimal adhesion and a smooth surface.
Using cleaning agents like Liquid Sander/Deglosser effectively removes old finishes and contaminants. This crucial step sets the stage for a flawless paint application, allowing the intricate details of the furniture to shine.
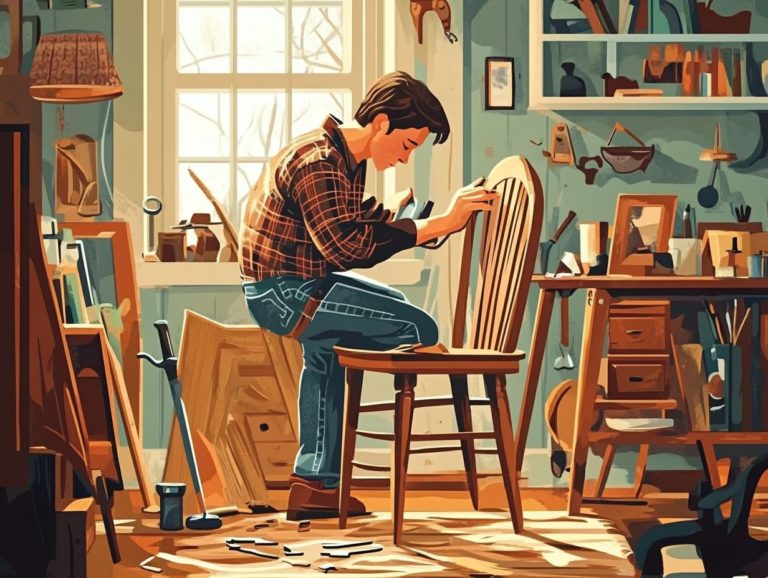
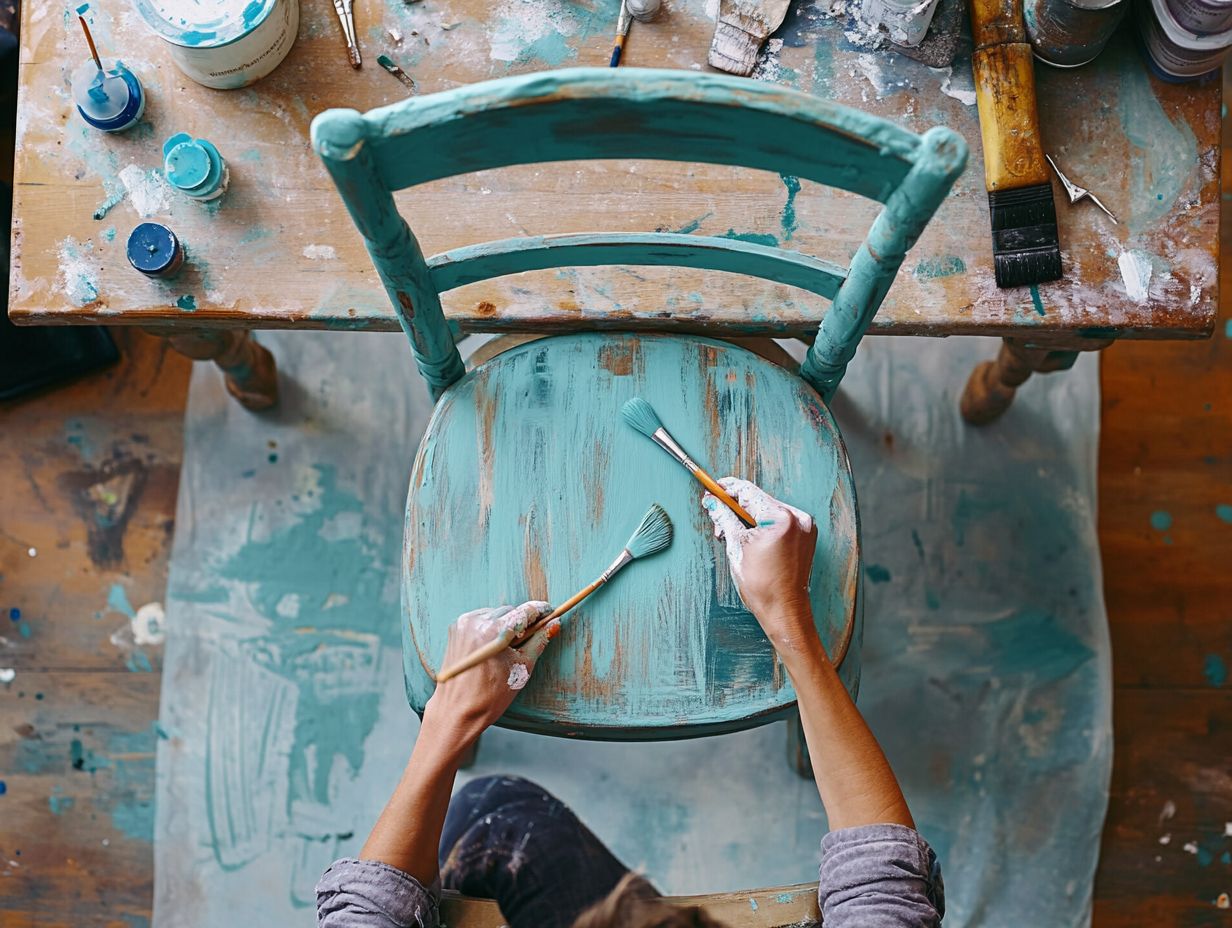
Cleaning and Sanding Techniques
Effective cleaning and sanding techniques are vital when preparing vintage furniture for painting. They ensure that the surface is free of contaminants and sufficiently smooth for a stunning finish.
Consider using natural cleaning agents like vinegar or baking soda to break down grime without harsh chemicals. After cleaning, employ a series of sanding methods. Start with a coarser grit and progress to a finer one. This approach eliminates imperfections and promotes better paint adhesion by creating a textured surface for the finish to grip. For more ideas on restoring your pieces, check out these quick DIY tips for transforming old furniture.
Whether you choose hand sanding or power sanding, achieving the right sheen will elevate the quality of your final paint job.
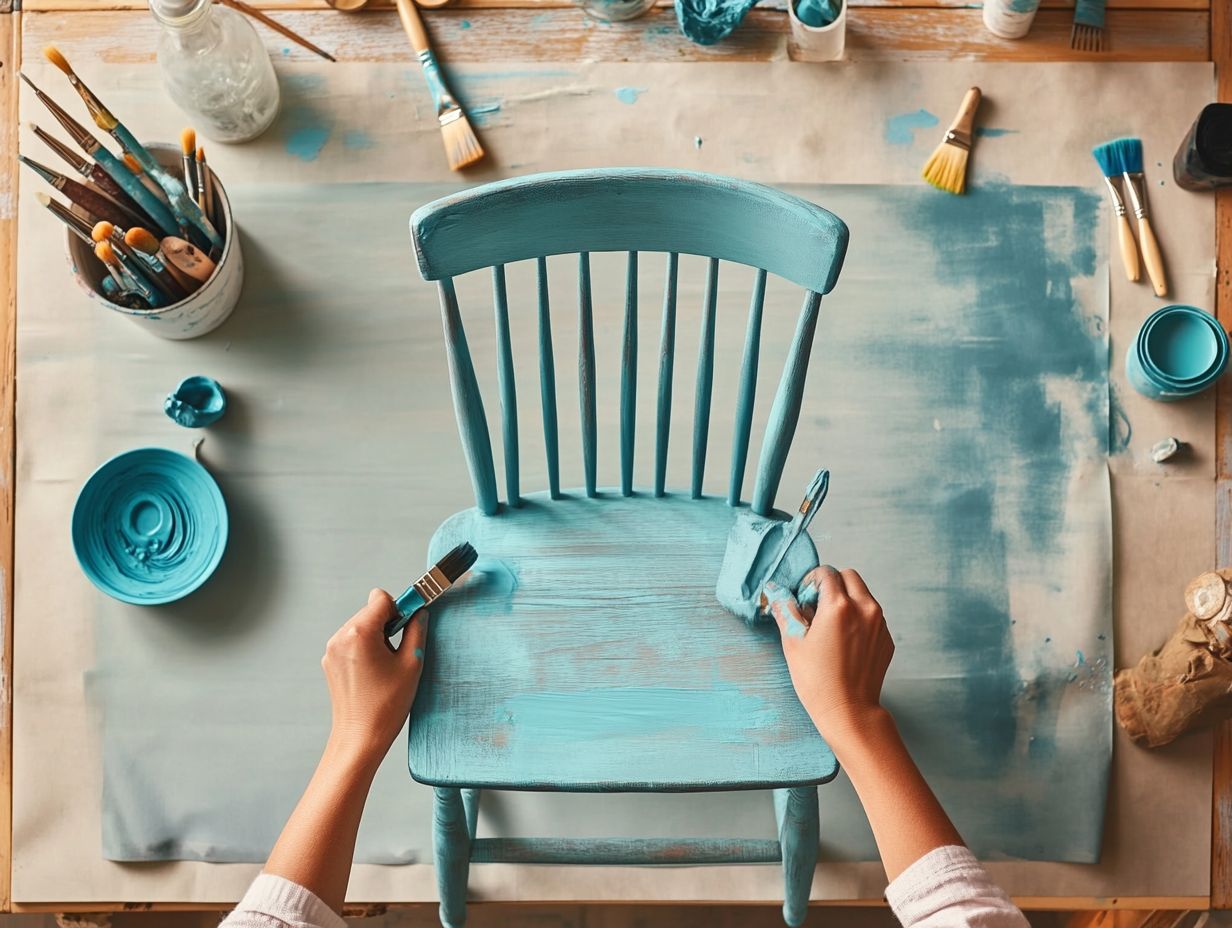
Painting Techniques for Vintage Furniture
Transform your vintage furniture into stunning focal points with these effective painting techniques. Methods like layering and distressing add remarkable depth and character to your project.
The choice of color and finish defines the aesthetic and plays a crucial role in how well the paint adheres and lasts on the furniture surface.
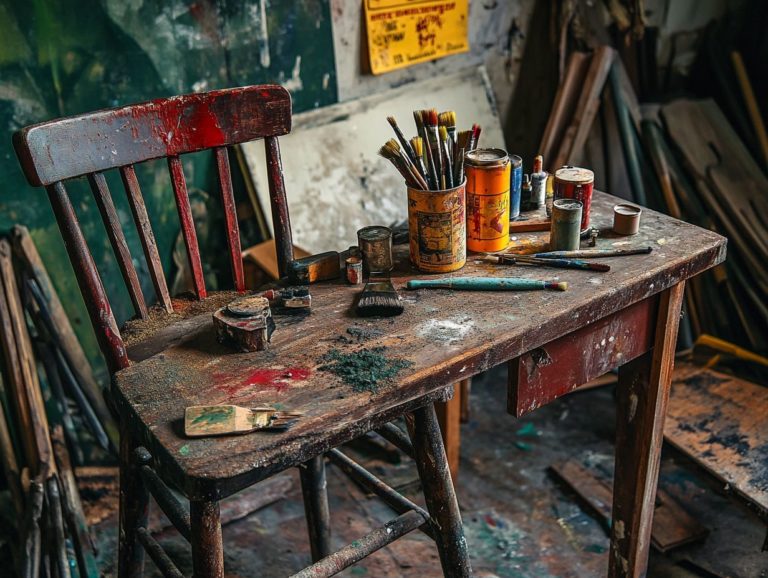
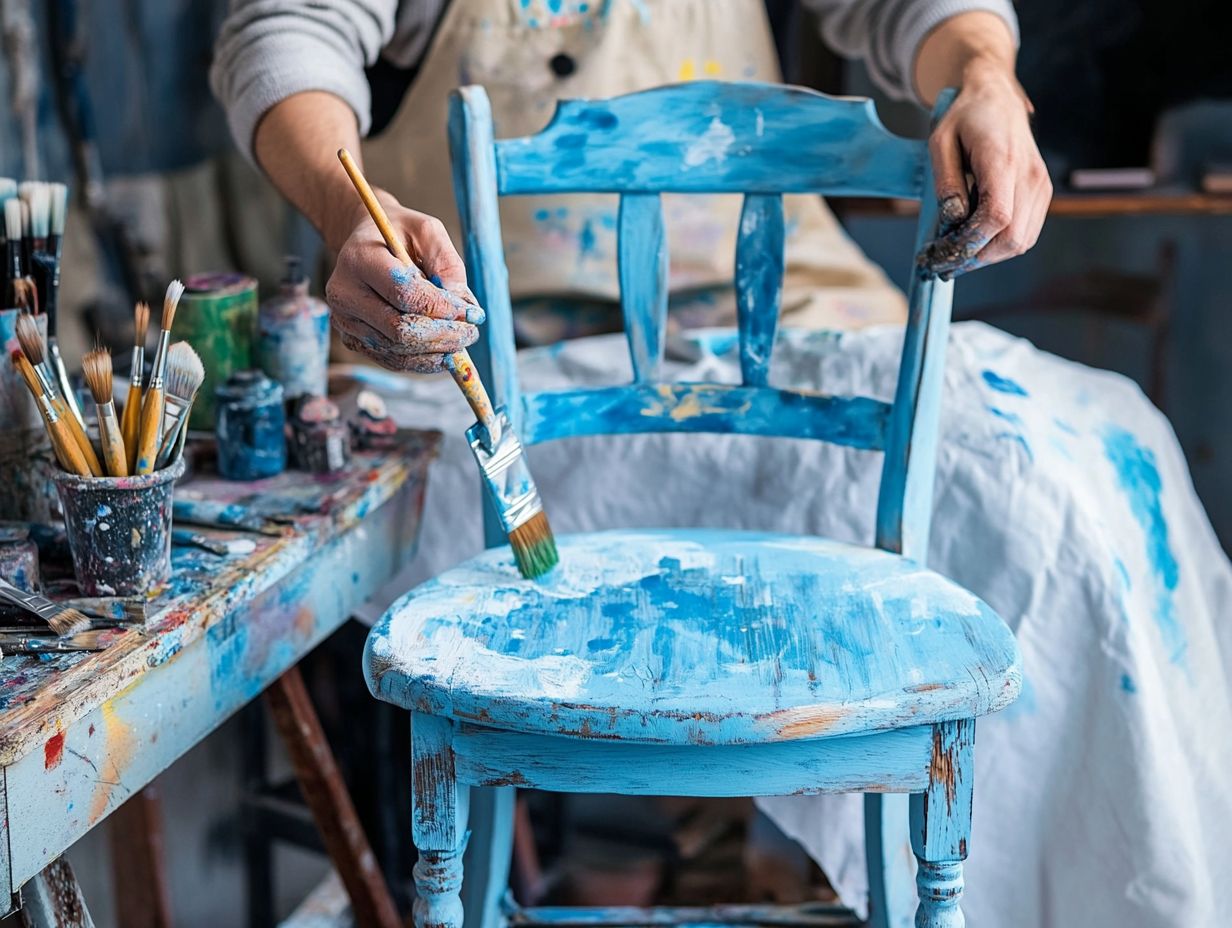
Layering and Distressing
Layering and distressing can elevate the visual appeal of vintage furniture, giving it unique textures and colors. By applying multiple layers of paint and strategically distressing the surface, you can create a vintage look that showcases the beauty of the underlying wood.
To start layering, select a base color that aligns with your vision and apply it evenly as the first layer. Once dry, choose a contrasting color for the next layer, applying it while leaving some areas of the first layer exposed to create depth. For those looking to enhance their skills, consider transforming vintage finds with DIY restoration tips.
For distressing, use sandpaper or a distressing tool. Gently rub the edges and surfaces where natural wear would typically occur. This intentional approach enhances the overall finish and imparts a timeless charm, making the piece a stunning focal point in any room. If you’re considering a restoration project, check out the best paints for vintage furniture restoration to achieve beautiful results.
Finishing and Protecting the Painted Furniture
Completing and safeguarding your painted furniture is essential for ensuring its longevity and durability. This involves careful processes such as sealing and waxing, which enhance both the appearance and protection of your work.
By selecting high-quality products like wood wax and suitable finish coats, you achieve a beautiful aesthetic while fortifying the paint against wear and tear. For more creative ideas, explore the art of distressing to ensure your piece remains stunning for years to come.
Sealing and Waxing Methods
Sealing and waxing methods are essential for preserving the beauty and integrity of your painted vintage furniture. They protect against moisture, dirt, and wear. By applying high-quality wood wax and mastering the right sealing techniques, you can enhance the finish and extend the life of your treasured pieces. This ensures they remain stunning additions to your home while maintaining their antique allure.
There are various methods for this process, tailored to different types of wood finishes. For instance, a solvent-based sealant is a type of sealant that uses chemicals to dry quickly and form a strong barrier against environmental factors, while water-based options are more eco-friendly. Using a natural wood wax not only nourishes the wood but also creates a soft sheen that beautifully highlights the color and grain of your furniture.
Selecting a product that matches your specific finish is crucial for compatibility and effectiveness. Don’t hesitate to experiment with different application techniques, whether buffing or using a soft cloth, as these can significantly influence the final look and durability of your piece. For more detailed insights, consider exploring restoring vintage wood techniques that can make it not just functional but truly eye-catching.
Tips and Tricks for a Professional Finish
Get ready to transform your vintage furniture into a stunning masterpiece with just a few expert tips! Achieving a professional finish demands meticulous attention to detail and a collection of expert tips that can elevate your DIY project to a showcase-worthy masterpiece. From mastering the right application techniques to choosing high-quality materials, grasping these nuances is essential for ensuring that your painted furniture captivates the eye and stands the test of time.
Avoiding Common Mistakes
Avoiding common mistakes is crucial for anyone aiming to paint vintage furniture. Recognizing potential pitfalls can save you time and ensure a high-quality finish in your restoration project. From improper surface preparation to hurrying the drying process, understanding these errors can significantly impact the final outcome of your painting techniques.
Paying attention to detail at every step is vital. A well-executed approach can elevate the overall aesthetics and longevity of the piece. For instance, neglecting to clean the furniture properly before painting can lead to uneven texture and adhesion issues. Many overlook the importance of selecting the best paint colors for vintage furniture, which can result in a finish that fails to impress.
By taking the time to research appropriate materials and methods, you can sidestep these missteps and achieve a stunning, polished result that truly showcases the beauty of vintage design, especially with DIY staining and finishing tips.
Frequently Asked Questions
What are some techniques for painting vintage furniture?
Some techniques for painting vintage furniture include distressing, layering different paint colors, using crackle medium, and dry brushing.
What is the best type of paint to use for vintage furniture?
Chalk paint is often the best choice as it adheres well to various surfaces and has a matte, antique-like finish. Brands like Sherwin-Williams and Rustoleum offer excellent options for vintage restoration projects.
Do I need to sand my vintage furniture before painting?
In most cases, it is recommended to lightly sand the surface before painting to ensure proper adhesion. However, if the surface is already smooth and in good condition, sanding may not be necessary.
Can I use regular paint on vintage furniture?
While regular paint can be used on vintage furniture, it may not have the same durability and finish as specialty furniture paint. Chalk paint, milk paint, and acrylic paint are all good choices for vintage furniture.
What is the best way to distress vintage furniture?
The best way to distress vintage furniture is to use sandpaper or a sanding block. Lightly rub away paint in areas that would naturally wear down, like corners and edges.
You can also use a damp cloth or wet sponge for a subtler distressed look. Experiment to find the style that suits you best!
Do I need to seal my painted vintage furniture?
Yes! Seal your painted vintage furniture with a clear wax or polyurethane finish. This protects the paint and gives it a smooth, polished appearance.
Sealing also helps prevent chipping and peeling over time. Don’t wait give your furniture the care it deserves!