How to Frame Vintage Wall Art: Tips & Tricks
Framing vintage art is not just about decoration; it s an exciting journey to preserve and showcase your most beloved pieces.
The right frame serves to protect the artwork and accentuate its distinctive character. This guide provides you with all the knowledge you need from selecting the ideal frame and preparing your art for mounting to choosing the perfect matting and hanging techniques.
Whether you’re an experienced collector or just beginning your journey into vintage art, these insights will empower you to showcase your treasures with elegance and style.
Contents
- Key Takeaways:
- Choosing the Right Frame
- Preparing the Artwork for Framing
- Mounting the Artwork
- Matting the Artwork
- Assembling the Frame
- Hanging and Displaying the Framed Art
- Frequently Asked Questions
- How do I choose the right frame for my vintage wall art?
- What materials should I use to frame my vintage wall art?
- How do I properly measure my vintage wall art for framing?
- Can I use a pre-made frame for my vintage wall art?
- How can I hang my framed vintage wall art without damaging the walls?
- How can I ensure my vintage wall art remains in good condition while displayed?
Key Takeaways:
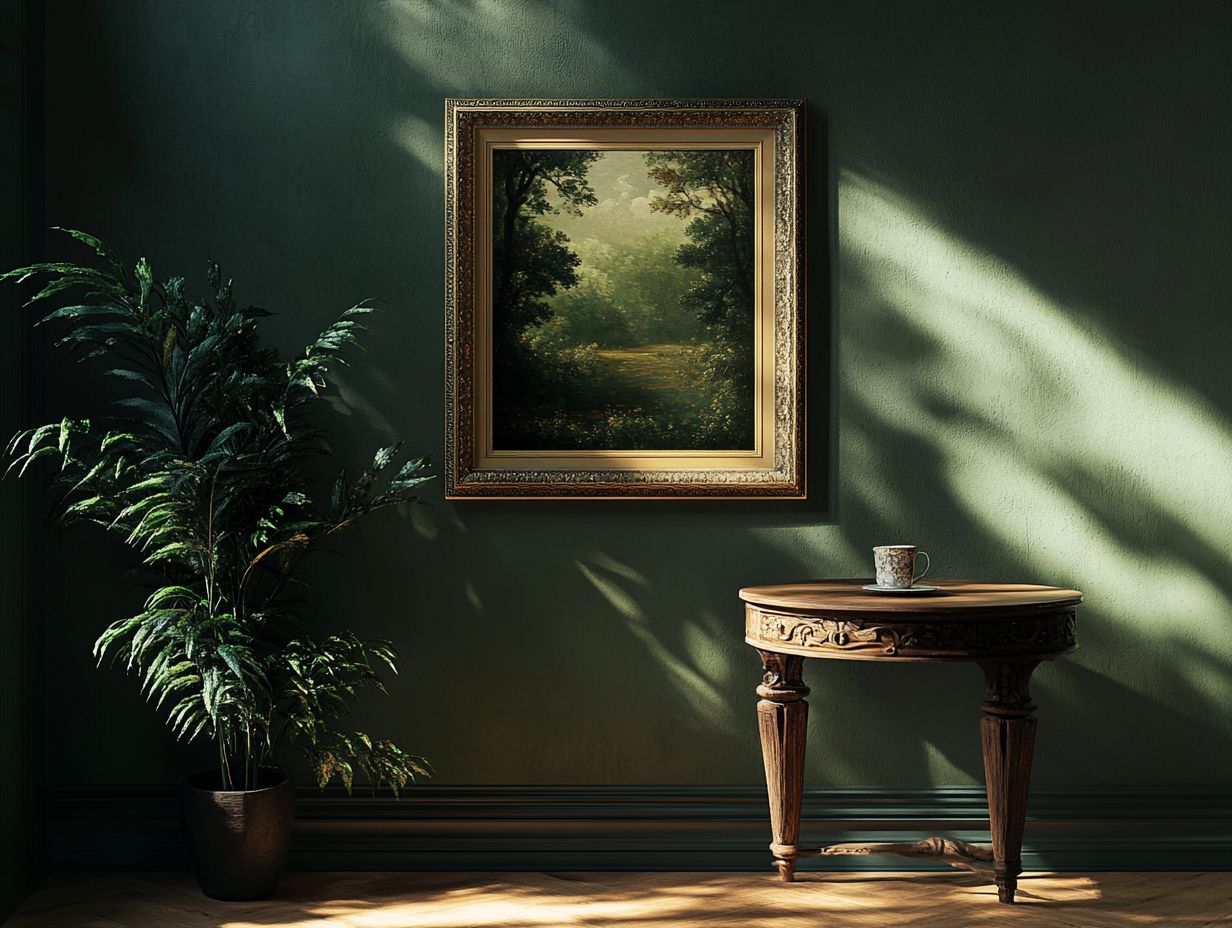
- Choose the right frame that complements and protects your vintage art.
- Properly prepare and mount your artwork before framing to ensure its longevity.
- Consider different matting options and follow a step-by-step guide for assembling and displaying your framed art.
Why Framing is Important for Vintage Art
Framing is essential for preserving your vintage art. It enhances its aesthetic appeal while protecting it from environmental damage and ensuring its longevity and integrity. Proper framing highlights the unique style of each vintage piece and allows for an artful lean or a cohesive look on your gallery wall.
You can consult local framers to select the right materials, considering high-quality materials that protect artwork. If you’re feeling adventurous, online framing services offer convenient solutions for a DIY approach. Additionally, you might want to explore how to source vintage wall art to enhance your decor.
Choosing the right framing options is crucial. Frame styles can range from ornate molds that add character to minimalist designs that keep the focus squarely on the art itself. For those looking to enhance their decor, exploring how to style vintage wall art with modern pieces can provide valuable insights. Professional framing uses specialized techniques for precision, such as glass types that minimize glare and matting (the border around a picture that enhances its appearance).
While going the DIY route can save you some cash, it often lacks the expertise needed to preserve delicate vintage pieces, potentially leading to damage over time.
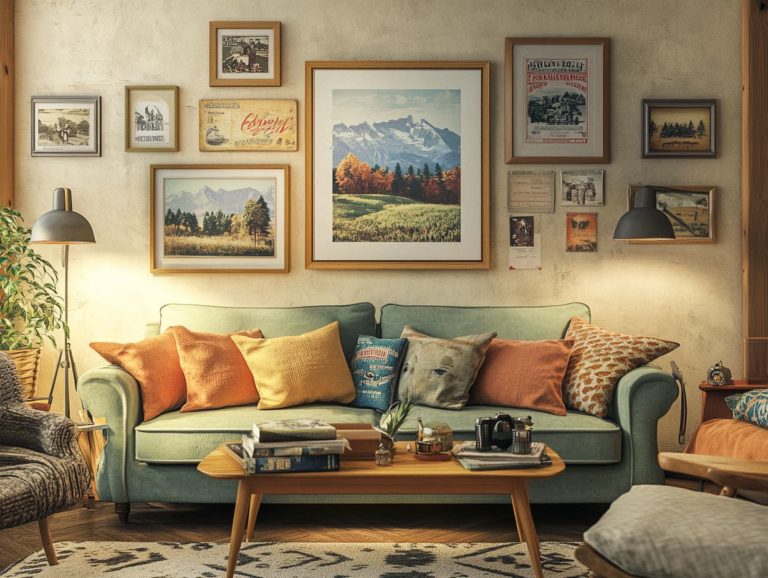
A well-curated gallery wall, adorned with thoughtfully framed art, elevates your space and creates a narrative that invites viewers to appreciate the history and craftsmanship behind each piece.
Choosing the Right Frame
Choosing the perfect frame for your artwork is essential for presentation. It profoundly influences both the visual interest and emotional resonance of the piece within your home decor. The right frame styles, colors, and materials can unify your gallery wall, elevating the overall aesthetic of your space.
Reflect on the artwork s color palette and textural edges. Ensure the frame s design harmonizes with the unique character of each piece. This thoughtful selection transforms your space into a curated masterpiece.
Factors to Consider
When choosing a frame, several factors are essential for showcasing your artwork beautifully and effectively. Consider the frame color and how it contrasts with the piece, as well as the arrangement of your artworks. Grouping them in odd numbers often creates a visually pleasing effect. Aim for the optimal hanging height ideally at eye level to enhance the overall viewing experience.
The style of the frame whether modern, traditional, or eclectic profoundly influences the overall aesthetic. It shapes how well the art complements its surroundings. Achieving balance and harmony in your arrangement can evoke specific emotions, guiding the viewer’s eye from one piece to the next. By utilizing a cohesive color palette, you can unify your collection, even when displaying varied artworks. For more insights, check out this guide on how to use vintage wall art in contemporary spaces.
For those striving for the perfect art grouping, experimenting with different layouts on the floor before committing to wall placements can ignite creativity and ensure you re completely satisfied with the final display.
Preparing the Artwork for Framing
Preparing your artwork for framing is a crucial step that requires careful attention to cleaning and repairs. This ensures it’s in the best condition for display. This meticulous process enhances the longevity of your pieces and protects them from dust, moisture, and light damage.
By prioritizing high-quality materials that protect artwork during the cleaning and repair stages, you preserve the artwork’s aesthetic appeal and eliminate potential threats that could compromise it over time.
Start framing your art today and experience how it can transform your space!
Cleaning and Repairing the Artwork
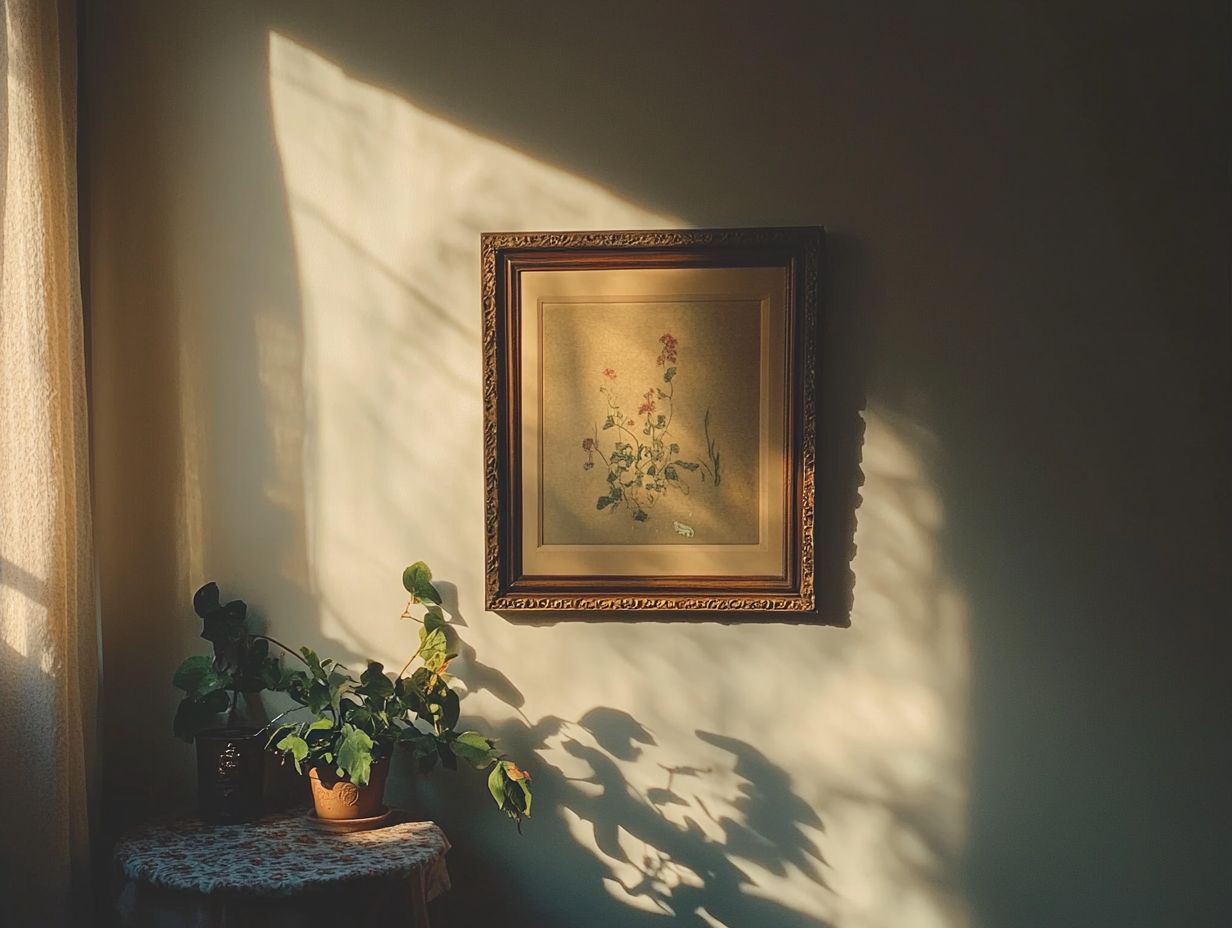
Cleaning and repairing artwork demands careful attention. It’s essential for preserving its integrity and enhancing its presentation.
Use soft cloths and safe cleaning agents to gently wipe away dust. Be careful not to damage the artwork.
For repairs, craft paper is a reliable stabilizer for fragile areas. Choose materials made to last without harming the artwork.
Select the right cleaning method based on the medium whether it s oil paintings, watercolors, or prints. Each type reacts differently to cleaning substances.
Gentle solutions like distilled water or art-safe cleaners are your best options.
When reinforcing damaged areas, cut the craft paper snugly. Use acid-free adhesives to prevent further deterioration.
Always cover repaired areas with a glassine layer for added protection. This will safeguard your artwork and extend its longevity for your enjoyment.
Mounting the Artwork
Mounting your artwork is an essential step in the framing process that greatly influences both the presentation and protection of your pieces. You can choose from exciting methods like mounted framing and float mounts, each capable of creating a striking visual effect while securely holding the artwork in place.
The materials you choose such as archival boards or heat-resistant adhesives play a vital role in preserving the integrity of your art, ensuring it remains in pristine condition for years to come.
Methods and Materials for Mounting
The methods and materials you choose for mounting artwork can profoundly impact its display and preservation. Options like mounted framing provide robust support while allowing your artwork to breathe. Float mounts create a captivating visual effect by suspending the piece elegantly between the wall and the frame.
By understanding the array of mounting techniques available, you can make informed choices that align with your aesthetic vision and conservation goals. For example, clip mounts offer the convenience of easily swapping pieces, allowing for flexibility in rotating exhibitions. Hinge mounts enable artworks to lay flat, optimizing their visibility and detail.
Each of these methods serves not just a functional role but also enriches the visual narrative of your display. Embracing materials designed for preservation, such as acid-free boards, is essential in safeguarding the integrity of your artwork over time, ensuring that it retains its vibrancy for future generations to appreciate.
Matting the Artwork
Matting is an essential element in the framing process, adding depth and visual intrigue to your artwork while safeguarding it from direct contact with the glass.
With a variety of matting options available, you can select styles that complement your frames and enhance the overall color palette of your display.
By choosing the right matting, you elevate your artwork, creating a cohesive presentation that captivates the eye and beautifully highlights the unique features of each piece.
Types of Matting and How to Choose
Select the right matting to make your artwork truly pop! Choosing the right type of matting can significantly elevate the presentation of your artwork, offering both aesthetic appeal and protection. You have a variety of options at your disposal, ranging from simple, single-color mats to more intricate designs that perfectly complement different frame styles and your artwork’s color palette.
The right matting not only adds visual interest but also acts as a protective barrier, safeguarding your pieces for years to come.
As you consider matting, you might want to explore options like acid-free and archival mats. Acid-free mats prevent yellowing over time, ensuring your artwork stays vibrant. Archival mats are designed to protect delicate pieces from damage. A neutral color mat can enhance the finer details without overshadowing the piece, while a bold, contrasting mat can create a striking foundation for vibrant works.
For traditional frames, a classic white or cream mat often works beautifully. Modern art can truly shine with colorful or textured mats that lend a more dynamic presentation.
It’s essential to select colors that resonate with the artwork, enhancing its hues and creating a unified style that draws the eye.
Assembling the Frame
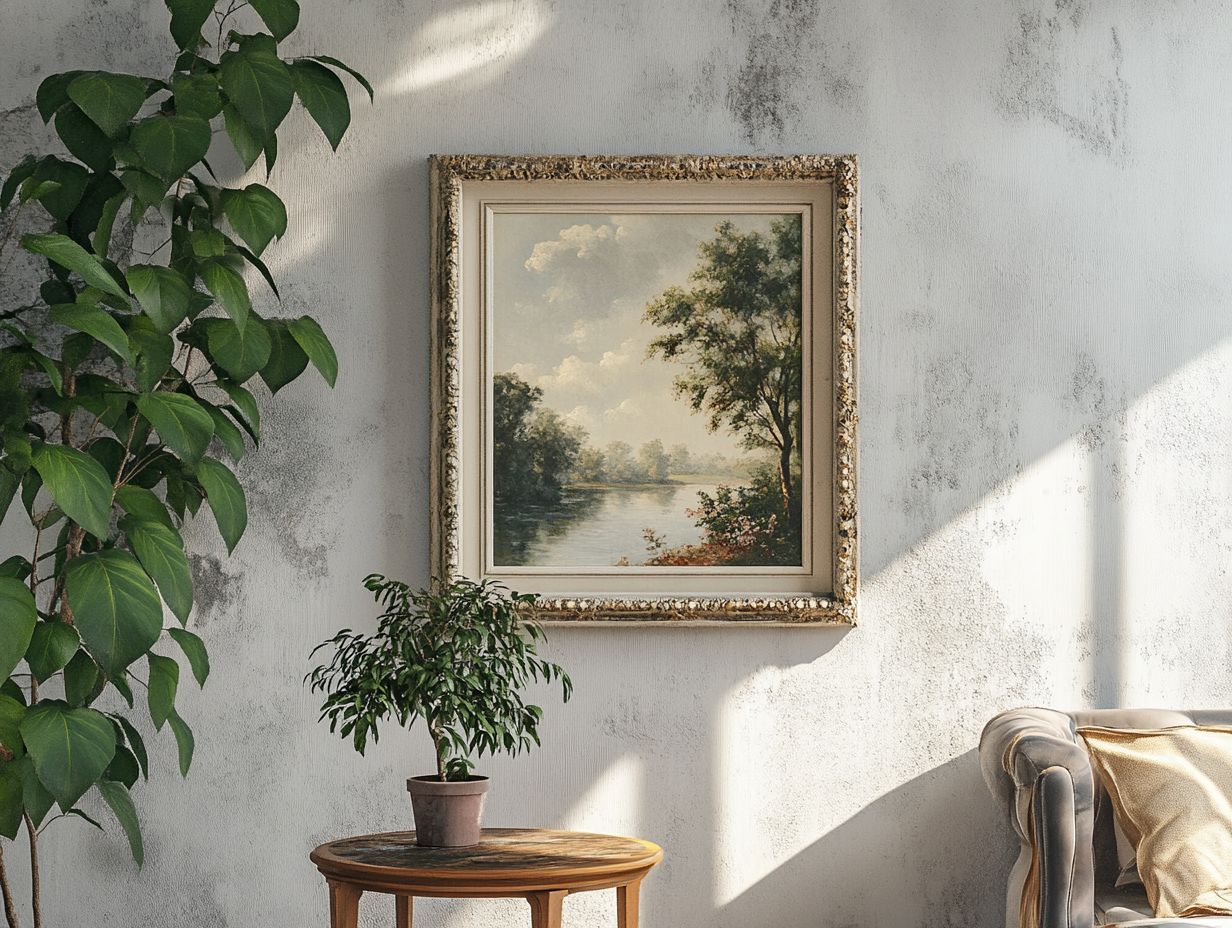
Assembling the frame is a crucial process that demands your attention to detail and skills and techniques to achieve a professional finish for your artwork, whether you’re utilizing DIY frames or selecting vintage frames.
Whether you choose to create your own frames or select vintage options, learning the basic assembly steps will empower you to present your work with elegance. Consider the frame color that enhances the overall aesthetic. Employing techniques like securing the artwork with suitable fasteners and ensuring the frame is perfectly level will significantly enhance the aesthetic appeal and structural integrity of your display, especially when opting for mounted framing solutions. You can also explore how to repurpose vintage wall art frames for a unique touch.
Step-by-Step Guide to Frame Assembly
A meticulously crafted step-by-step guide to frame assembly ensures that your artwork not only shines but is also held securely, providing a cohesive look for your art grouping. Start by gathering all the necessary materials: the frame, matting, backing, and any tools required for assembly. This process secures and protects your artwork. Align it perfectly and finalize the frame with screws or fasteners for that polished finish, ensuring art protection.
Before you dive into the assembly, it s crucial to have a clean, organized workspace to prevent any potential damage to your precious items.
Essential tools you ll need typically include:
- Screwdriver
- Scissors
- Measuring tape
Don’t forget to use a level to ensure your artwork is hung straight at eye level for optimal viewing. As you position the artwork within the frame, opt for archival quality materials to safeguard against deterioration, especially if you’re working with vintage art. For vintage wall art for renters, secure the artwork with points or clips, pressing firmly to prevent any shifting, which is essential for maintaining the integrity of the art pieces.
Once you ve finished, take a step back to inspect the alignment and ensure that your color palette works harmoniously with the rest of your interior decor. Make any necessary adjustments to achieve that perfectly seamless look. Paying attention to these details can significantly elevate the overall presentation of your artwork.
Hanging and Displaying the Framed Art
Hanging and displaying your framed art is the finishing touch in crafting a captivating visual experience that enriches your interior decor, particularly when planning your gallery wall. By employing proper hanging techniques, you ensure that each piece is showcased to its fullest potential, ideally positioned at eye level to capture attention and create an inviting viewing experience. Utilize techniques such as artful lean or picture ledges.
Consider the right art lighting to enhance your display. It brings out the colors and textures while keeping your gallery wall cohesive, which is crucial for creating a creative display.
Tips for Proper Hanging and Displaying Techniques
Using the right hanging techniques is crucial for showing your artwork while ensuring its safety and integrity. Whether you are using command hooks or nails, consider tools like command hooks for easy installation or opt for traditional nails and anchors for a more secure hold, depending on the weight of your framed pieces and the style of your art display. Think about how art lighting can enhance the visual appeal of your collection, beautifully highlighting textural edges and colors while maintaining a cohesive look across your gallery wall.
When choosing a hanging method, remember that heavier pieces may require specialized hardware designed to support their weight, such as a large anchor, preventing any unfortunate accidents. For lighter items, adhesive strips can provide a hassle-free solution for repairs, ideal for achieving an eclectic feel in your display. Additionally, consider how to mix vintage wall art with modern decor to enhance your aesthetic.
To truly elevate your display, integrating spotlights or adjustable track lighting can create dramatic contrasts on your gallery wall, drawing attention to focal pieces while also enhancing visual interest. Nuanced lighting emphasizes your art s unique characteristics and helps establish a unified atmosphere that invites viewers to explore each section of your curated collection.
Frequently Asked Questions
How do I choose the right frame for my vintage wall art?
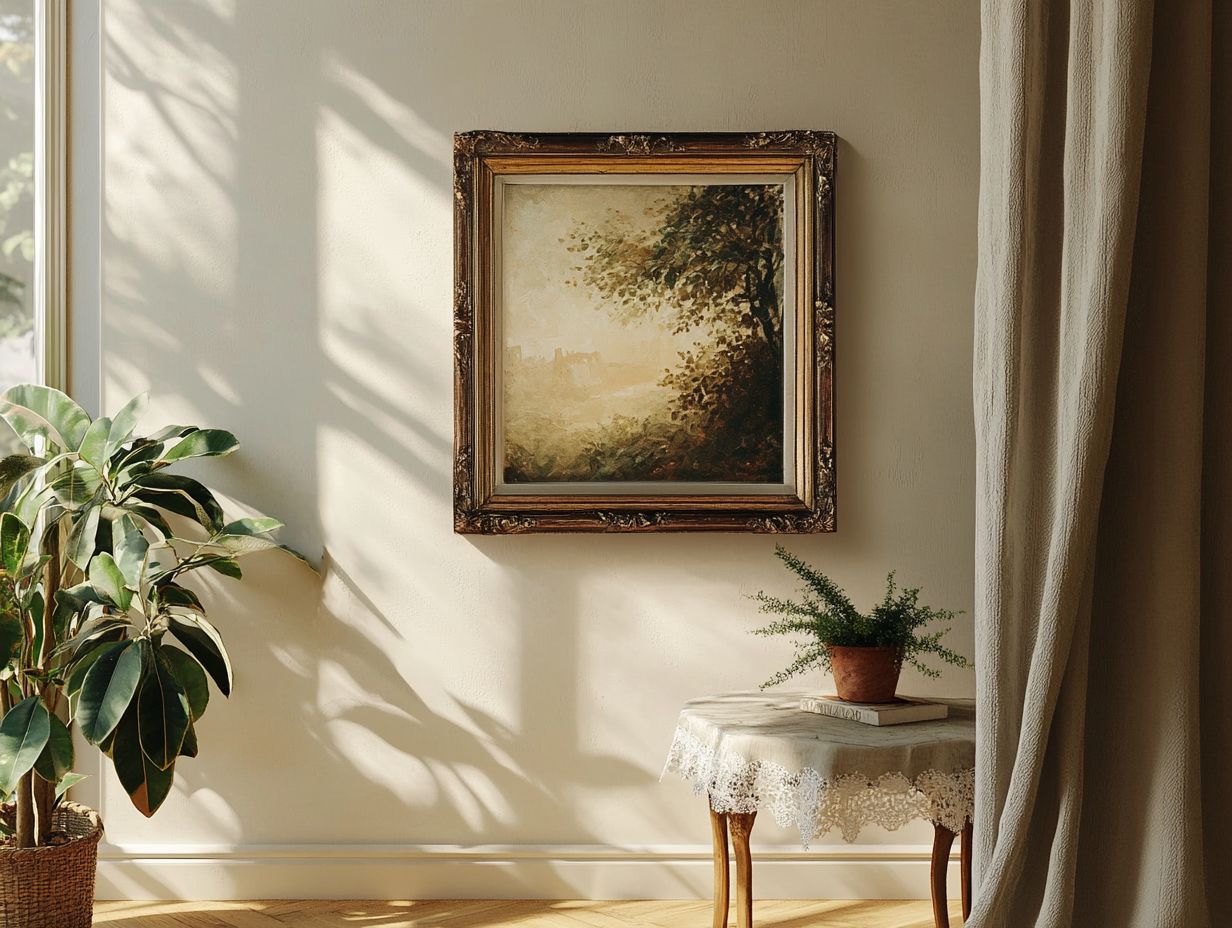
When selecting a frame for your vintage wall art, consider the style, color, and size of the piece. Choose from various frame styles that suit your color palette. Look for frames with intricate designs that match the era of the artwork, or explore custom options available through local framers and online framing services.
What materials should I use to frame my vintage wall art?
It is recommended to use acid-free materials when framing vintage wall art to prevent damage and yellowing. This ensures art protection and longevity. Use acid-free matting, backing, and mounting materials, which are vital for preserving the integrity of art prints and enhancing their presentation. UV-protective glass (glass that prevents harmful light rays) can also help preserve the colors and quality of the artwork, especially for pieces important to your home decor.
How do I properly measure my vintage wall art for framing?
Measure the length and width of your artwork, including any borders or matting you want to show, to ensure a perfect art display. Add an additional 1/4 inch to each measurement to ensure a proper fit in the frame. This allows for a frame-to-edge look that accentuates your display. Consider the depth of the artwork to ensure it fits in the frame without being squished, maintaining the textural edges that make each piece unique.
Can I use a pre-made frame for my vintage wall art?
While pre-made frames may be convenient, they may not always be the best option for your vintage wall art, especially if you desire a unique style that reflects your personality. Custom framing allows for a perfect fit and the use of acid-free materials to protect the artwork, ensuring both art protection and aesthetic appeal. It offers more design options to complement your vintage piece, giving you the flexibility to choose art lighting that enhances its features.
How can I hang my framed vintage wall art without damaging the walls?
One option is to use picture hanging strips, which are easy to remove and do not leave marks on the walls. This is perfect for renters or those who change their decor often. Alternatively, you can use adhesive hooks or a wire and hook system that can be easily mounted and removed without causing damage, allowing for an adaptable art grouping.
How can I ensure my vintage wall art remains in good condition while displayed?
Avoid hanging vintage wall art in direct sunlight or areas with high humidity, as this can cause fading and damage to the artwork, jeopardizing its artful lean and presentation. Regularly dust and clean the frame and glass to prevent buildup and preserve the quality of the piece, ensuring that it remains a focal point in your home decor.
Ready to transform your walls? Start planning your art display today!

