Vintage Furniture: DIY Staining and Finishing Tips
Vintage furniture exudes a timeless charm, seamlessly intertwining history with exceptional craftsmanship. Refinishing these pieces not only revitalizes them but also offers a canvas for your personal expression through color and finish.
This guide delves into the myriad benefits of DIY staining, starting with selecting the perfect piece and gathering essential materials.
You ll discover step-by-step techniques for preparation, staining, and finishing, complemented by insightful tips to sidestep common pitfalls and preserve the allure of your beautifully restored vintage treasures.
Contents
- Key Takeaways:
- What is Vintage Furniture?
- Why Refinish Vintage Furniture?
- Preparing for Refinishing
- Steps for Staining and Finishing
- Tips for Successful Refinishing
- Frequently Asked Questions
- 1. Can I stain vintage furniture without stripping the original finish?
- 2. What type of stain should I use for vintage furniture?
- 3. How do I prepare the vintage furniture for staining?
- 4. Can I apply a polyurethane finish over the stained vintage furniture?
- 5. What is the best way to apply stain to vintage furniture?
- 6. Can I mix different stains to achieve a custom color on my vintage furniture?
Key Takeaways:
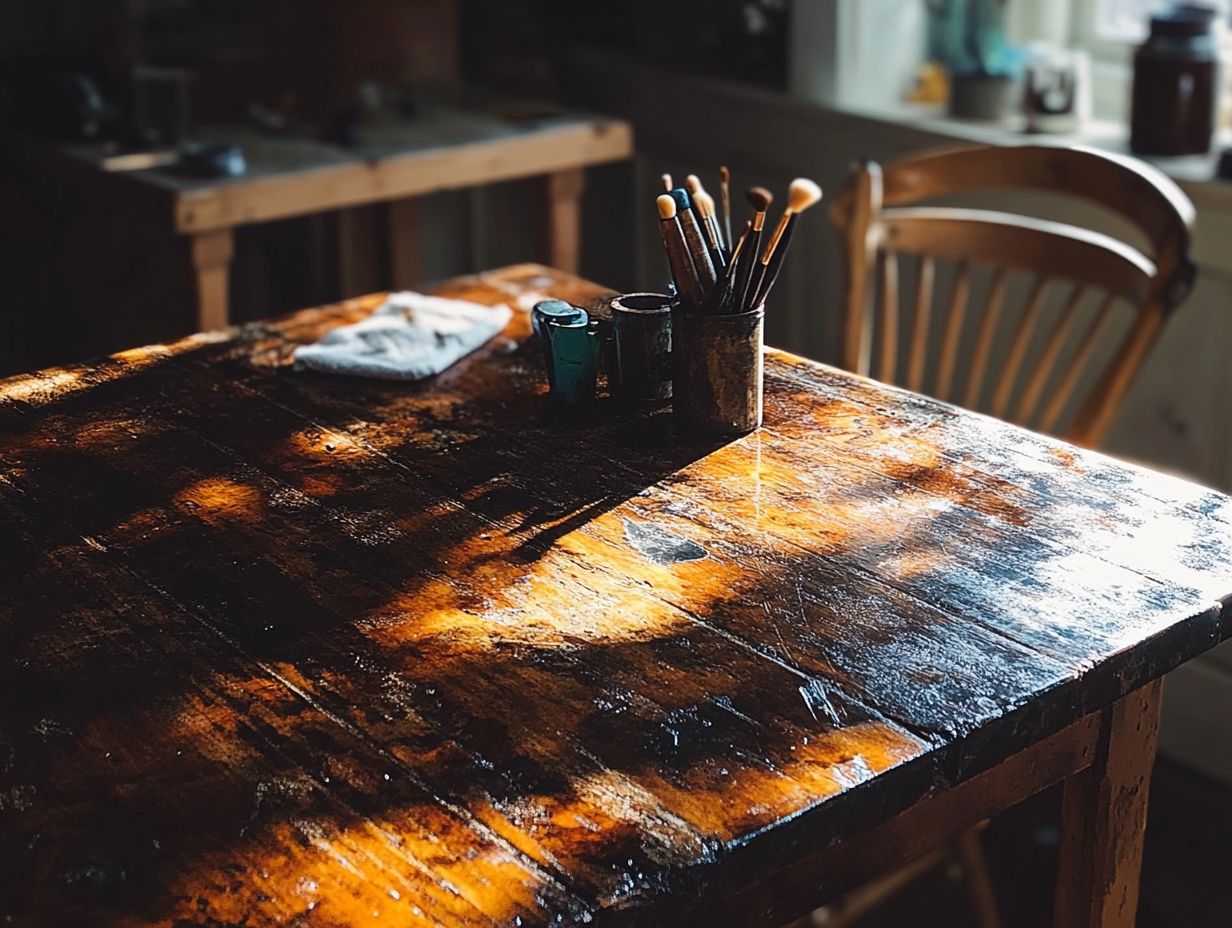
- Enhance the charm of your vintage furniture by refinishing it with DIY staining and finishing techniques.
- Preparing the right piece and gathering the right materials are crucial for a successful refinishing project.
- Proper preparation, sanding, staining techniques, and applying finishes will result in a beautifully restored vintage furniture piece.
What is Vintage Furniture?
Vintage furniture encompasses pieces that are at least 20 years old but haven t quite earned the title of antiques. These items often showcase unique styles and craftsmanship that reflect the era they represent. You ll appreciate vintage furniture not just for its aesthetic charm but also for the wave of nostalgia it brings, making it a perfect choice for those who wish to weave a bit of history into their home decor.
Each piece of vintage furniture tells a story, capturing the cultural and social nuances of its time. Styles such as Mid Century Modern and Atomic Age Modern feature distinctive designs marked by clean lines and organic shapes, effortlessly complementing contemporary interiors.
When you embrace vintage items, you re not just decorating; you re creating a vibrant space that celebrates history! For restoration enthusiasts, there s immense satisfaction in revitalizing these forgotten treasures, creating a harmonious blend of old and new that honors the past while offering functional and stylish options for modern living.
Why Refinish Vintage Furniture?
Refinishing vintage furniture is a cost-effective way to revitalize old treasures, enabling you to infuse your home decor with fresh energy while honoring the unique history and craftsmanship inherent in each piece. This process can be both rewarding and creative.
By embarking on this creative journey, you not only enhance your personal space but also forge connections with a vibrant community of DIY enthusiasts. You’ll play a vital role in preserving the heritage of these remarkable vintage items.
Benefits of DIY Staining and Finishing
DIY staining and finishing vintage furniture offers a rewarding creative process that allows you to hone your skills. This journey enables you to customize pieces that perfectly align with your personal style and home decor.
Embracing this hands-on approach gives you the power to learn valuable restoration skills while relishing the satisfaction of transforming old furniture into stunning, functional pieces.
Beyond mere aesthetic enhancements, this endeavor often proves to be a savvy financial choice, saving you money that would otherwise go toward store-bought items. As you breathe new life into these timeless treasures, you’ll find immense joy in personalizing every detail, ensuring that each piece reflects your unique taste.
Mastering essential skills like sanding and applying finishes not only boosts your confidence but also deepens your appreciation for craftsmanship. Ultimately, it s about creating something one-of-a-kind a blend of creativity and practical know-how that you can cherish for years to come.
Preparing for Refinishing
Preparing to refinish vintage furniture requires a series of essential steps that pave the way for a successful transformation. Begin by meticulously preparing your workspace and conducting a thorough assessment of the piece you aim to restore.
As you gather the appropriate tools and materials, you’ll create an environment that fosters an efficient and enjoyable refinishing journey, all while honoring the integrity of the furniture.
Choosing the Right Piece
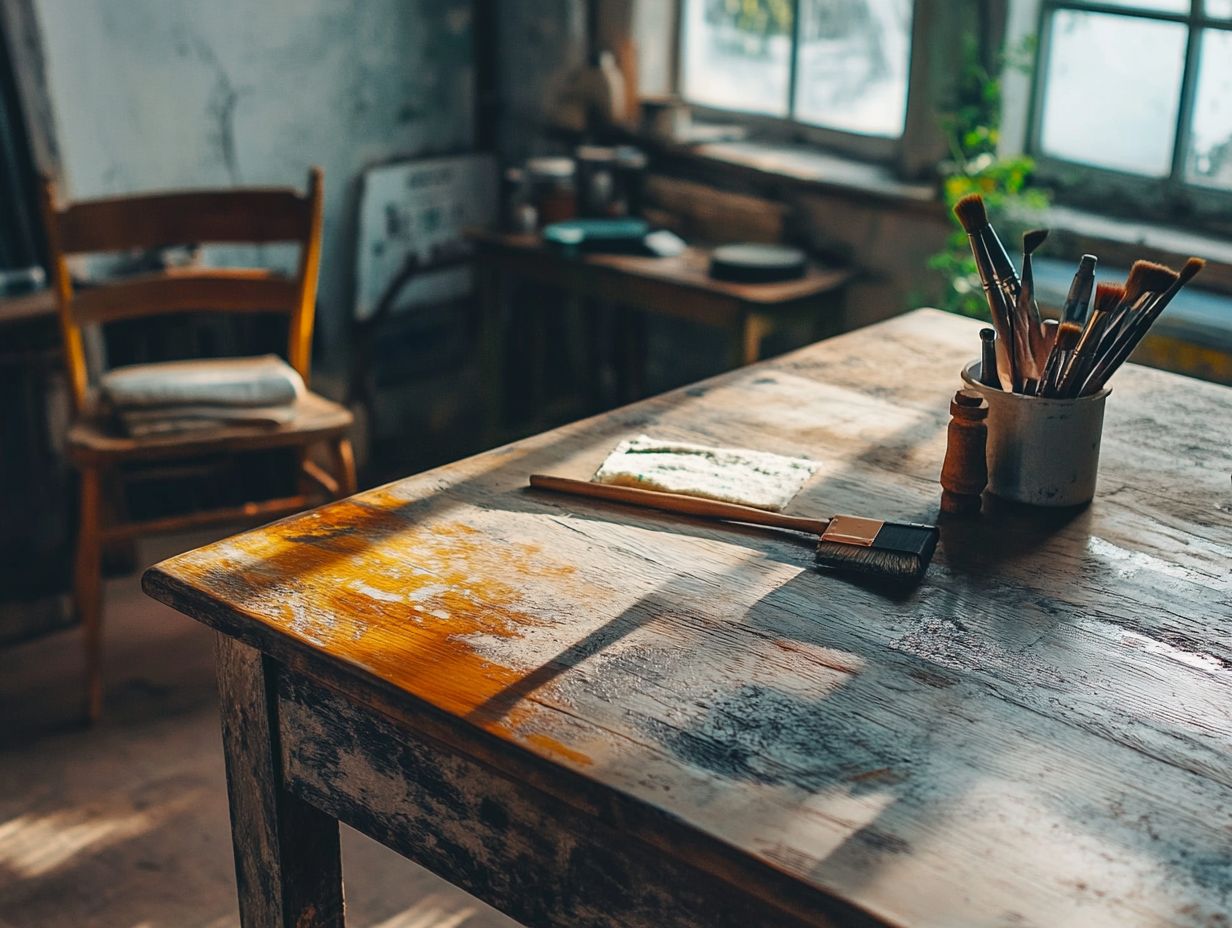
Choosing the right piece of vintage furniture to restore is vital for your DIY project. It lays the groundwork for your creative talents to shine. Seek items that resonate with your aesthetic preferences while also offering restoration potential. This ensures you select a piece that will elevate your home decor.
As you embark on this journey, assess the overall condition of the furniture. This significantly impacts the feasibility of the restoration process. Consider the historical significance of the item; pieces with unique stories often infuse character into your space. Reflect on your personal connection to the piece a chair or table that stirs memories can make the restoration journey all the more rewarding.
Finally, think about how the style and function of the restored furniture will harmonize with the rest of your home. This creates a cohesive look that truly reflects your individuality.
Gathering Materials and Tools
Gather the right materials and tools today to set yourself up for a stunning transformation in the refinishing process. This is a fundamental step that prepares you for tasks like sanding, staining, and applying finishes with finesse. Essential tools you ll want to have include:
- sanding equipment
- substances that help remove old paint easily
- heat guns to soften stubborn paint
These tools play a vital role in achieving that professional look on your vintage furniture, much like the quality found in a vintage shop.
Equip yourself with quality paintbrushes, rags, and safety gear such as gloves and masks. This enhances both the ease and safety of your refinishing journey.
Sanding equipment is essential for smoothing out imperfections. Substances that help remove old paint easily provide a quick escape from old finishes without aggressive scraping. Heat guns make tackling stubborn areas much more straightforward.
Always work in a well-ventilated space and take appropriate precautions when handling chemicals. This ensures a safer and more enjoyable experience as you breathe new life into your vintage treasures.
Steps for Staining and Finishing
The process of staining and finishing vintage furniture involves a meticulous series of steps that demand your careful attention. Focus on sanding techniques, precise staining methods, and the final application of the finish to achieve a polished appearance.
This organized approach beautifully enhances your piece while ensuring it lasts for years. You will be able to relish your craftsmanship and the heritage it represents.
Preparation and Sanding
Preparation and sanding serve as crucial first steps in the refinishing process. These steps lay the foundation for a flawlessly smooth surface that will elevate the beauty of your vintage furniture.
Begin with coarse grit sandpaper around 80-grit to eradicate stubborn varnish and rough patches. Gradually work your way to finer grits like 120 and then 220 for a luxurious, silky finish. In detailed areas, hand sanding might be more effective, while power sanders will efficiently tackle flat surfaces.
Don t overlook the benefits of wood conditioners before staining. These penetrate the wood and create a uniform surface that enhances color absorption, ensuring a consistent finish. Investing time in the preparation phase will dramatically improve the final look of your refinished piece, making it a true standout.
Staining Techniques
Staining techniques are crucial for restoring wood furniture. They allow you to elevate its natural beauty while protecting it against wear and tear. You can choose from various methods, from traditional brush-on stains to modern spray techniques. Each method offers distinct results that align with your design vision.
Selecting the right staining method can significantly influence the outcome of your project. Brush-on stains are valued for the control they provide, enabling you to tackle intricate details with precision. However, be cautious, as improper application could leave visible brush marks. Spray techniques, on the other hand, provide a smooth finish ideal for larger surfaces but require careful masking to avoid overspray on adjacent areas.
Preparation is key when applying stains. Start by sanding the wood to create a surface that absorbs the stain evenly. After ensuring the wood is clean, apply your chosen stain uniformly using a clean cloth or sprayer. Finally, seal your work with a protective top coat to enhance durability.
Applying the Finish
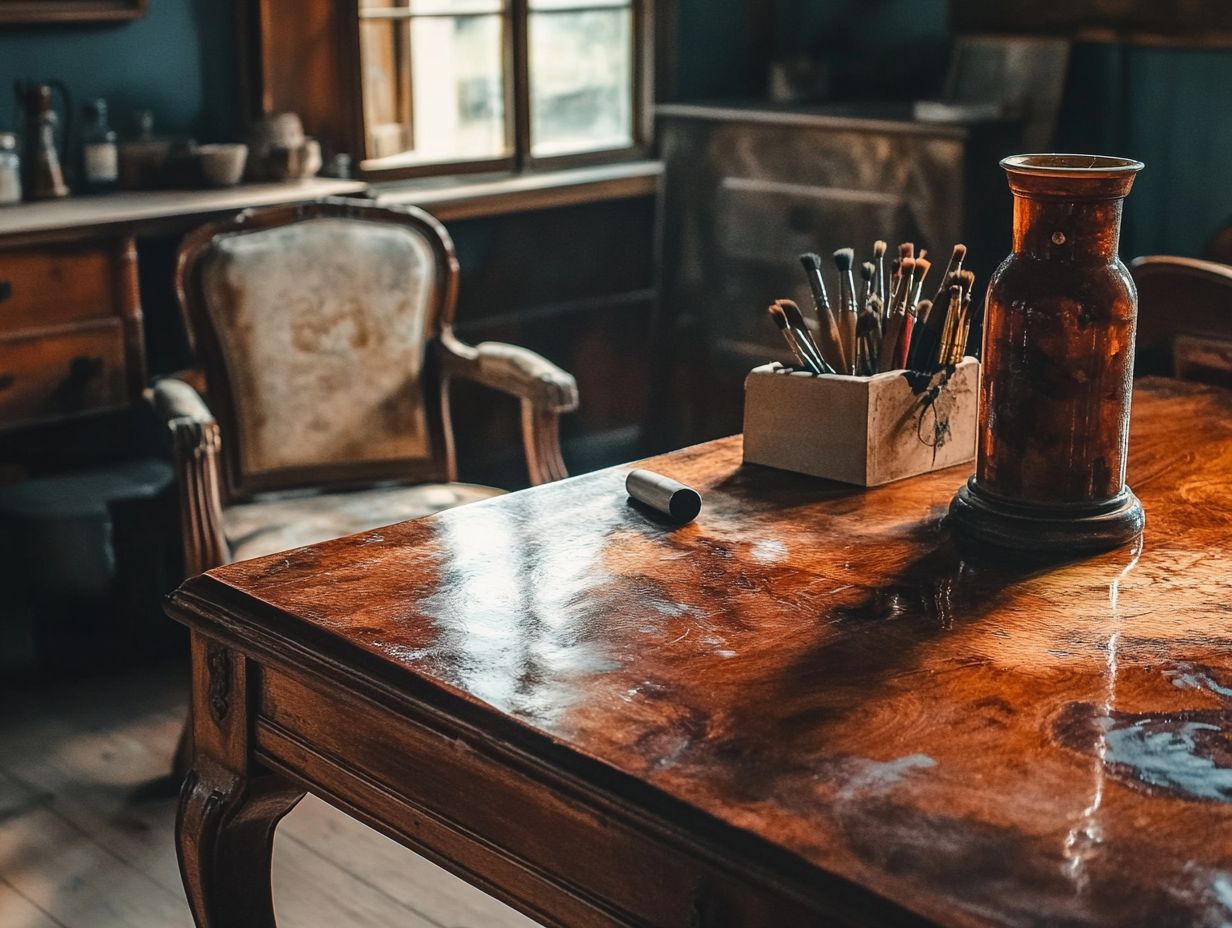
Applying the finish to your vintage furniture is the final touch in the refinishing journey. It s your chance to protect the wood while enhancing its visual charm. Whether you choose oil, varnish, or polyurethane, mastering the right application technique can transform your project into a professional masterpiece.
As you explore finishes, grasp the distinct characteristics of each option. Oil finishes penetrate deeply, revitalizing the grain and imparting a warm, inviting glow. In contrast, varnishes provide a robust protective layer that resists scratches and moisture.
Polyurethane stands out for its exceptional durability and is available in oil-based and water-based formulations. For a flawless application, invest in high-quality brushes, foam applicators, or lint-free cloths. Always work in a well-ventilated space.
Don t overlook the importance of sanding between coats. This step enhances the surface smoothness, boosting the appearance and longevity of your finish.
Tips for Successful Refinishing
Implementing effective tips for successful refinishing can elevate the outcome of your vintage furniture restoration project. This ensures you achieve not only a stunning finish but also preserve the integrity of the piece for years to come.
By learning to avoid common mistakes and understanding essential maintenance practices, you can enhance your skills and build confidence for your future projects.
Mistakes to Avoid
Avoiding common mistakes during the refinishing process is essential for achieving a beautiful and durable finish on your vintage furniture. Key pitfalls include rushing through the sanding process, using the wrong type of stain, and neglecting proper workspace preparation.
Each of these errors can compromise the overall quality and longevity of your refinishing project. For example, hasty sanding often leads to an uneven surface, causing issues with stain absorption and finish application. Take your time to ensure a smooth and even base.
Selecting an inappropriate stain not only alters the desired color but may also react poorly with the wood finish. Always test the stain on a scrap piece first to avoid surprises. Proper workspace preparation, including adequate ventilation and a clean environment, is vital for preventing dust and debris from ruining your freshly refinished surface.
Focus on these important steps to achieve a stunning and long-lasting transformation for your vintage furniture. Start your project today and explore different staining techniques!
Maintaining the Finished Piece
Maintaining your vintage furniture is essential for preserving its beauty and functionality over the years. Regular care, such as cleaning and applying protective treatments, helps extend the life of your refinished treasures.
Start by dusting the surface regularly with a soft, lint-free cloth. This keeps dirt and grime at bay.
For a deeper clean, use a mild soap diluted in water. Be careful not to soak the wood. Applying a good furniture polish or wax now and then creates a protective barrier against moisture and spills. This simple step protects your valuable investment.
Avoid placing hot or wet items directly on your vintage furniture. This simple action can prevent unsightly damage.
If scratches or dents appear, use a wood filler or touch-up marker to restore the finish. This ensures your piece remains as charming and functional as the day you refinished it for many years to come.
Frequently Asked Questions
1. Can I stain vintage furniture without stripping the original finish?
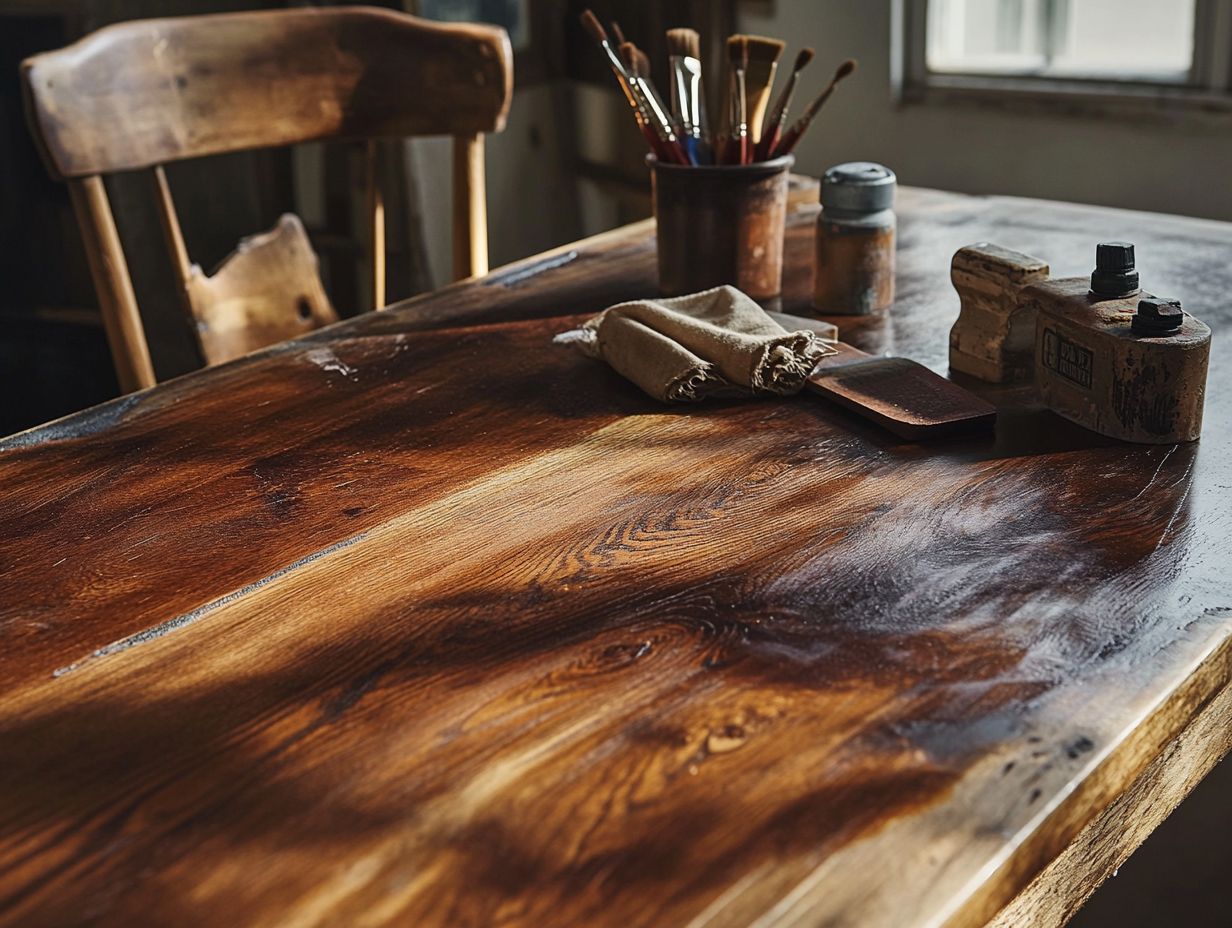
You can stain vintage furniture without stripping the original finish. However, it is important to thoroughly clean and sand the surface before staining to ensure proper adhesion.
2. What type of stain should I use for vintage furniture?
There are several types of stains available, including oil-based, water-based, and gel stains. The type of stain you use will depend on the wood and the desired finish. Test the stain on a small, inconspicuous area before applying it to the entire piece of furniture.
3. How do I prepare the vintage furniture for staining?
To prepare vintage furniture for staining, clean the surface with mild soap and water. Then, sand the surface with fine-grit sandpaper to remove any existing finish and smooth out imperfections. Finally, wipe down the surface with a tack cloth to remove any dust or debris.
4. Can I apply a polyurethane finish over the stained vintage furniture?
Yes, you can apply a polyurethane finish over stained vintage furniture. This provides a protective seal and enhances the color of the stain. Use a high-quality brush or applicator for an even and smooth finish.
5. What is the best way to apply stain to vintage furniture?
The best way to apply stain to vintage furniture is by using a lint-free cloth or brush. Apply the stain in thin, even coats, following the grain of the wood. Wipe off any excess stain with a clean cloth to prevent uneven color or blotching.
6. Can I mix different stains to achieve a custom color on my vintage furniture?
Yes, mixing different stains can help achieve a custom color on your vintage furniture. This can be a fun and creative way to personalize your furniture. However, mix the stains in small amounts and test the color on a scrap piece of wood before applying it to the furniture.
With these tips, your vintage furniture will shine for years to come!

