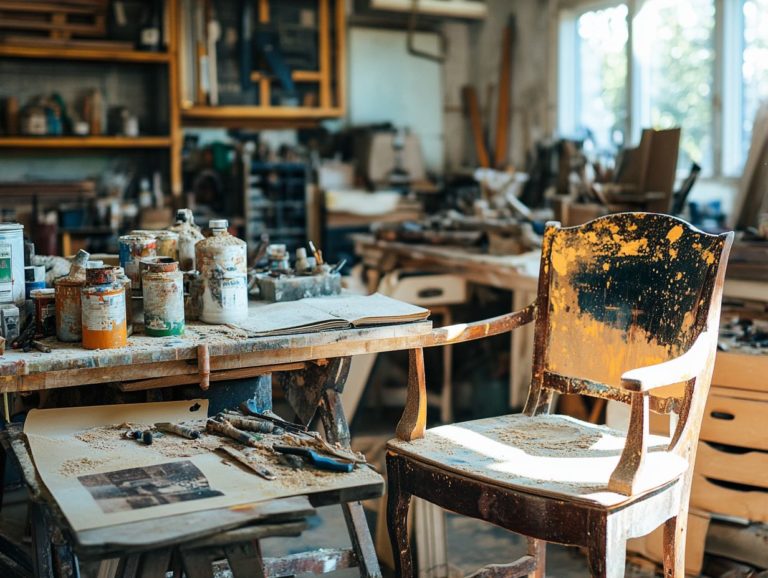
Revamp Your Vintage Chair: A Simple DIY Guide
Is your vintage chair merely gathering dust, yearning for a stylish transformation? Revamping it can infuse your space with fresh energy while honoring its distinctive character.
This guide outlines the essential materials and tools you’ll need, along with effective cleaning and sanding techniques. You ll find valuable tips for selecting the perfect paint and finish.
By following a step-by-step process, you can elevate your chair into a striking centerpiece, complete with expert advice for achieving that polished, professional look.
Ready to embark on this journey? Your chair s stunning transformation starts today!
Contents
- Key Takeaways:
- Materials and Tools Needed
- Preparing the Chair for Revamping
- Choosing the Right Paint and Finish
- Step-by-Step Guide to Revamping Your Chair
- Tips and Tricks for a Professional Finish in Your Upholstery Project
- Frequently Asked Questions
- What is a vintage chair and how can I enhance its appeal?
- Why should I revamp my vintage chair and what benefits does it offer?
- What materials do I need for revamping my vintage chair and where can I find them?
- Do I need any special skills to revamp my vintage chair, or can beginners try?
- How long does it take to revamp a vintage chair, and what factors should I consider?
- Can I still use my vintage chair after revamping it, or will it lose functionality?
Key Takeaways:
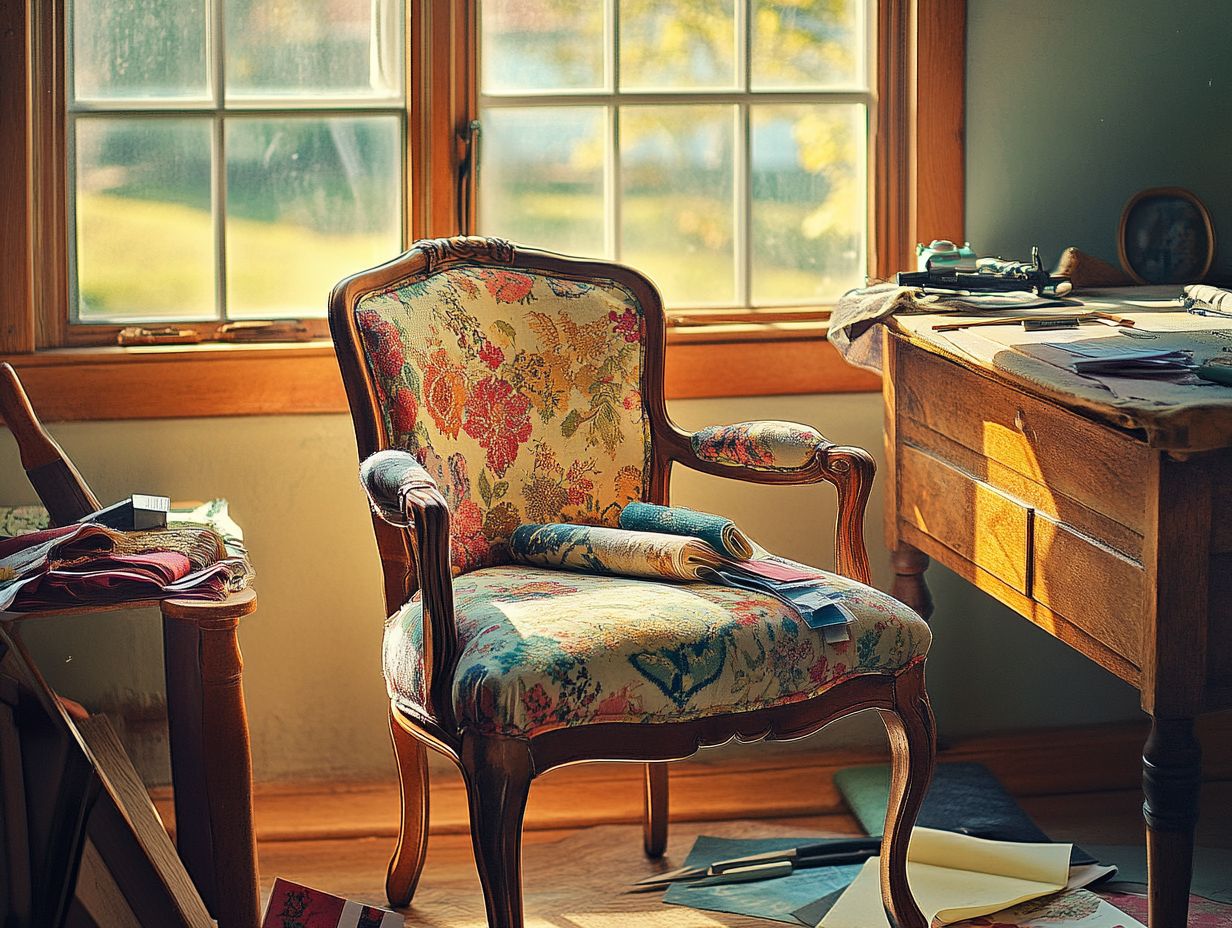
- Revamping your vintage chair is a cost-effective way to give it a fresh new look and extend its lifespan.
- Before starting your revamping project, make sure to have all the necessary materials and tools, including essential supplies and the right paint and finish.
- To achieve a professional finish, follow a step-by-step guide and use expert tips and tricks, such as proper cleaning and sanding methods and choosing the right paint and finish for your vintage chair.
Why Revamp Your Vintage Chair?
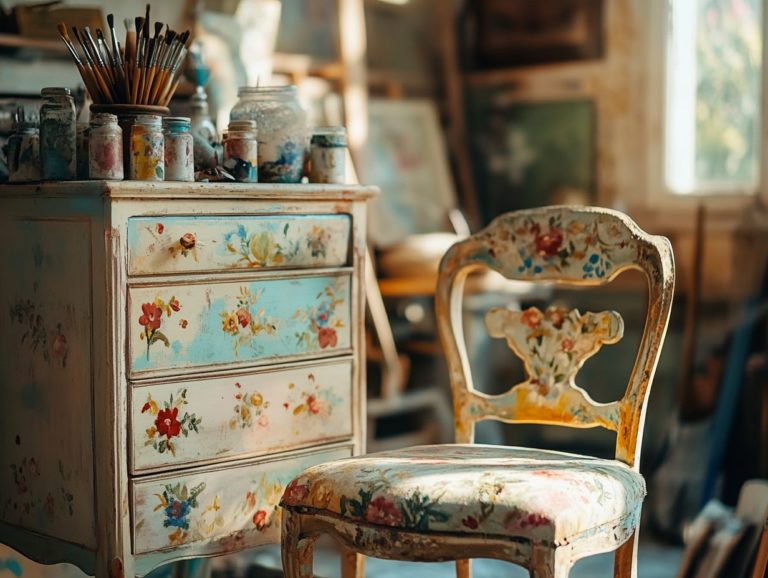
Revamping your vintage chair isn’t just a practical task; it’s a golden opportunity to infuse new life into a beloved piece of furniture that carries sentimental value and unique charm. Whether you stumbled upon it at a thrift store or inherited it from a family member, that vintage chair can become a stunning focal point in your home decor, bridging your creative workspace with cherished memories.
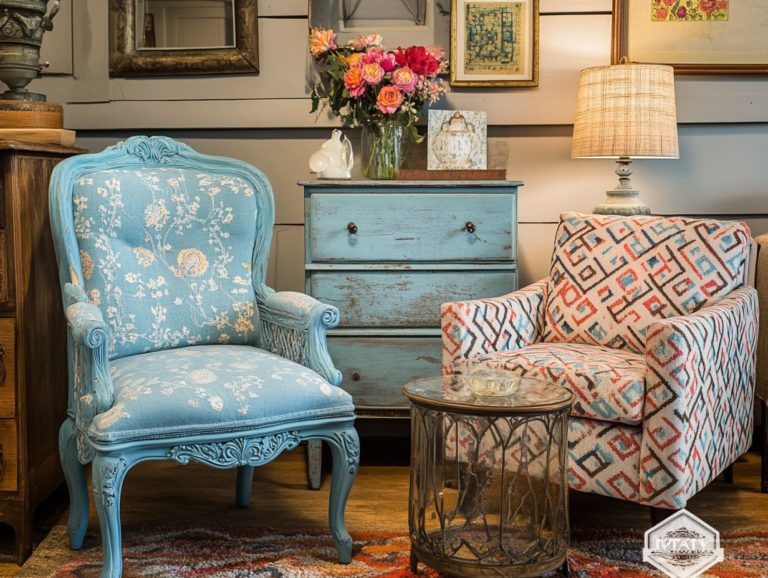
With the right techniques, you can transform it into a striking statement piece that showcases your style while honoring its vintage allure.
The emotional journey of restoration encourages you to think about the memories tied to the chair, creating a deep sense of attachment that elevates its place in your living space. Every brushstroke and fabric choice reflects your personal style, making the vintage chair not just a decor item but a testament to your distinctive taste.
Engaging in this DIY project is incredibly fulfilling, sparking your creativity and promoting a hands-on approach to design. The process of revealing the vintage charm will enhance not only the chair itself but your entire home, crafting an inviting atmosphere that truly reflects your individuality. For more ideas, check out upcycling vintage furniture.
Materials and Tools Needed
To embark on a successful chair makeover, it s crucial to gather the right materials and tools for your furniture restoration journey. From choosing upholstery fabric that perfectly aligns with your vision to employing a reliable Singer sewing machine for those detailed upholstery methods, a well-equipped toolkit will enhance your DIY experience.
Make sure to include:
- Staples
- Jute trim for that vintage charm
- Furniture paste to ensure a durable finish for your reupholstered chair
Essential Supplies for the Project
When you embark on an upholstery project, having a well-chosen selection of essential supplies can profoundly influence both the outcome and the ease of your process. Opt for decorative fabric that resonates with your vintage-inspired vision while ensuring it possesses the durability required for everyday use. Arm yourself with DIY tips that will assist you in selecting the right upholstery methods and materials, streamlining your restoration journey for maximum efficiency.
Investing in a quality staple gun is imperative, as it plays a crucial role in tightly securing the fabric to the frame, ensuring both structure and longevity. In addition, choose high-density foam for cushioning; it enhances comfort and delivers a plush feel to your finished piece.
Don’t overlook the importance of tools like a measuring tape and scissors, which are essential for achieving precision during the cutting and fitting phases. Upholstery tacks can also add an elegant touch to your final design while keeping the fabric securely in place.
Each of these supplies not only elevates the overall aesthetic but also embodies the quality and functionality that are vital for a successful upholstery project.
Get started now and bring your vintage chair back to life!
Preparing the Chair for Revamping
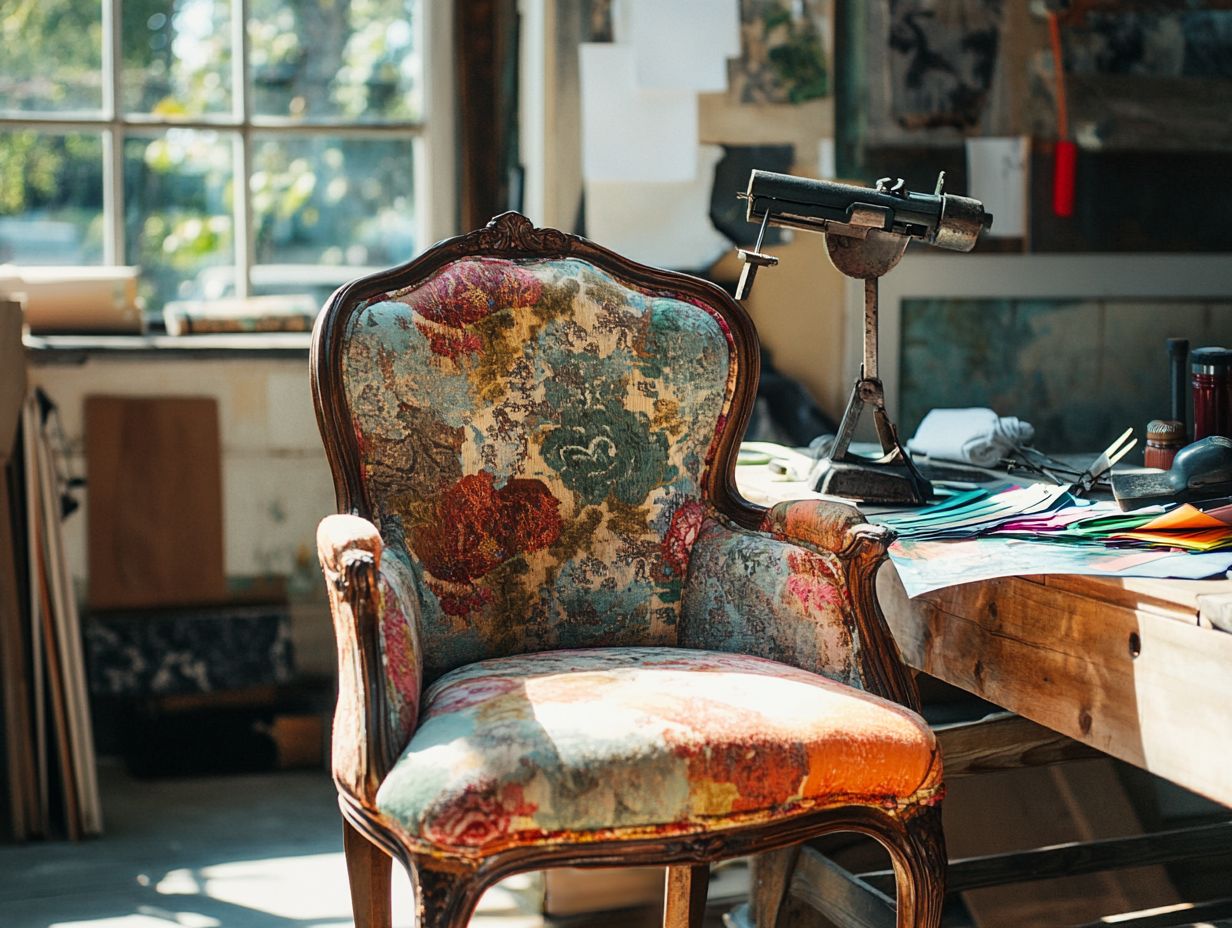
Proper preparation of your vintage chair is essential for a successful revamp, as it lays the groundwork for a seamless restoration process.
Start by employing thorough cleaning techniques using eco-friendly cleaners to eliminate any dust or grime that has settled over time. This ensures that the original material and wood remain well-preserved for your restoration.
After cleaning, sanding the chair rejuvenates its surface, providing a fresh canvas to showcase its vintage charm while preparing it for new upholstery.
Cleaning and Sanding Techniques
Cleaning and sanding techniques are essential steps in your upholstery restoration journey, especially with vintage chairs.
Start by using a soft cloth and a gentle cleaning solution to wipe away dirt and stains. Pay special attention to the grooves and crevices in the chair’s design.
For optimal results, consider using eco-friendly cleaners that treat the original finish with care. When sanding, choose fine-grit sandpaper to gently smooth the surfaces without risking scratches or gouges.
If you re restoring wooden chairs, a random orbital sander a power tool that makes sanding easier and faster helps achieve an even finish. On the other hand, upholstered pieces may benefit from a hand-sanding approach, allowing better control and precision.
Always remember to test cleaning products on a hidden area first. This ensures they won’t alter the color or texture of the material. By following these steps and utilizing DIY restoration tips, you’ll beautifully prepare the chair for its new fabrics and a refreshed look.
Choosing the Right Paint and Finish
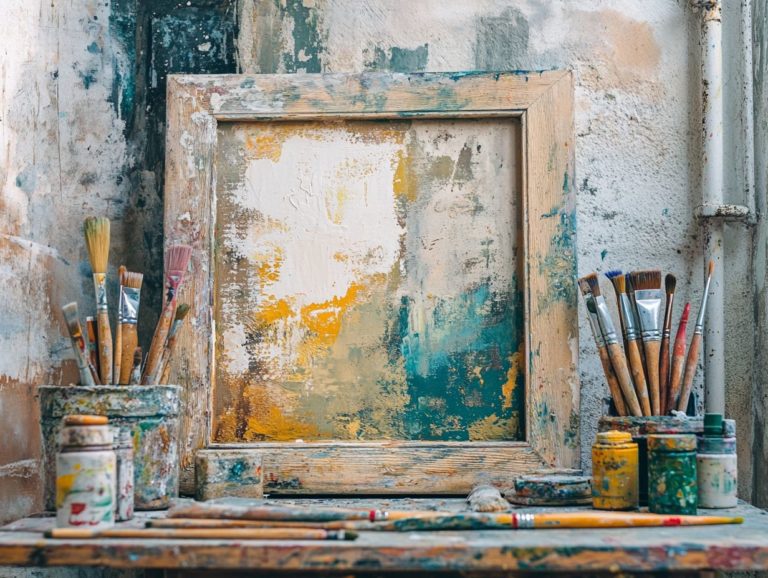
Choosing the perfect paint and finish for your vintage chair is crucial to achieving the look and durability you envision for your restoration project. Think carefully about the type of paint that complements the upholstery and elevates the chair’s overall design, ensuring it harmonizes beautifully with the decor of your creative workshop.
Choosing a high-quality finish protects the chair from wear and tear, allowing it to retain its vintage charm for years to come.
Types of Paint and Finishes for Vintage Chairs
When you decide to revamp vintage chairs, understanding the available paint options and finishes can elevate your project s aesthetic and feel.
From the charming matte finish of chalk paint that whispers vintage elegance to the rugged durability of varnishes that guard against wear, each choice brings unique benefits.
Choosing the right combination enhances the visual appeal and contributes to the lasting quality of your restoration, ensuring your masterpiece endures over time.
For example, spray paint offers a smooth, even coating ideal for sleek designs, while acrylics present a versatile palette with various colors and finishes, perfect for all your DIY projects.
Oil-based paints, celebrated for their rich textures and enduring results, might require more patience due to their longer drying times. However, the glossy finish they provide adds an air of sophistication that s hard to beat.
Don t overlook the eco-friendly options gaining ground in today s market; these allow you to embrace sustainability while achieving vibrant, eye-catching looks. By considering these factors, you can customize your approach to align with your specific design visions and functional needs.
Step-by-Step Guide to Revamping Your Chair
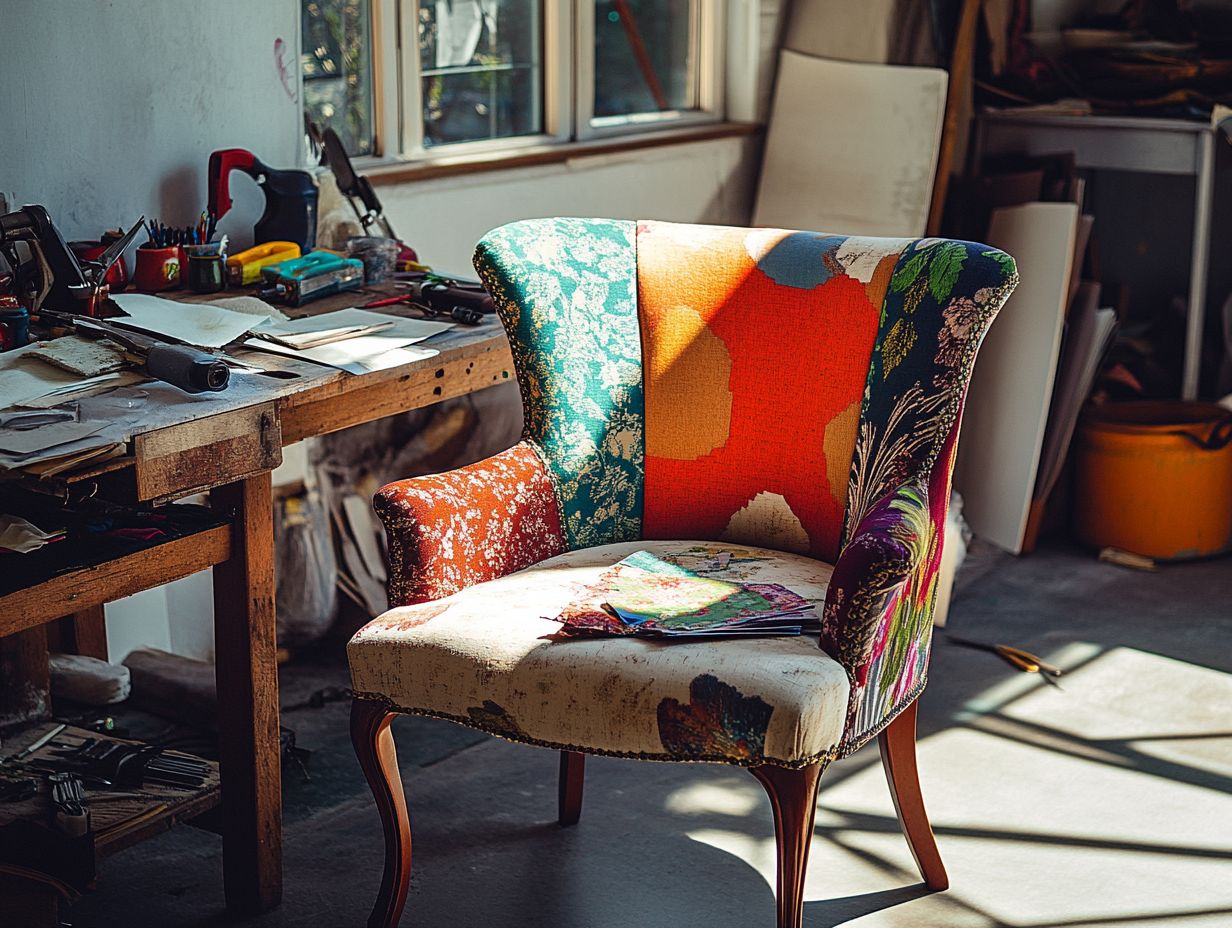
A comprehensive, step-by-step guide to revamping your chair can elevate the upholstery project and pave the way for a successful restoration.
This guide will lead you through essential painting techniques, meticulously detailing everything from surface preparation to the application of that perfect final coat.
Whether you re a novice or a seasoned DIY enthusiast, you ll find it easier to navigate the process.
With practical tips and best practices woven throughout, you ll enhance your skills and achieve a stunning transformation with your vintage chair.
Start your chair revamp today and explore upcycling vintage chairs to give new life to your vintage piece!
Painting and Finishing Techniques
Mastering painting and finishing techniques is essential for achieving a polished outcome in your upholstery project, especially when dealing with vintage furniture. Start by applying a primer to ensure an even color distribution. Follow this with multiple coats of paint to build depth and richness. After painting, finishing touches like protective sealants will safeguard the beauty of your work and enhance the longevity of the chair, transforming it into a stunning centerpiece in your restoration journey.
Selecting the right primer is key; consider using a type of primer that sticks well, especially to porous surfaces like wood. In terms of paint application, techniques like spray painting or using a foam roller can provide a smoother finish compared to traditional brushes.
Don t overlook sealants You can choose polyurethane or wax for varying degrees of gloss and protection. For optimal results, always allow adequate drying time between coats and maintain a dust-free environment.
By integrating these practical tips, you can transform your DIY projects and give new life to cherished antique chairs.
Tips and Tricks for a Professional Finish in Your Upholstery Project
To achieve a professional finish in your upholstery project, it’s essential to pay careful attention to detail and use helpful tips that elevate your work from the realm of the amateur to that of an expert.
Focus on mastering essential upholstery techniques, ensuring precise cuts and measurements as you work with decorative fabrics that enhance the vintage charm of your chair. By incorporating these quick DIY tips, you’ll not only enhance the overall aesthetic but also improve the durability of your restoration journey.
Expert Advice for a Perfect Revamp
Expert advice can be a game changer when you’re aiming for the perfect revamp of your vintage chairs, providing insights that can steer your DIY projects toward success, especially those found in creative workshops.
Establishing a comprehensive plan is essential; it outlines each step of the revamping process, streamlining your efforts and helping you maintain focus amidst the myriad of choices available. In terms of material selection, approach it with care. Choosing high-quality fabrics can significantly enhance durability while ensuring comfort and aesthetic appeal.
Professionals stress the importance of investing time in meticulous preparation. Stripping old upholstery and addressing any structural issues will allow for a more seamless application of new material. By leveraging expert insights on seam techniques and finishing touches, you can elevate the finished product, ensuring your revamped chairs not only fulfill their purpose but also become stunning focal points in your space.
Frequently Asked Questions
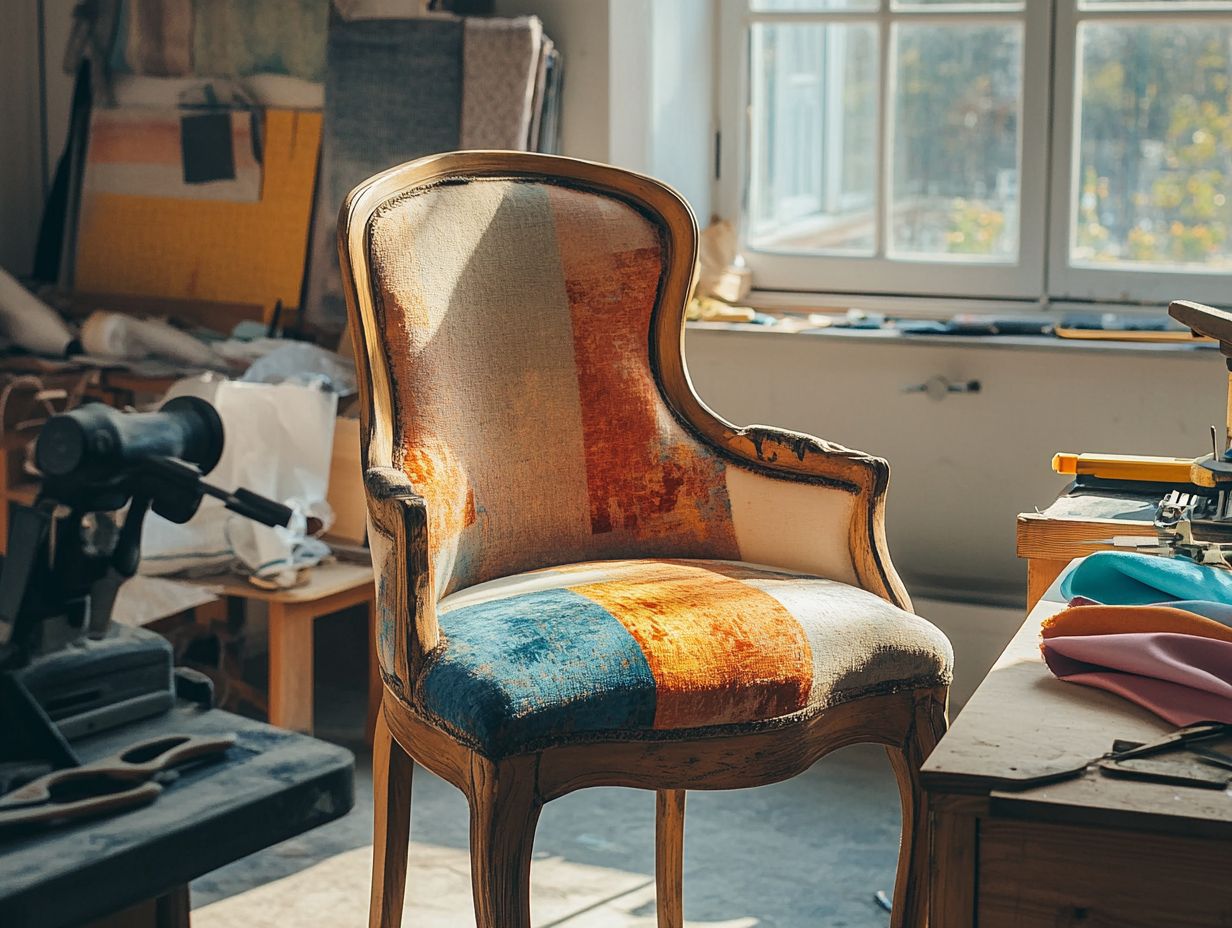
What is a vintage chair and how can I enhance its appeal?
A vintage chair is a piece of furniture that was made in a previous era, typically between 20-100 years ago. It is often known for its unique design and quality craftsmanship, making it a prime candidate for a chair upholstery project.
Why should I revamp my vintage chair and what benefits does it offer?
Revamping your vintage chair allows you to give it a new life, preserving its history while also incorporating your personal style. Revamping your vintage chair can also save you money compared to buying a new chair.
What materials do I need for revamping my vintage chair and where can I find them?
The materials you need depend on the specific revamp you have in mind, but some basic supplies include:
- Sandpaper
- Paint or stain
- New upholstery fabric from fabric stores
- A staple gun
Do I need any special skills to revamp my vintage chair, or can beginners try?
No, you do not need any special skills to revamp your vintage chair. However, it is helpful to have basic knowledge of using tools and following instructions carefully.
How long does it take to revamp a vintage chair, and what factors should I consider?
The time it takes to revamp a vintage chair will vary depending on the complexity of the project and your own pace. It can take anywhere from a few hours to a few days to complete.
Now that you have the answers, it s time to get started on your vintage chair!
Can I still use my vintage chair after revamping it, or will it lose functionality?
Yes, you can definitely use your vintage chair after revamping it.
If you choose the right materials and techniques, your chair will remain both beautiful and functional.

