How to Restore a Vintage Table: Step-by-Step
Restoring a vintage table is rewarding. It breathes new life into a cherished piece of furniture.
You might find a hidden gem at a thrift store or inherit a family treasure. Knowing how to restore it is essential.
This guide offers the supplies you need. You ll find a step-by-step restoration process and tips to preserve your table’s beauty.
Get ready to transform that old piece into a stunning focal point in your home!
Contents
- Key Takeaways:
- What to Consider Before Starting
- Gathering Supplies and Tools
- Step-by-Step Guide to Restoring a Vintage Table
- Tips for Maintaining a Restored Vintage Table
- Frequently Asked Questions
- 1. What materials do I need to restore a vintage table?
- 2. Can I restore a vintage table if it’s been damaged or has missing pieces?
- 3. How do I start the restoration process for my vintage table?
- 4. Should I use paint or stain to restore my vintage table?
- 5. Can I use any type of wood stain or paint for my vintage table?
- 6. How do I maintain and care for my restored vintage table?
Key Takeaways:
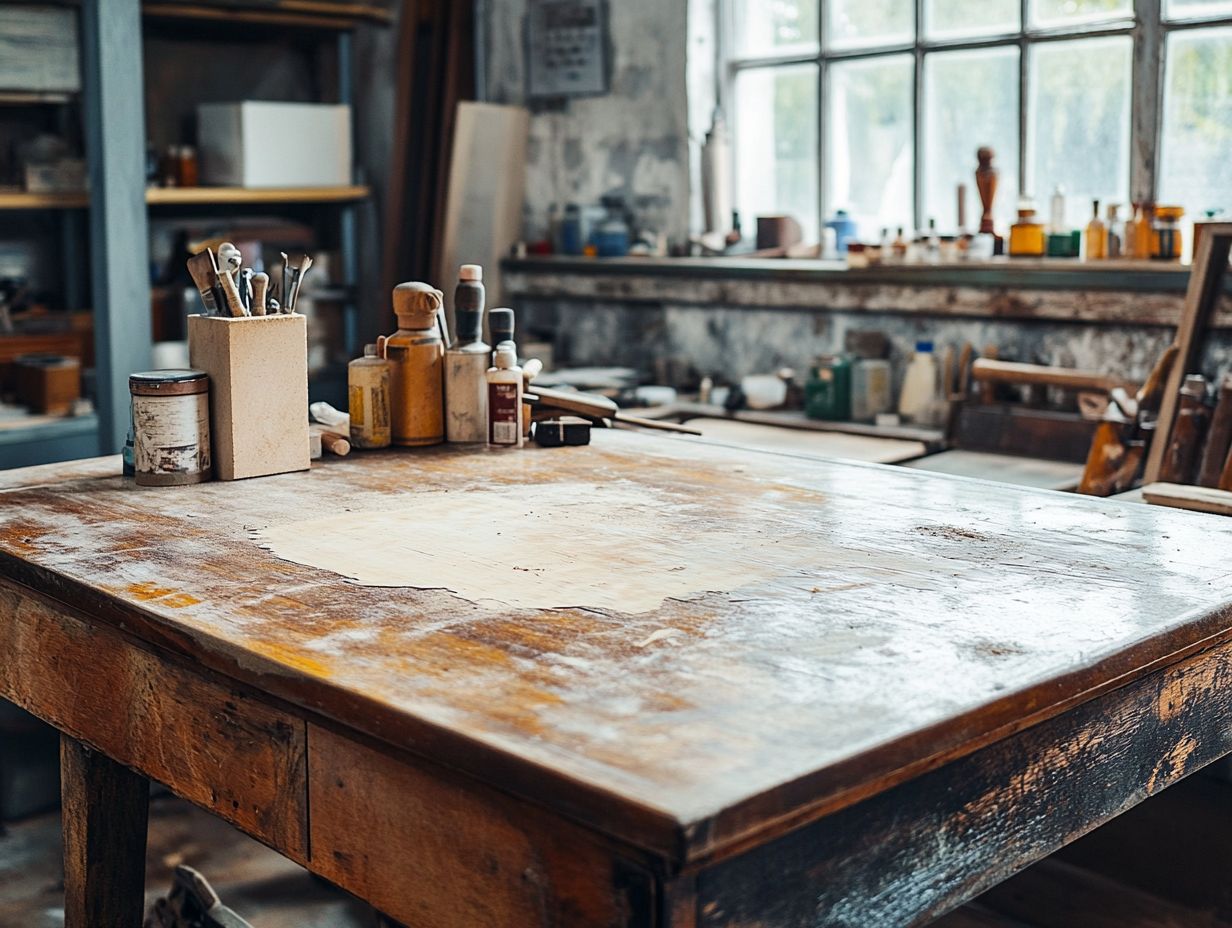
- Consider the condition of the table and necessary supplies before starting the restoration process.
- Proper cleaning, repairing damages, and sanding/stripping are crucial steps in restoring a vintage table.
- Preserve the beauty and durability of your restored table with regular maintenance and proper care.
What to Consider Before Starting
Before diving into refinishing your piece, take a moment to assess its condition and understand the full scope of your project. Determine whether it needs minor touch-ups or a comprehensive restoration; this shapes your approach and dictates the tools and materials you’ll need.
Engaging with a community of friends or seasoned professionals, like Terri Llanes from Painted Pink Peony Co on platforms like Instagram, offers invaluable insights and encouragement.
Gathering Supplies and Tools
Gathering the right tools and materials is crucial in the furniture refinishing process. This ensures your project unfolds seamlessly and achieves professional-looking results.
The essentials for restoring any piece of wood furniture include a blend of hand tools and specialized chemicals tailored for effective sanding techniques. Consider options like chemical strippers, which remove old paint or finishes, and heat guns for more extensive restorations.
Prepare your workspace with surface protection strategies to maintain order and safety, enhancing your efficiency as you embark on your woodworking journey.
Essential Items for Restoring a Vintage Table
Your choice of essential items greatly influences the success of your refinishing project. Gather key tools and materials, including various grades of sandpaper for effective sanding, chemical strippers, and high-quality paints or stains for that perfect final look.
Understanding the properties of wood veneer a thin layer of wood applied to surfaces will empower you to make informed decisions. Varnish is essential for protecting your finished masterpiece.
Having a range of sandpaper from coarse to fine grits is crucial for eliminating imperfections without harming the wood underneath. If you’re new to this, consider using a palm sander for ease, complemented by hand sanding in tricky areas.
For finishes, think about water-based stains for quick drying or oil-based options for a richer color, depending on the wood type you’re restoring. Always test your chosen finish on a hidden area first.
Knowing how to handle different wood types using special techniques for softwoods versus hardwoods will ensure that your final product showcases the vintage charm and integrity of the original piece.
Step-by-Step Guide to Restoring a Vintage Table
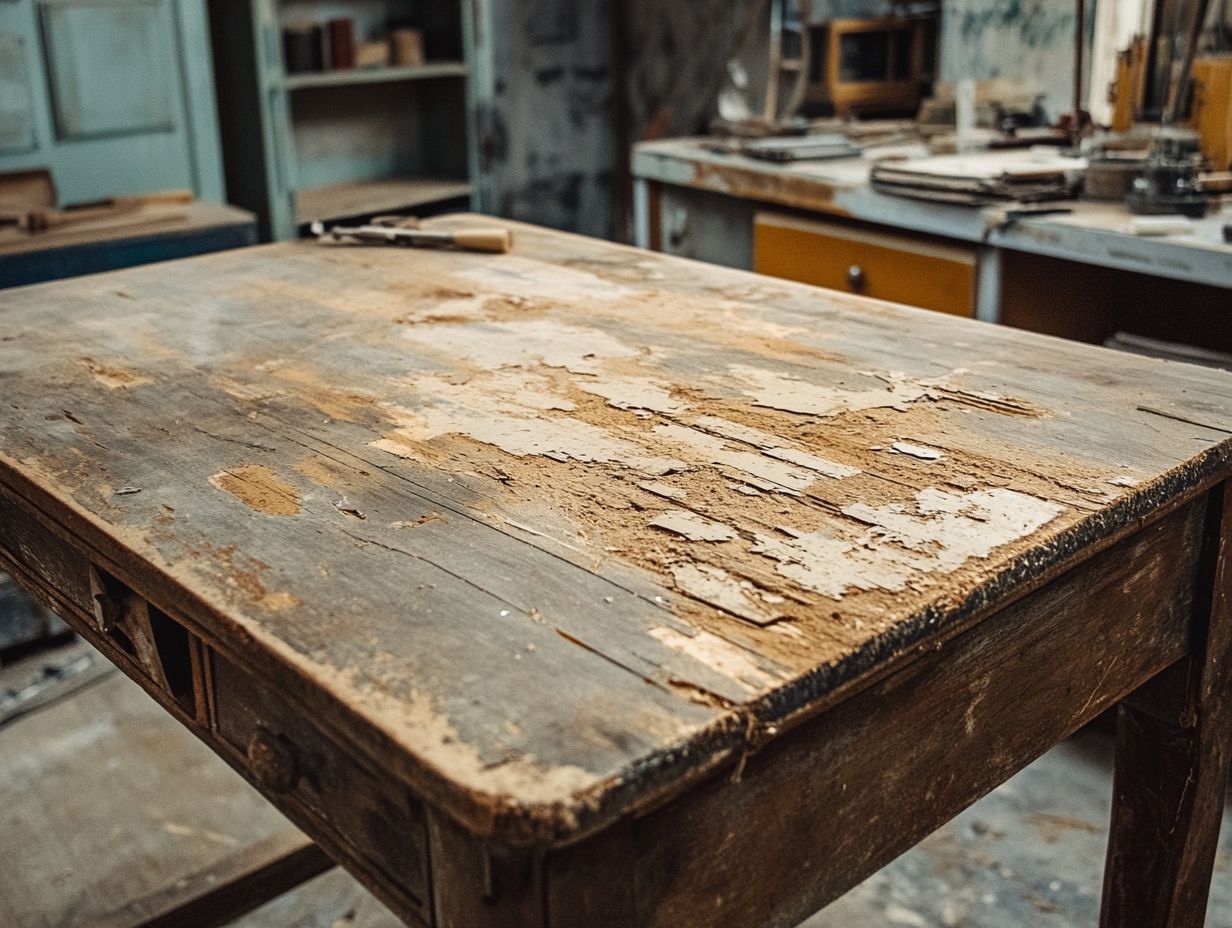
Restoring a vintage table can be an exciting adventure. You’ll watch as the table transforms, breathing new life into a cherished piece.
This detailed step-by-step guide will lead you through the essential stages of the furniture refinishing process.
You ll begin with an initial assessment of the table’s condition. Then, move on to vital tasks like repairing any furniture joints. Next, you’ll sand and smooth the surface, preparing it for its new finish.
Each step ensures your restoration not only exudes beauty but also honors the craftsmanship and rich history woven into the wood.
Step 1: Cleaning and Preparing the Table
The first step involves meticulous cleaning and preparation. This lays the groundwork for a successful refinishing project.
Begin by assessing the furniture’s condition to gauge the extent of dirt, grime, or old finishes that need to be addressed.
Creating a clean workspace is essential. Ensure it’s dust-free and well-ventilated, allowing easy access to your tools.
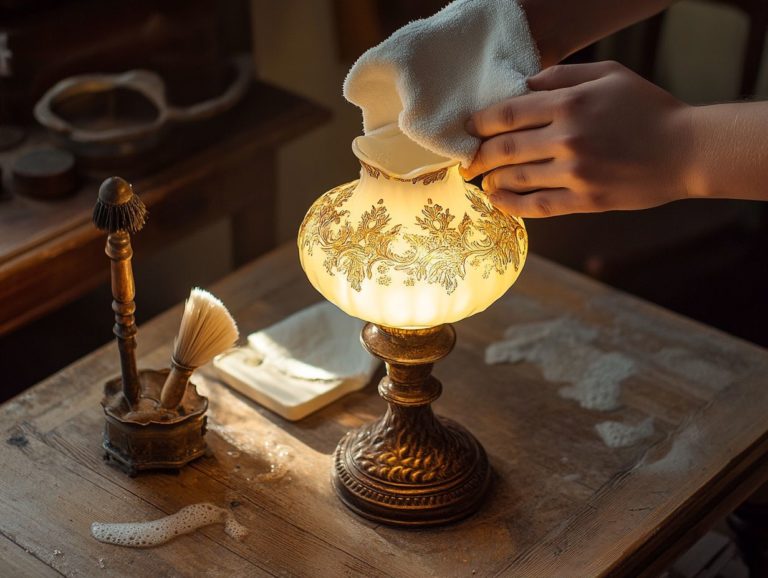
Selecting the right cleaners is crucial. For wood surfaces, consider a gentle soap solution or a dedicated wood cleaner.
For metal components, a stronger solvent-based cleaner may be needed. Always test any cleaning product on a small, inconspicuous area first.
After cleaning, thoroughly drying the surface minimizes the risk of moisture penetration and long-term issues.
Taking time to prepare will pay off, enhancing stickiness when applying finishes. This attention to detail influences the final quality and longevity of your project.
Step 2: Repairing Damages
Repairing damages is essential for restoring your vintage table. It allows you to address structural issues before refinishing.
Carefully assess the furniture’s condition, paying special attention to areas with loose joints or cracks.
Effective restoration involves more than cosmetic fixes; it s about ensuring the piece is solid and functional for years to come.
Start by identifying the type of joints involved. For example, use interlocking joints commonly used in furniture making.
Choose the right adhesive for the job: a standard wood glue or a strong adhesive for more challenging repairs.
Utilize tools like clamps and dowel jigs to guarantee a snug fit. Remember, patience pays off allow the adhesive ample time to set.
Considering wood fillers can help mend minor gaps and cracks, creating a seamless finish. With the right techniques, restoring integrity becomes a manageable endeavor, giving you the power to preserve both its charm and functionality.
Step 3: Sanding and Stripping the Table
Sanding and stripping is a transformative process in your restoration journey. It removes old finishes and prepares the surface for a fresh look.
Start with coarser grits to tackle stubborn layers, then transition to finer grits for a smooth touch. You may use chemical strippers or heat guns to speed things up.
Consider the grit progression carefully. Begin with rougher sandpaper, like 60 or 80 grit, and gradually work to 120 and finally 220 grit.
This gradual approach ensures the surface becomes smoother and ready for finishing.
When using chemical strippers, follow the manufacturer’s instructions carefully for safety and effectiveness.
Heat guns can be effective but require cautious handling to avoid damaging the wood.
Always wear protective gear, including gloves and masks, to shield yourself from harmful dust and fumes.
By adhering to these best practices, you can achieve a beautifully restored finish that highlights the table’s natural beauty.
Step 4: Staining or Painting the Table
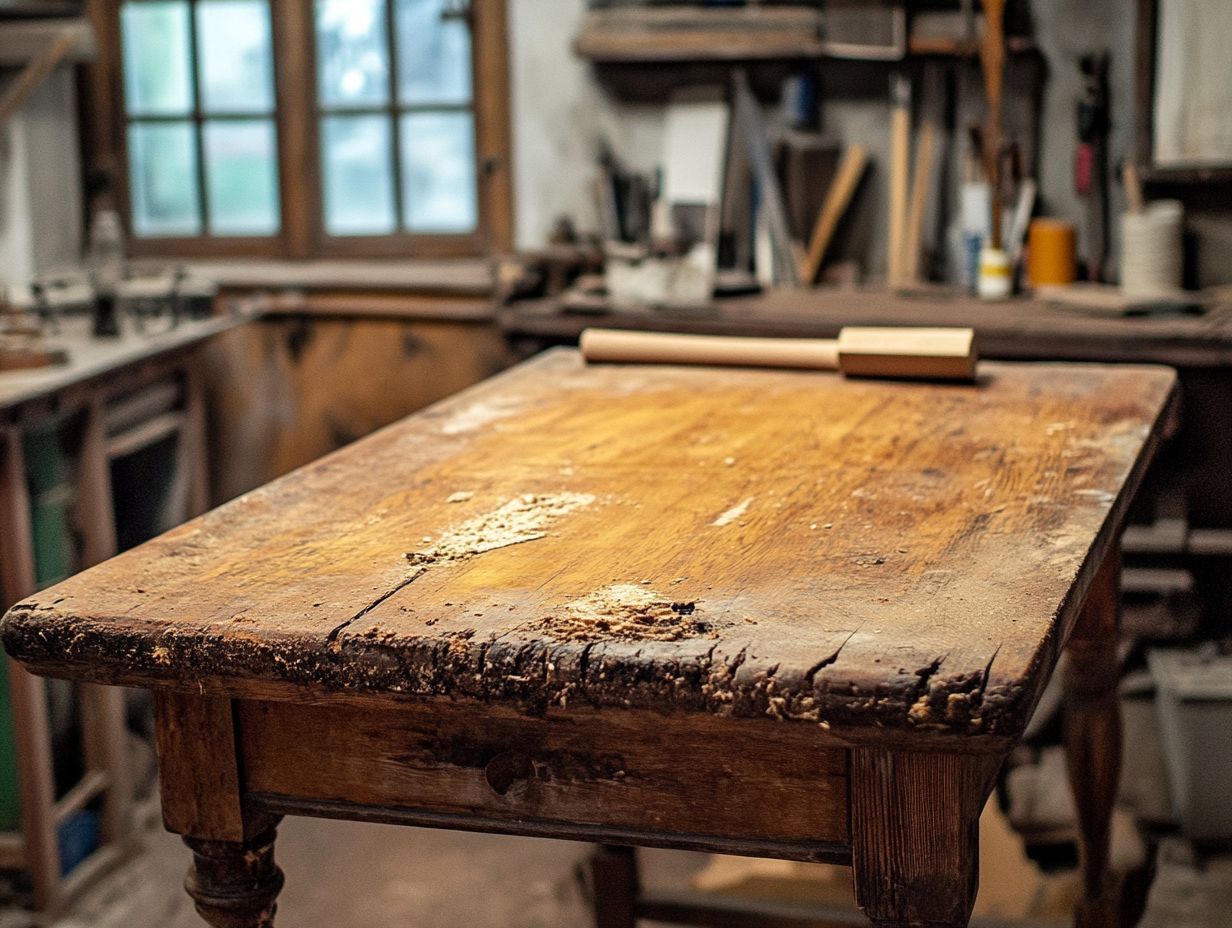
Once you ve sanded and prepared the table to perfection, it s time to choose between staining or painting an important decision that will significantly influence the final look of your restored masterpiece. Understanding the type of wood you re working with is essential; it determines how well the wood will absorb stains or paint, ultimately affecting the color and finish.
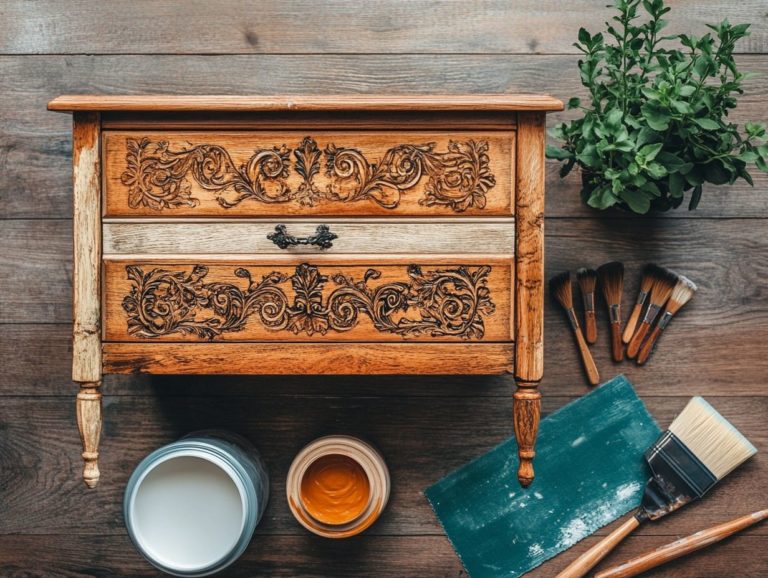
By applying your refinishing skills at this stage, you can ensure an even coat. Choose a rich stain that showcases the wood grain or a vibrant paint that brings a bold new personality to the piece!
Staining typically enhances the natural beauty of the wood, allowing its unique patterns to emerge. Painting opens up a world of color choices, dramatically transforming the aesthetic.
Keep in mind that staining usually needs more frequent reapplications, particularly in high-traffic areas, compared to the durability of paint.
When you re applying either option, using the right techniques like a brush or cloth for stains and a roller for paint can result in a beautifully smooth finish. Afterward, don t forget to apply a protective varnish; this adds an extra layer of defense against wear and tear.
As you select your colors, consider the existing decor and lighting in the room to ensure everything harmonizes. A matte finish may impart rustic charm, while a glossy finish can deliver a sleek, contemporary vibe.
Tips for Maintaining a Restored Vintage Table
Maintaining a restored vintage table is essential for preserving its beauty and durability, ensuring you can cherish your furniture for years to come.
Using simple ways to protect your table is key. Think about using coasters small mats you place under cups to prevent scratches tablecloths, or oil-based finishes to protect against scratches and stains.
Connecting with a community of like-minded friends can also offer invaluable support and advice on best maintenance practices, enriching your experience and enhancing your table’s longevity.
Preserving the Beauty and Durability of Your Table
To truly preserve the beauty and durability of your restored table, it s essential to weave thoughtful practices into your everyday care routine. Simple surface protection tips can act as a shield against wear, while regular cleaning and avoiding harsh chemicals will help maintain the integrity of the refinishing.
Understanding the furniture refinishing process gives you the power to make informed decisions about maintenance and care that honor the piece’s historical significance, especially when it comes to restoring vintage furniture.
Incorporating strategies such as using coasters and steering clear of direct sunlight can significantly extend the life of the finish. Regarding cleaning, choose gentle, pH-balanced solutions that won t strip away the natural oils, and always reach for soft cloths to minimize the risk of scratching.
From time to time, it may also be advantageous to apply a protective wax or oil specifically designed for antique woods; this can enhance the natural grain and add an extra layer of protection. Follow these tips now to protect your beautiful heirloom for years to come!
Frequently Asked Questions
1. What materials do I need to restore a vintage table?
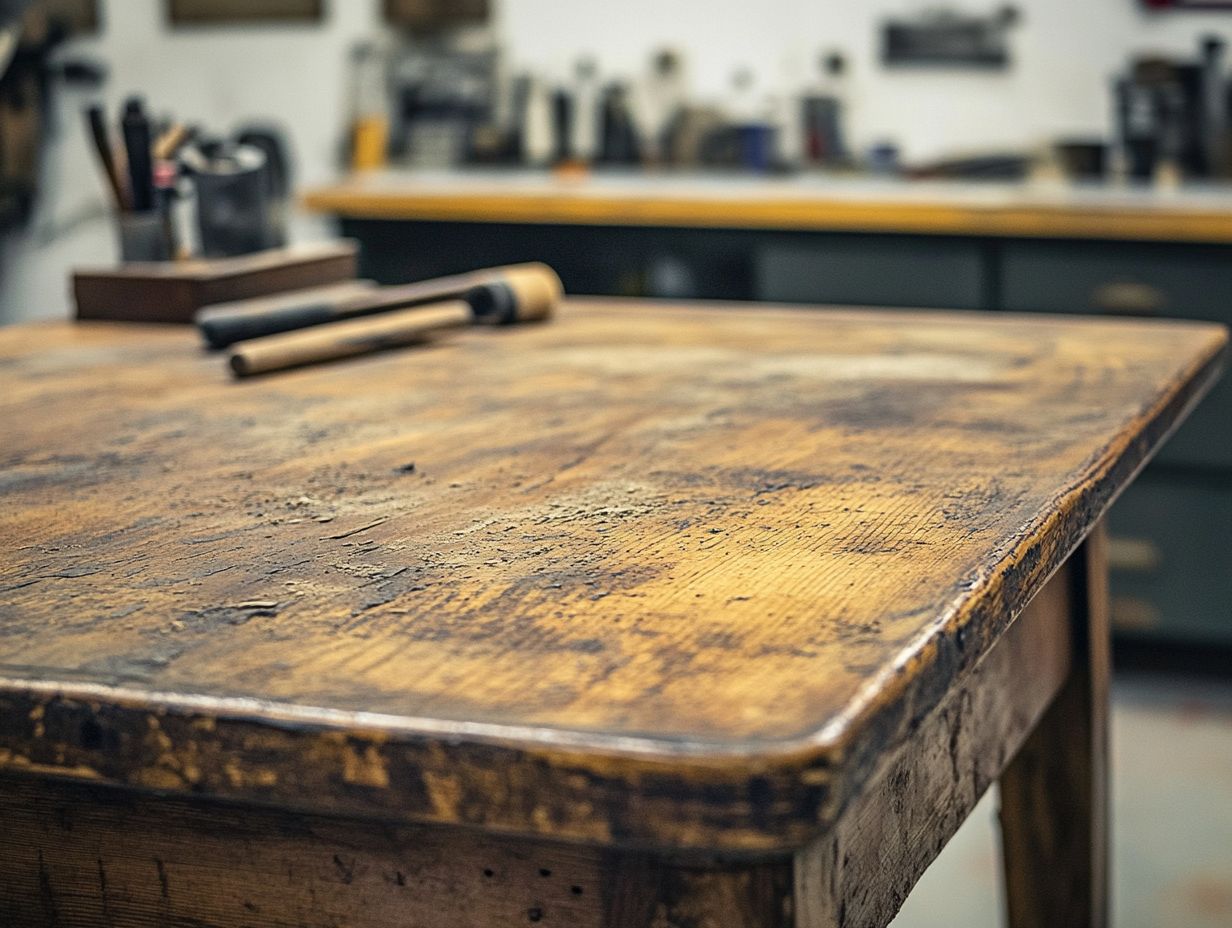
To restore a vintage table, you will need sandpaper, wood stain or paint, a paintbrush or sponge, wood glue, a screwdriver, and a cloth for wiping. Depending on the condition of your table, you may also need wood filler, varnish, or a wood finisher.
2. Can I restore a vintage table if it’s been damaged or has missing pieces?
Yes, you can still restore a vintage table even if it has some damage or missing pieces. You may need to use wood filler to repair any cracks or holes, and you can find replacement parts for missing pieces at a hardware or antique store. However, keep in mind that major structural damage may require professional restoration.
3. How do I start the restoration process for my vintage table?
Start by cleaning your table with a gentle cleaner and a cloth. Next, let it dry, then use sandpaper to remove the old finish and any scratches.
Make necessary repairs and fill any imperfections with wood filler, which is a substance that fills holes or cracks in wood. Sand again for a smooth surface before applying your finish.
4. Should I use paint or stain to restore my vintage table?
Your choice depends on personal preference and the table’s style. Paint offers a modern look, while stain preserves the natural wood grain.
For a unique appearance, consider combining both paint and stain.
5. Can I use any type of wood stain or paint for my vintage table?
Use high-quality products specifically designed for furniture restoration. This ensures a long-lasting, professional finish.
Pick a color that matches your vintage table and fits your desired look.
6. How do I maintain and care for my restored vintage table?
To keep your table in great shape, avoid placing hot or wet items directly on the surface. Clean spills immediately with a damp cloth and always use coasters or placemats.
Every few months, apply a new coat of wax or varnish to maintain the finish and protect the wood.

