How to Repair a Vintage Radio: DIY Tips
Restoring vintage radios is an exciting adventure that combines nostalgia with hands-on craftsmanship.
Whether you re captivated by the warm, analogue sound or the aesthetic charm of these classic devices, learning how to repair them unlocks a world of possibilities. This guide equips you with essential tools and materials for your repair projects, offers tips to troubleshoot common issues, and provides a step-by-step approach for effective repairs.
You ll also find maintenance tips to keep your vintage treasures in prime condition for years to come. Don t wait! Regular cleaning preserves your vintage treasures and keeps them sounding their best.
Contents
Key Takeaways:
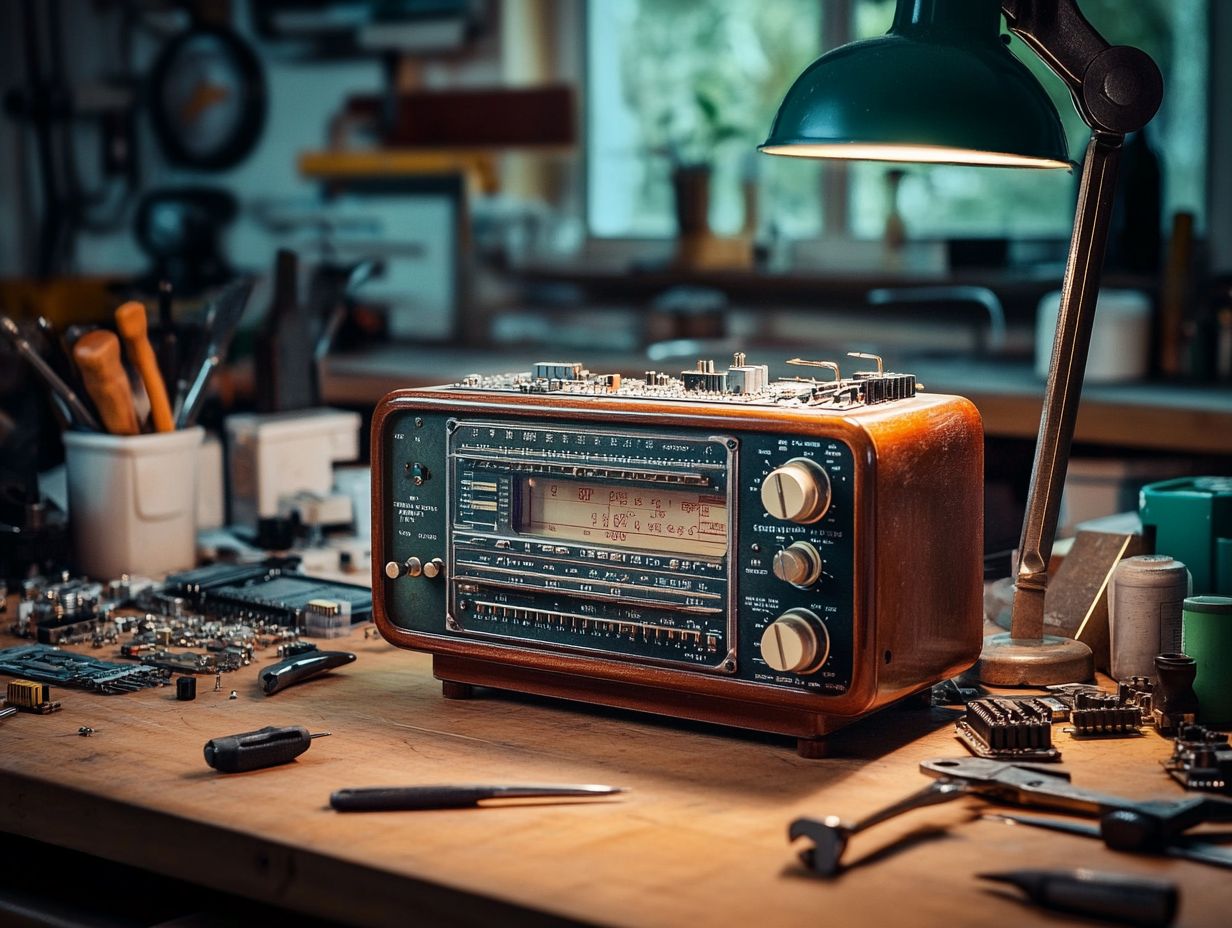
- Repairing vintage radios can be a fulfilling and cost-effective hobby, preserving a piece of history and saving money on buying new equipment while also enhancing your electronics skills.
- Before beginning repairs, make sure to have essential supplies such as a soldering iron, multimeter, and replacement parts.
- Common issues with vintage radios include poor reception and damaged components, which can be identified and fixed with troubleshooting techniques.
- Following a step-by-step repair process, including cleaning, testing, and replacing faulty parts, can help restore a vintage radio’s functionality.
- To maintain and preserve vintage radios, regularly clean and dust them, avoid exposing them to extreme temperatures, and consider storing them in a protective case.
Why Repairing Vintage Radios is Worth It
Repairing vintage radios is more than just a nostalgic hobby; it s a captivating blend of craftsmanship and basic technical skills that makes it an incredibly fulfilling pursuit for you as an enthusiast or collector. The intricate technologies found in models like the RCA Radiola 18 and Zenith K725 possess a charm that goes beyond mere functionality.
They serve as a testament to the evolution of radio technology, spanning from the Second World War through the Great Depression and into the Korean War. This exploration of antique radio showcases the dedication of enthusiasts and highlights the significance of radio signals.
These radios offer you a glimpse into a past era and evoke a profound emotional connection, often reflecting your personal stories and shared experiences from days long gone. For collectors like yourself, the restoration process transforms into a labor of love.
Each meticulous detail, from capacitor replacement (capacitors are components that store electrical energy and are crucial for radio function) to restoring cabinets, showcases the dedication and passion you invest in breathing new life into these historical treasures.
Every restored radio becomes a timeless artifact, enriching the narrative of consumer electronics. This allows you to preserve the artistry and ingenuity that defined a pivotal era in audio equipment history, ensuring that these pieces of the past continue to resonate with future generations. Such restorations not only highlight craftsmanship but also reflect advancements in electrical engineering.
Tools and Materials Needed
To successfully restore a vintage radio, you must have the right tools and materials at your disposal; this not only enhances the repair process but also ensures your safety, promotes electrical safety, and maximizes efficiency.
Essential items include:
- a tube tester for assessing tubes that help amplify sound in radios,
- a signal generator for generating radio signals, essential for circuit testing,
- electrical components specifically tailored for models like the Silvertone Model 4686. Proper alignment procedures and careful chassis cleaning are also key aspects of the restoration process.
Essential Supplies for Repairing Vintage Radios
Having the right supplies is essential when you embark on the journey of repairing vintage radios. Each component contributes significantly to the overall functional restoration and safety of the device, particularly when dealing with high voltage systems.
Among the most critical components to consider are capacitors, which play a vital role in maintaining high voltage levels while ensuring electrical safety. As these parts age, their ability to hold a charge diminishes, potentially leading to erratic performance or even complete malfunction.
The alignment procedure for antennas and amplifiers is key to ensuring that the radio not only receives signals effectively but also operates efficiently. This helps reduce the risk of overheating and other hazards. A thorough understanding of these electrical components is essential; it aids in restoring the radio’s original sound quality and protects against voltage spikes that could jeopardize both the device and its user.
Common Issues with Vintage Radios
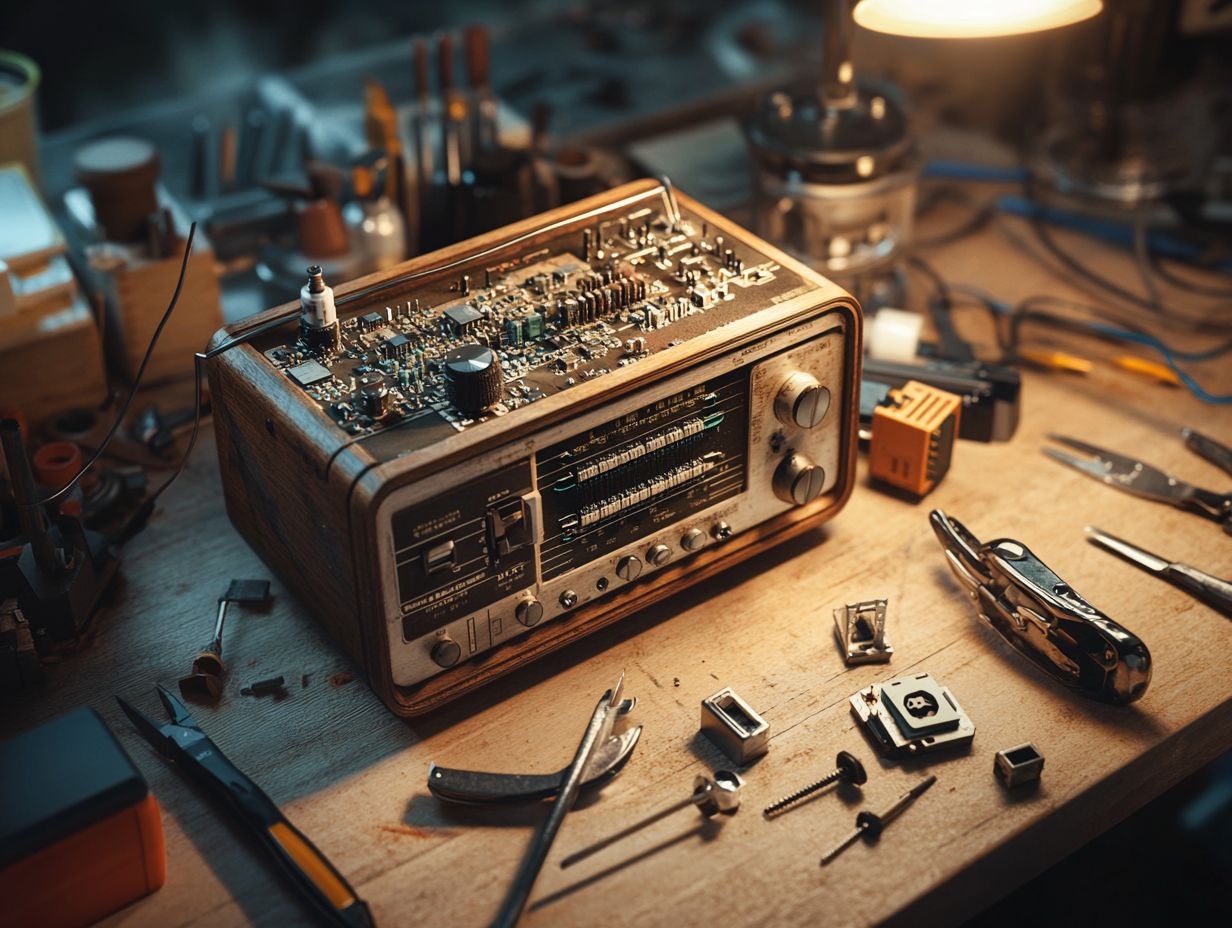
Vintage radios possess a unique charm and historical significance, yet they often present a series of common issues that can affect their performance. Understanding these challenges is your first step toward mastering the art of radio repair.
Problems such as inadequate AM reception, restricted frequency ranges, and malfunctioning circuit components invite careful troubleshooting. Using techniques like signal injection and circuit testing will help you accurately diagnose the underlying issues and restore your treasured radio to its former glory.
Identifying and Troubleshooting Problems
Identifying and troubleshooting issues in vintage radios requires a blend of keen observation and solid repair skills, empowering you to effectively diagnose problems. Utilizing a signal generator, a tool used to create signals for testing radio outputs, to assess audio output and evaluating the functionality of the radio receiver are essential steps in this process.
These actions open the door to potential radio modifications that can enhance performance. As you immerse yourself in the world of vintage radio repair, grasping the nuances of each component becomes paramount.
Conducting a thorough audio output assessment is crucial; it reveals whether the output stage, speakers, or even the antenna connection need your attention. You can employ effective troubleshooting techniques, such as inspecting for burnt components or loose connections, which allows you to uncover hidden issues.
Many enthusiasts find value in documenting their findings and modifications, creating a reference that sharpens their repair skills over time. With these strategies, repairing vintage radios transforms from a mere task into an exhilarating journey through the rich history of audio technology and the evolution of electronic restoration!
Step-by-Step Repair Process
Engaging in a step-by-step repair process for vintage radios offers you a comprehensive approach to restoration, blending technical precision, repair methods, and a genuine appreciation for the craftsmanship involved!
This method highlights essential steps you can t overlook, from the meticulous cleaning of the chassis to the precise alignment procedure. By following this detailed approach, you ensure that every electrical component and radio part works in harmony, resulting in a beautifully functional piece that speaks volumes about its heritage.
Get started on your vintage radio restoration today!
Detailed Guide for Repairing a Vintage Radio
A comprehensive guide for repairing a vintage radio encompasses a range of restoration procedures designed to ensure both functionality and safety essential elements in preserving these classic audio systems. From circuit testing to maintaining high-fidelity in audio output, every step must prioritize electrical safety to guarantee reliable performance.
Your task will involve inspecting tubes, resistors, and capacitors. You should also calibrate the frequency response to optimize audio quality. Pay special attention to the power supply section, as faulty components can impact sound quality and pose significant electrical hazards.
By exercising meticulous care throughout each phase, you can ensure that these treasured pieces of history not only resonate with timeless charm, but also meet modern safety standards. Each component plays a vital role, and addressing them properly will keep the audio experience rich and immersive.
Tips for Maintaining and Preserving Vintage Radios
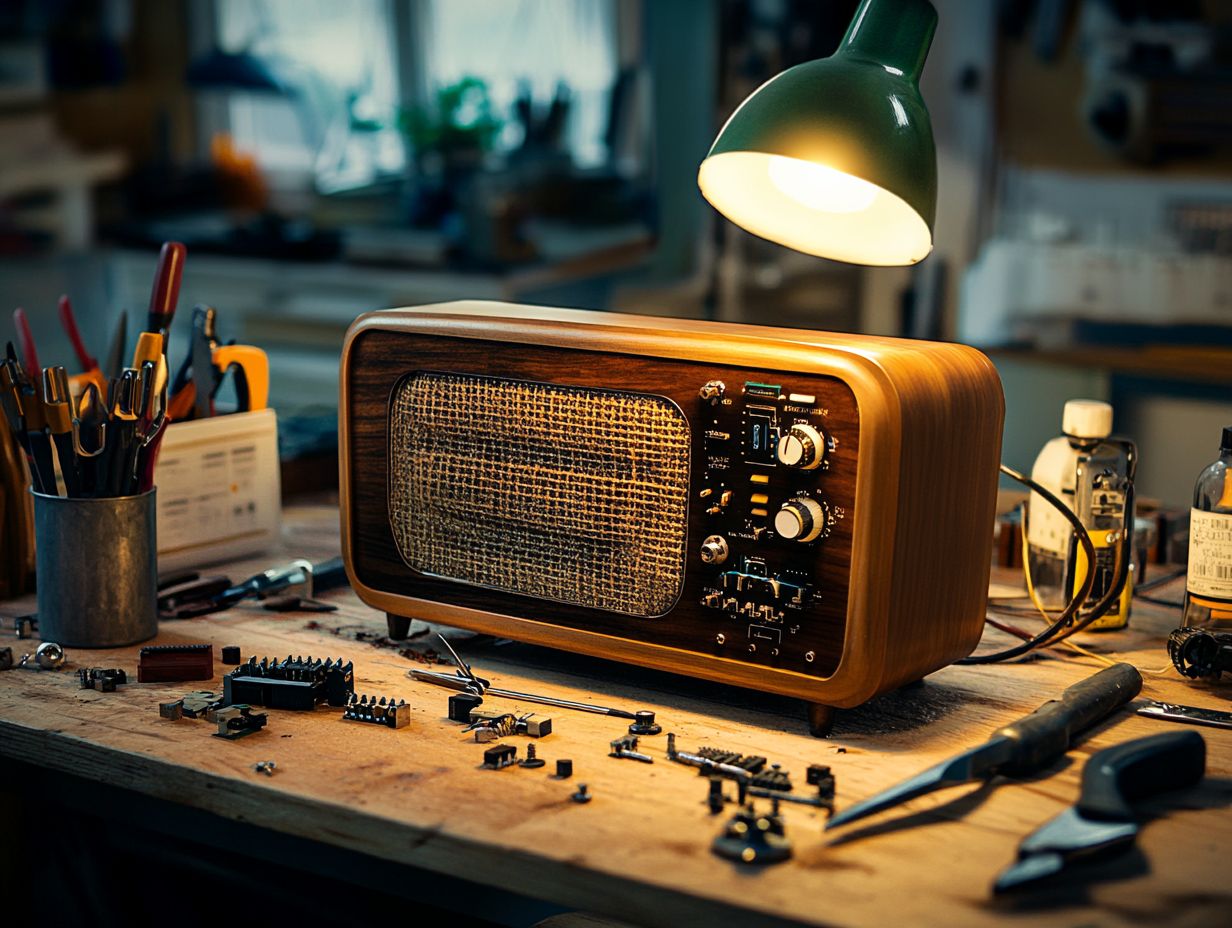
Maintaining and preserving vintage radios demands a discerning approach, prioritizing preventive measures to guarantee their longevity and continued functionality essential for both collectors and enthusiasts who appreciate the significance of antique radios.
Employ strategies rooted in electrical understanding, such as checking regularly for component wear and utilizing protective storage methods. This will greatly enhance the lifespan and usability of your treasured radio systems, ensuring they remain part of your radio collector journey.
Preventive Measures for Long-Term Use
To ensure the long-term enjoyment of your vintage radios, adopt preventive measures, starting with regular maintenance checks on critical electrical components. Monitor audio output and verify the integrity of radio signals using tools like a signal generator. Keep your vintage radios performing at their best!
Perform routine inspections of capacitors and tubes, as these parts tend to degrade over time. Cleaning both internal and external components will help prevent dust build-up, which can compromise sound quality.
Regularly test the speaker quality to ensure it reproduces sound accurately and without distortion. Check the alignment of the radio’s tuning mechanism to significantly enhance signal reception.
Use high-quality solder for repairs to maintain audio clarity, maximizing the rich sound experience of your vintage radio while extending its lifespan.
Frequently Asked Questions
What is a vintage radio?
A vintage radio is a type of radio manufactured decades ago, usually between the 1920s and 1960s. They are considered valuable and collectible items due to their unique design and historical significance.
What are the common issues with vintage radios?
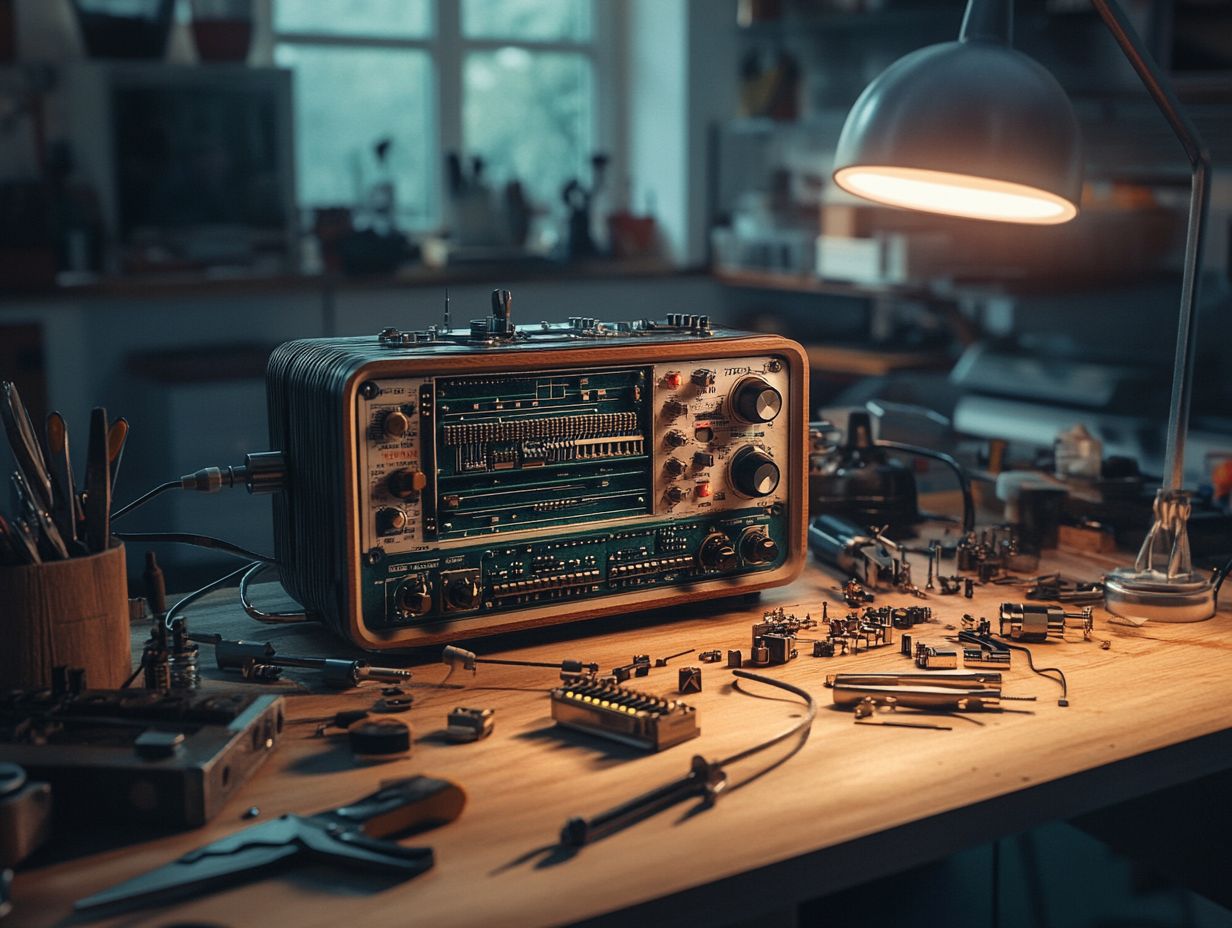
Common issues with vintage radios include:
- Dead or weak tubes
- Worn-out capacitors
- Broken dials or knobs
These problems can cause the radio to produce poor sound quality or no sound at all.
Can I repair a vintage radio myself?
Yes, you can repair a vintage radio yourself with the right tools and knowledge. However, it is recommended to have some basic understanding of electronics and radio circuits before attempting repairs.
What tools do I need to repair a vintage radio?
You will need basic tools such as:
- Screwdrivers
- Pliers
- A soldering iron
You may also need a multimeter to test for faulty components and a capacitor tester to check for worn-out capacitors.
How can I find replacement parts for my vintage radio?
There are various online stores and forums specializing in vintage radio parts. You can also visit antique shops and flea markets to find replacement parts for your vintage radio.
Start your vintage radio repair journey today! Act now to ensure your vintage radios remain part of your collection for years to come!
Can I restore the original appearance of my vintage radio?
Yes, you can restore your vintage radio to its original look. Clean and polish the exterior, and replace any broken parts with genuine vintage parts.
Be careful not to remove unique parts that came with the radio. Doing so may lower its value.

