5 Steps to Restore Your Vintage Dresser
Reviving a vintage dresser can infuse your space with fresh energy while honoring a piece of history.
Whether you’ve unearthed a delightful treasure at a thrift shop or are breathing new life into a cherished family heirloom, restoring it is a project that promises satisfaction.
This guide will lead you through five essential steps from evaluating its condition to applying those final, thoughtful touches.
You ll uncover the benefits of restoration, gather practical tips, sidestep common pitfalls, and discover where to find inspiration for your unique design.
So, dive in and let your creativity flourish! Let s get started on this rewarding journey!
Contents
- Key Takeaways:
- 1. Assess the Condition of the Dresser
- 2. Clean and Repair Any Damage
- 3. Sand Down the Surface
- 4. Paint or Stain the Dresser
- 5. Add New Hardware and Finishing Touches
- What Are the Benefits of Restoring a Vintage Dresser?
- What Tools and Materials Do You Need for This Project?
- How Can You Determine the Best Technique for Restoring Your Dresser?
- What Are Some Common Mistakes to Avoid When Restoring a Vintage Dresser?
- How Can You Protect and Maintain Your Restored Dresser?
- Where Can You Find Inspiration for Your Restored Dresser Design?
- Frequently Asked Questions
- What are the 5 steps to restore a vintage dresser?
- Why is cleaning the first step in restoring a vintage dresser?
- Do I need to sand the entire dresser or just the damaged areas?
- What type of repairs can I do on a vintage dresser?
- Can I use any type of paint or stain on a vintage dresser?
- What s the final step in restoring a vintage dresser?
Key Takeaways:
- Assess the condition of your vintage dresser before starting the restoration process to determine the extent of repairs needed.
- Clean and repair any damage on the dresser, such as scratches or dents, before proceeding with sanding and refinishing.
- Choose the appropriate technique for restoring your dresser, whether it be painting or staining, to achieve the desired look and longevity.
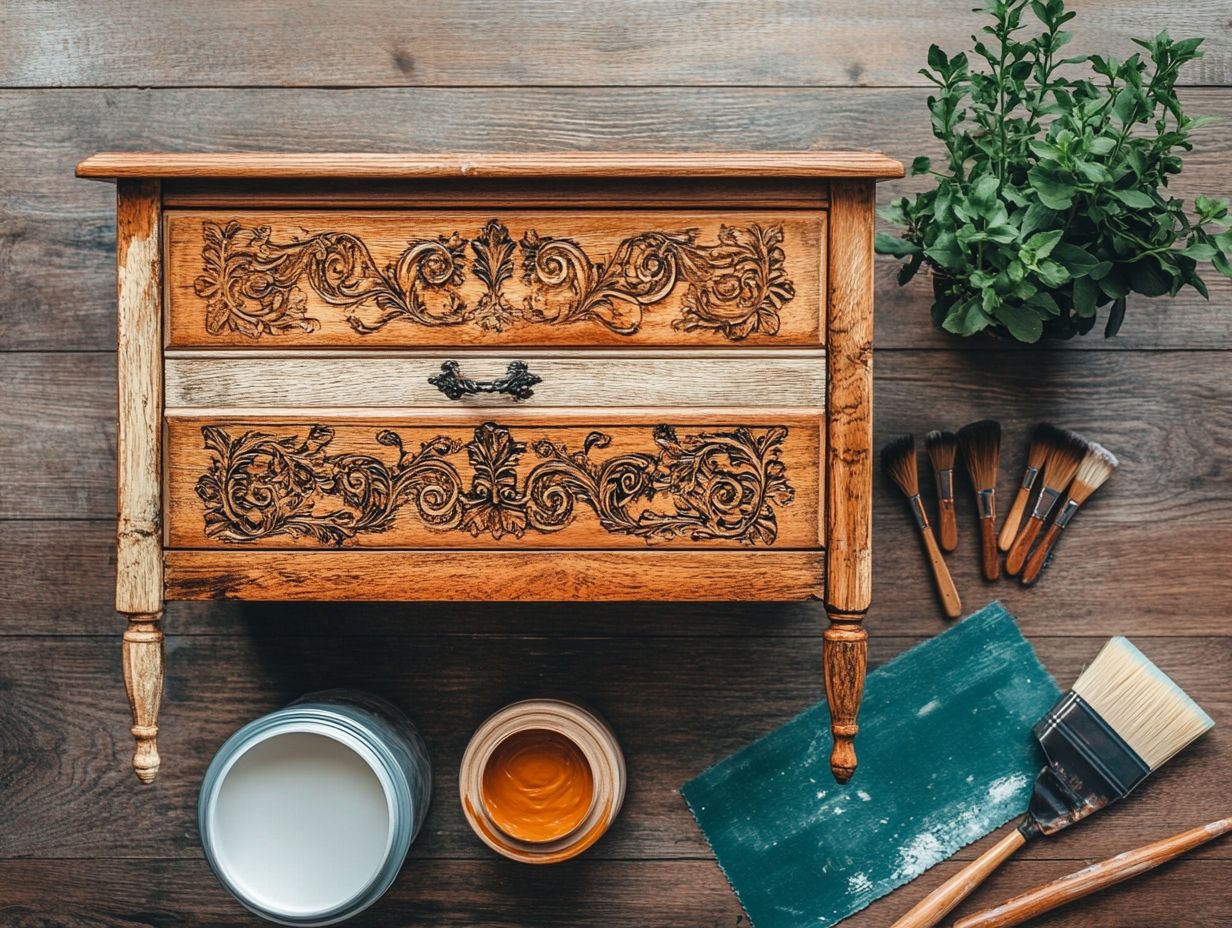
1. Assess the Condition of the Dresser
Before you dive into dresser restoration, it s essential to assess the condition of your antique dresser. This evaluation guides the restoration process. It helps you choose the right techniques and materials.
Inspect the surface for water spots or scratches. Check for existing finishes that might need stripping. Also, keep an eye out for any structural issues that could compromise its integrity.
As you identify various types of damage, focus on common concerns such as loose joints, veneer chips (a thin layer of wood), or color fading that could detract from the dresser’s charm. For inspiration, consider checking out these 5 vintage furniture restoration DIY projects. Make sure to take detailed notes and photographs of any damage you discover. This documentation will be an invaluable reference as you navigate your restoration journey.
It s wise to preserve the unique character of the furniture. Keeping the furniture’s unique character is a smart choice. Those little imperfections can tell a fascinating story! Striking a balance between restoration and preservation will ensure that the piece retains its historical significance while becoming a functional part of your home once again.
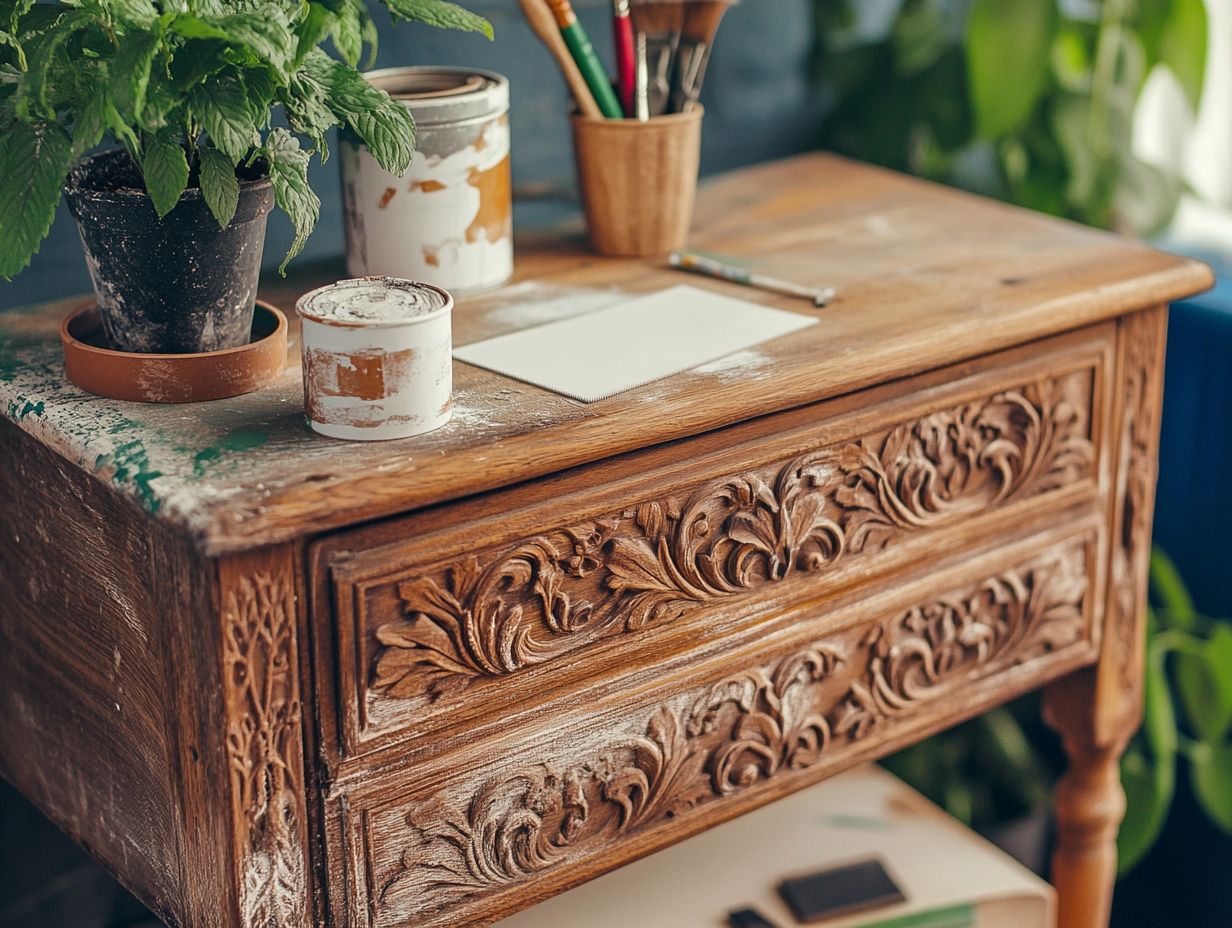
2. Clean and Repair Any Damage
Cleaning and repairing damage on your dresser is a vital step in the furniture restoration process. This ensures that the wood finish and original hardware are preserved or restored with care.
To achieve the best results, consider the specific type of wood and finish before selecting your cleaning methods. For instance, if your dresser has a natural oil finish, opt for gentle, non-abrasive cleaners. A lacquered surface can handle more robust cleaning agents. Products like Murphy’s Oil Soap or a simple mixture of vinegar and water are excellent for general cleaning. Additionally, if you’re interested in more comprehensive projects, check out DIY restoration for reviving vintage bedroom sets.
For minor damages, using techniques such as tightening loose hardware with a screwdriver or filling scratches with colored wax can significantly enhance the dresser’s aesthetic appeal and extend its longevity.
3. Sand Down the Surface
Sanding down the surface of your dresser is crucial for attaining a flawlessly smooth finish. This not only enhances the adhesion of stains or paint but also helps eliminate water spots and imperfections.
To embark on this process effectively, selecting the right types of sandpaper is key. Begin with coarse grit for your initial pass to strip away any old finishes. Then transition to finer grits for that luxurious, ultra-smooth feel. For sanding corners and edges, using a sanding block or sponge will give you better control, ensuring those tricky areas receive the attention they deserve.
Equally important is dust removal after sanding. This prevents any pesky particles from interfering with your next layer of finish.
Once you’ve meticulously prepared the surface, ensure it s clean and dry before applying the polyurethane coat. This careful attention will lead to the most flawless result possible.
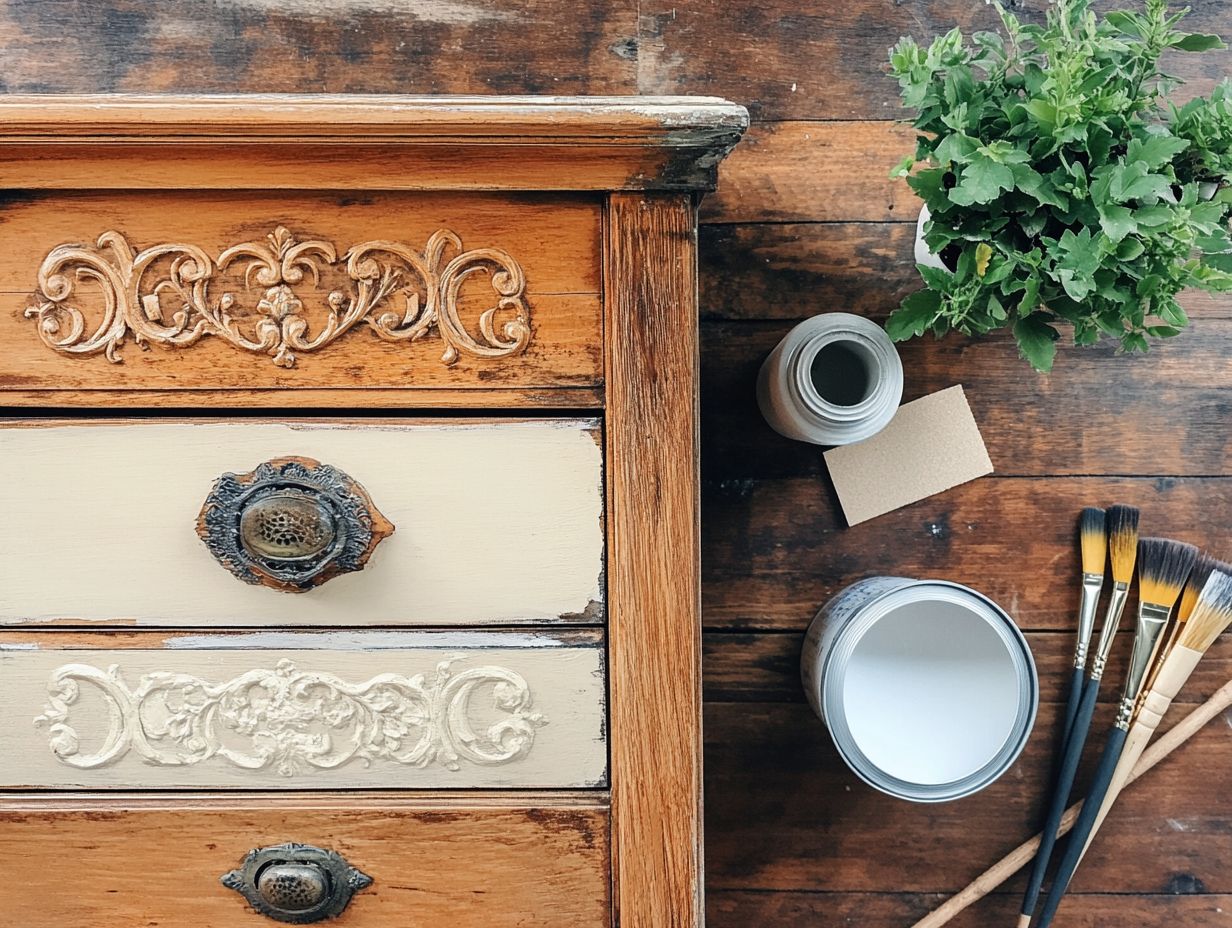
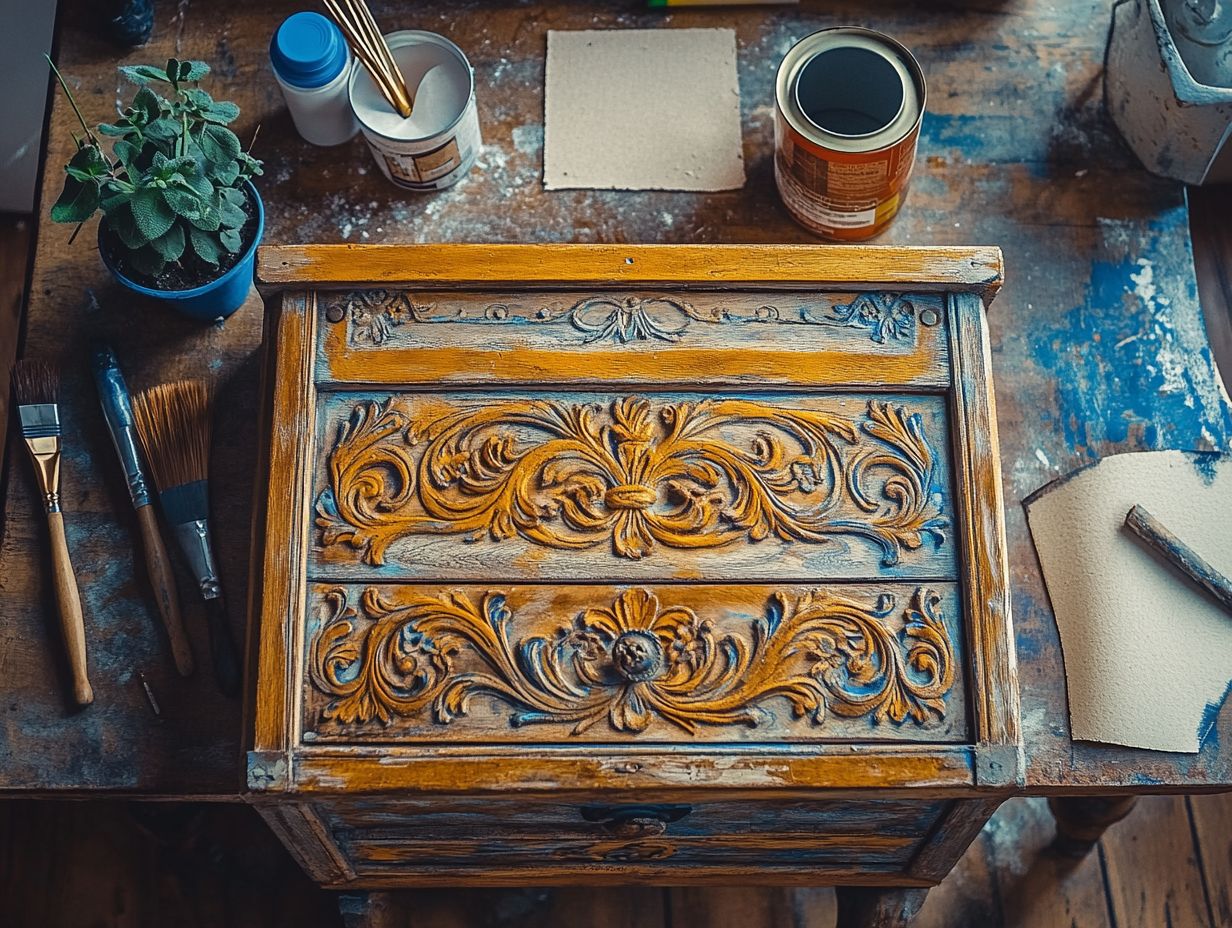
4. Paint or Stain the Dresser
Choosing to paint or stain your dresser gives you the opportunity to customize its appearance, enhancing its character while also providing protection. Whether you lean towards a classic wood finish with Danish Oil or a trendy weathered look, the choice is yours.
Both options present unique advantages. Paint offers an extensive palette of colors and finishes. It’s perfect for crafting a bold or modern aesthetic.
On the other hand, stain beautifully highlights the natural grain of the wood, infusing warmth and depth into the piece.
As you weigh your options, think about the overall style you wish to achieve and the level of strength you need. Proper application is key. Begin with a clean, sanded surface and use high-quality brushes or sprayers to ensure an even coat.
After allowing the product to cure, finishing with furniture wax will elevate both the look and longevity of the surface, imparting an elegant sheen that enhances the entire piece.
5. Add New Hardware and Finishing Touches
Adding new hardware and those final finishing touches can truly transform your dresser, providing a fresh, updated look while preserving its classic charm, especially if it’s intended as a boy’s dresser.
Choose hardware that complements the dresser’s original style. The right knobs or pulls enhance its character without sacrificing functionality. For example, selecting finishes that align with existing elements, like vintage brass or matte black, can create a cohesive appearance that ties the piece together beautifully. To learn more about enhancing your restoration projects, check out the basics of vintage furniture restoration.
Incorporating unique touches, such as decorative knobs in playful shapes or custom labels, can inject a personal flair, turning the dresser into more than just furniture it becomes a statement of personality. Keeping in mind the overall color palette and theme of the room will guide your selections, ensuring everything harmonizes seamlessly.
What Are the Benefits of Restoring a Vintage Dresser?
Restoring a vintage dresser offers you a wealth of benefits, allowing you to preserve an heirloom that embodies character and charm while enhancing its look and longevity. Restoring furniture is a smart choice for the planet!
Embarking on this journey connects you to your family history and evokes cherished memories tied to the piece. You might find yourself reminiscing about a grandparent s home, where that very dresser once held treasures of the past.
Opting for restoration instead of purchasing new can lead to significant financial savings. A well-restored dresser often retains or even increases its value, making it a savvy investment. If you’re considering this, check out how to restore a vintage table: step-by-step. As eco-consciousness continues to rise, you can take pride in knowing that refurbishing reduces waste and lessens the demand for new resources.
Many homeowners share testimonials illustrating how revitalizing a beloved family piece not only brightened their space but also infused a renewed sense of pride and connection to their lineage.
What Tools and Materials Do You Need for This Project?
For a successful restoration project, you’ll need an array of tools and materials, such as sanding supplies, Restor-A-Finish (a product that helps restore the original color and luster of wood furniture) for those essential touch-ups, and furniture wax to achieve that polished, professional look.
Include good sanders to smooth surfaces, various brushes for applying your finishes, and scrapers to effectively remove old paint or finishes. Investing in a selection of paints and stains that align with your desired look is also key, as well as protective coatings to ensure long-lasting durability.
You can find these tools easily online. Check out this link for a curated selection that meets your needs. Building a comprehensive toolkit not only streamlines the restoration process but also elevates the final results of your efforts.
How Can You Determine the Best Technique for Restoring Your Dresser?
Determining the best technique for restoring your dresser requires a careful evaluation of its current condition, budget considerations, and the look you wish to achieve whether that s drawing inspiration from Craigslist or examining used furniture projects.
To effectively analyze the unique features of your dresser, take a moment to closely examine the wood grain, hardware, and any signs of wear or damage. Understanding these elements will guide your restoration choices.
Look into different ways to restore furniture. You might explore:
- Blogs dedicated to furniture restoration
- YouTube channels that offer step-by-step guides
- Community forums where enthusiasts share their experiences
These resources can provide great tips on sanding, staining, and finding the right hardware, ensuring that your restoration is authentic. For a comprehensive approach, check out this step-by-step guide to restoring vintage furniture that aligns beautifully with your vision for the piece.
What Are Some Common Mistakes to Avoid When Restoring a Vintage Dresser?
Avoiding common mistakes in the restoration process can save you both time and resources, ensuring a successful outcome for your vintage dresser, especially when considering quick antique restoration techniques.
Proper preparation is crucial for restoring any piece. Sanding is no exception. Many enthusiasts overlook this vital step, resulting in a rough surface that won’t hold finishes effectively. It’s essential to sand the piece thoroughly, starting with a coarser grit and gradually moving to a finer one for that perfectly smooth touch. For those looking for inspiration, check out these unique DIY ideas for vintage furniture.
Another frequent misstep is skipping the cleaning phase. Neglecting this can trap dust and grime beneath the finish, compromising the final appearance. A simple solution is to clean the surfaces with a slightly wet cloth. Make sure they are completely dry before you proceed.
Using the wrong finish can also spell disaster for your project. Always test products on small areas first to see how they interact with the wood.
- Overlooking sanding
- Neglecting cleaning
- Using the wrong finish
Learn from these common pitfalls to nail your restoration every time!
How Can You Protect and Maintain Your Restored Dresser?
Protecting and maintaining your restored dresser is vital for preserving its beauty and functionality. This involves regular upkeep of the wood finish and the occasional application of furniture wax.
Incorporating best practices for daily care can significantly extend its lifespan. For instance, using coasters will prevent unsightly water marks, and steering clear of direct sunlight will help maintain the finish s integrity over time.
Seasonal maintenance is just as important. Checking for signs of wear like scratches or loose joints allows you to address any issues promptly before they escalate into larger problems.
In terms of cleaning, a gentle solution of mild soap and water will refresh the surface, and using a soft cloth ensures you won t cause any further damage.
To enhance and protect the finish, consider reapplying wax or polish periodically. This creates a barrier against dirt and grime, preserving its overall appearance and keeping your dresser looking magnificent for years to come.
Don’t wait! Start protecting your restored dresser now to keep it looking magnificent for years.
Ready to restore your dresser? Dive into these tips and get started today!
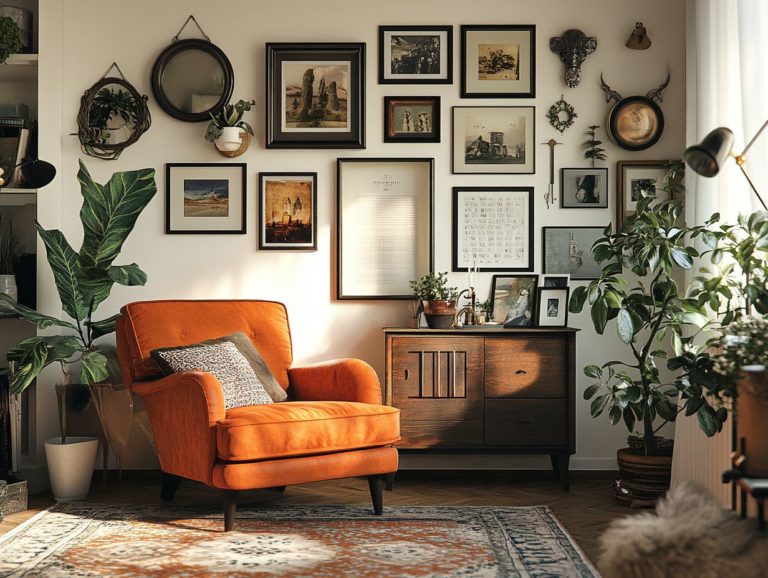
Where Can You Find Inspiration for Your Restored Dresser Design?
Inspiration for your restored dresser design can come from many sources. Consider platforms like Instagram, local auctions like the Johnsville Memorial Day Auction, and the world of vintage furniture styles.
Social media, especially platforms dedicated to home decor and DIY projects, is full of ideas. Here, you can connect with fellow design enthusiasts and share your latest creations to help you find your style.
Joining online communities and forums brings fresh perspectives and invaluable tips from fellow crafters. When you’re searching for distinctive design elements, exploring thrift stores and antique shops can be an adventure! Each piece has its own story waiting to be discovered, sparking your next project.
By blending modern aesthetics sourced from online inspiration with unique vintage finds, you can craft a truly personalized dresser design that stands out and reflects your unique style. Consider exploring vintage furniture restoration projects for beginners to inspire your creativity.
Frequently Asked Questions
What are the 5 steps to restore a vintage dresser?
The 5 steps to restore a vintage dresser are: cleaning, sanding, repairing, painting/staining, and finishing.
Why is cleaning the first step in restoring a vintage dresser?
Cleaning the dresser removes any dirt, grime, or residue that may have accumulated over time. This prepares the surface for sanding and painting.
Do I need to sand the entire dresser or just the damaged areas?
For the best results, sand the entire dresser to ensure a smooth finish and remove any imperfections.
What type of repairs can I do on a vintage dresser?
You can repair loose or missing handles, cracks or chips in the wood, and any other visible damage to the dresser.
Can I use any type of paint or stain on a vintage dresser?
No, it’s important to use a paint or stain specifically designed for wood furniture to achieve a long-lasting and professional finish.
What s the final step in restoring a vintage dresser?
The last step is applying a finishing coat, such as wax or polyurethane, to protect the surface and enhance the overall look of the dresser.