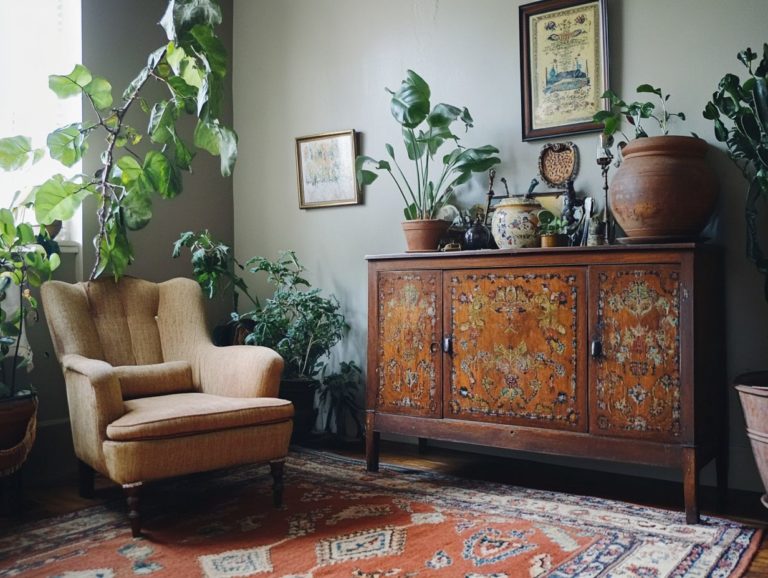
Restoring Vintage Furniture: A Step-by-Step Guide
Are you captivated by the charm and character of vintage furniture but unsure how to revive it? Restoring vintage pieces not only preserves a slice of history but also infuses your home with unique flair.
This guide will take you through the entire restoration process, starting from assessing the furniture’s condition to selecting the perfect finish. Whether you’re addressing minor repairs or major refurbishments, these steps will empower you to transform forgotten treasures into stunning focal points.
Get ready to unleash your creativity and give those vintage pieces the rejuvenation they truly deserve!
Contents
- Key Takeaways:
- Assessing the Condition of the Furniture
- Preparing for Restoration
- Repairing and Replacing Parts
- Refinishing the Furniture
- Final Touches and Maintenance
- Frequently Asked Questions
- What is Restoring Vintage Furniture?
- Why should I restore vintage furniture?
- What tools and materials do I need for restoring vintage furniture?
- Can I restore vintage furniture without professional help?
- What are some common issues to look for when restoring vintage furniture?
- Do I need to follow a specific process when restoring vintage furniture?
Key Takeaways:
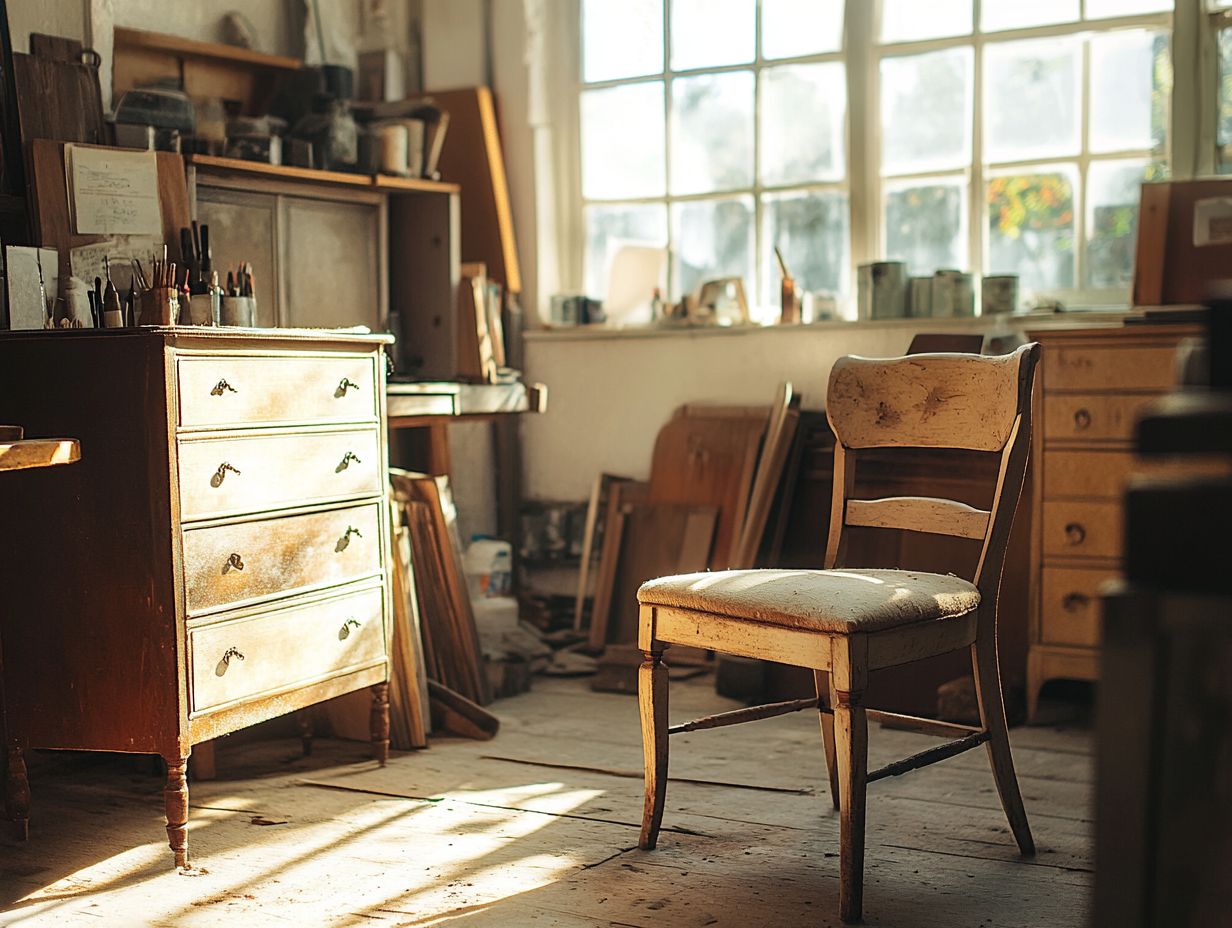
- Restoring vintage furniture brings new life to old pieces and adds charm to your home.
- Proper assessment of the condition and necessary repairs is crucial before beginning any restoration project.
- The key to successful restoration lies in thorough preparation, quality tools, and attention to detail throughout the process.
Why Restore Vintage Furniture?
Restoring vintage furniture isn t merely an act of preservation; it s a meaningful journey that infuses cherished pieces with new life while maintaining their historical integrity. Restoring antique furniture enhances its beauty. It also contributes to sustainable home d cor that celebrates craftsmanship and history. By caring for vintage furniture, you ensure that family heirlooms can be enjoyed for generations, making the restoration process a vital aspect of heritage preservation.
This endeavor often cultivates a deep emotional connection, allowing you to reconnect with family histories and memories tied to these timeless pieces. Each scratch, patina, or unique characteristic tells a story, inviting you to reflect on times past and evoking a sense of nostalgia.
Renovation strategies like refinishing surfaces or repairing joints can rejuvenate a room’s aesthetics while minimizing waste and embracing eco-friendly practices. By emphasizing the cultural significance of these antique items, you showcase their beauty and reinforce a commitment to sustainability. This ensures that future generations can appreciate the artistry and uniqueness of vintage furniture. For those interested in the craft, learning the basics of vintage furniture restoration can also enhance their appeal.
Assessing the Condition of the Furniture
Evaluating the condition of your furniture is an essential first step in the restoration journey. This guides you in identifying the repairs and maintenance needed to revive your wood pieces to their original splendor. This meticulous examination entails assessing the sturdiness, surface finish, and any signs of damage or wear.
By doing so, you can craft a thoughtful and comprehensive plan for furniture restoration. Understanding the condition of each item enables you to make informed choices about the appropriate methods and materials, ultimately securing the finest results for your vintage treasures while applying furniture repair tips.
Identifying Damages and Repairs Needed
Identifying damages and repairs is a crucial step in your furniture restoration journey. This allows you to prioritize and plan each project effectively.
Documenting the damages creates a clear restoration checklist. You also gain insights into which wood restoration methods and materials best suit your needs.
Common issues like water stains appear as dark spots. Scratches can range from subtle lines to deep gouges, affecting the wood’s condition and finish.
Use a bright light source to uncover hidden flaws as you assess damage. You may also want to try stripping old finishes for a clearer view of the piece’s condition.
Each repair method depends on the type of wood. For instance, oak may need different stain touch-ups compared to pine.
Preparing for Restoration
Preparing for restoration is a critical step. You need to gather essential materials and tools for the project.
Consulting a furniture restoration guide offers valuable tips. This knowledge enables you to effectively clean and prepare your furniture for DIY wood refinishing.
Gathering Materials and Tools
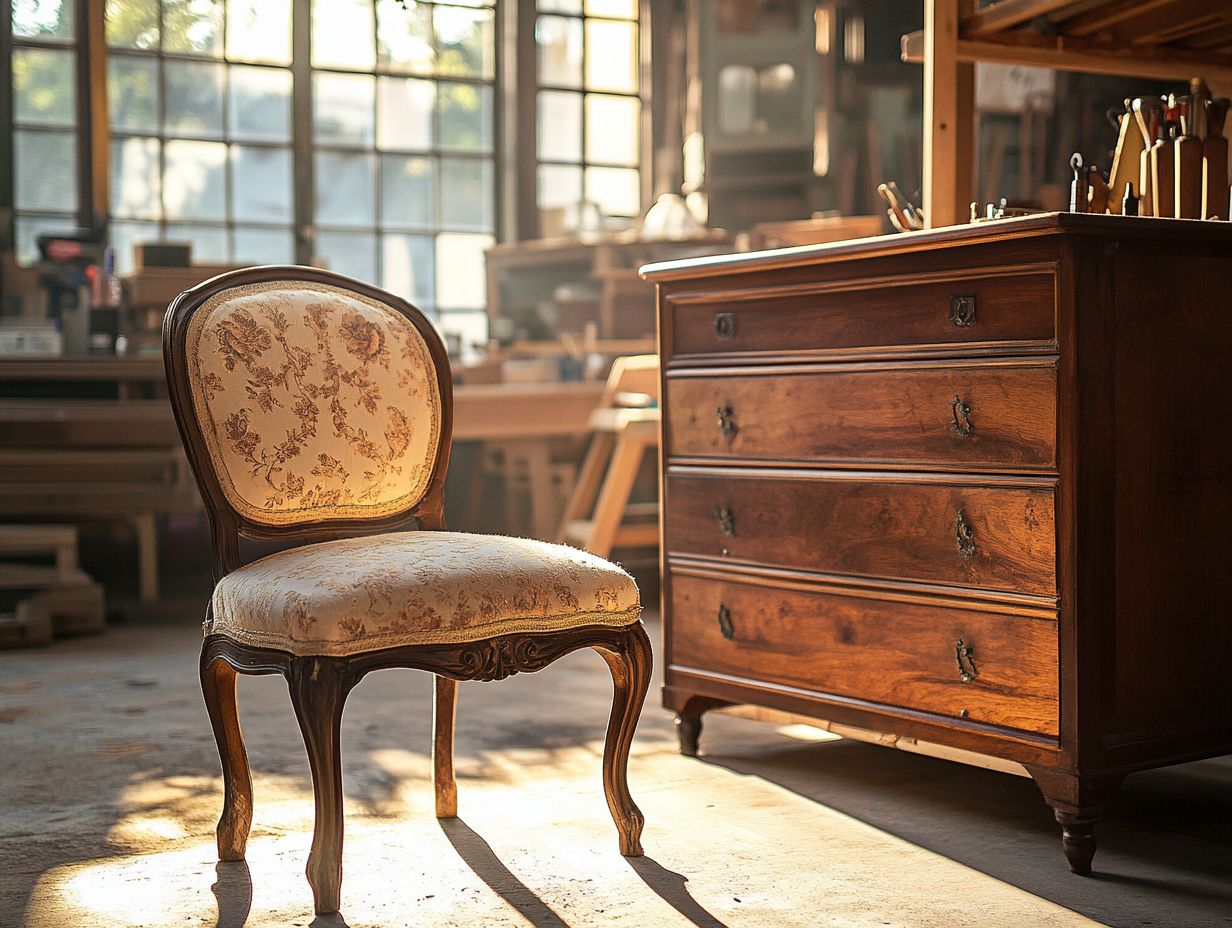
Gathering the right materials and tools is vital for your DIY wood refinishing project. The quality of these items significantly impacts your final result.
Choose high-quality products suited for the type of wood you’re working with. Different woods often require different techniques.
Select a durable brush for applying finishes. This ensures an even coat without streaks.
Using eco-friendly strippers is better for the environment and reduces health risks. This makes your refinishing process safer and more enjoyable.
Check local hardware stores or online retailers for expert recommendations. User reviews can help you find the best tools and materials for your project.
Cleaning and Sanding the Furniture
Cleaning and sanding your furniture is an important step in the restoration journey. It sets the stage for refinishing and ensures that new finishes adhere beautifully. Begin by carefully cleaning the old wood using effective yet gentle solutions that won t harm the surface or disturb the original patina.
Once your furniture is spotless, it’s time to sand and finish. This process smooths out imperfections and prepares a surface that will elegantly showcase the new finish, whether you choose a rich mahogany dye or a natural oil.
To sand old wood effectively, start with a coarser grit, like 80 or 100, to tackle surface flaws and old finishes. Gradually transition to finer grits, such as 220, to achieve a polished, refined surface that retains the wood’s character.
When selecting a finishing option, think about both aesthetics and protection. Whether you prefer a matte varnish that honors the wood s natural beauty or a semi-gloss treatment that imparts a subtle shine, ensure that your choice complements the history and craftsmanship of the piece.
These steps elevate the visual appeal and preserve the integrity of each cherished item, transforming it into a timeless treasure.
Repairing and Replacing Parts
Repairing and replacing parts is an essential aspect of the furniture restoration process. This guarantees the longevity and structural integrity of your antique treasures. Addressing damaged wood through techniques like patching or using wood fillers substances used to fill cracks or holes in wood effectively restores the piece to its former glory.
Replacing hardware with authentic or compatible elements boosts functionality and preserves the aesthetic appeal of your furniture. This allows it to truly shine within your home decor and is essential for wood furniture aesthetics.
Fixing Damaged Wood
Fixing damaged wood is crucial for restoring family heirlooms. This ensures that these cherished pieces continue to evoke memories and beauty in your home.
By employing various restoration methods, you can breathe new life into beloved items. For instance, minor dents can be effectively treated using a damp cloth and an iron; the heat and moisture encourage the wood fibers to swell back into place. Similarly, cracks can be filled with a wood epoxy, a strong adhesive that matches the color of your wood, resulting in a seamless finish. For more creative ideas, check out this upcycling vintage furniture guide.
Regarding loose joints, wood glue, which bonds the pieces together, combined with clamps devices that hold the pieces in place provides the strength needed for a sturdy repair. Take, for example, an antique chair restored using these techniques. Not only did it regain its former glory, but it also blended seamlessly with the rest of your furniture, preserving the aesthetic integrity of your home.
Replacing Hardware
Replacing hardware is often a critical aspect of your furniture restoration journey, especially for antique pieces that may feature outdated or damaged components. Sourcing authentic replacement hardware can dramatically elevate both the aesthetic and functionality of your restored furniture.
Whether you decide to explore a vintage shop or browse online, selecting high-quality hardware ensures that your restoration captivates the eye and endures the test of time.
In the realm of antique furniture, various types of hardware play essential roles; knobs, hinges, and locks are among the most crucial. Each piece not only supports functionality but also enhances the historical charm of the item.
It’s important to strike a balance between authenticity and durability, choosing materials like brass or iron that reflect the era while guaranteeing longevity. Scouting estate sales, flea markets, or specialized antique hardware websites can lead you to unique finds that fit perfectly with your envisioned style.
As you embark on these restoration projects, remember that using proper installation techniques will help maintain the integrity of your piece while enhancing its operational ease.
Get started on your restoration project now and see the amazing transformation!
Refinishing the Furniture
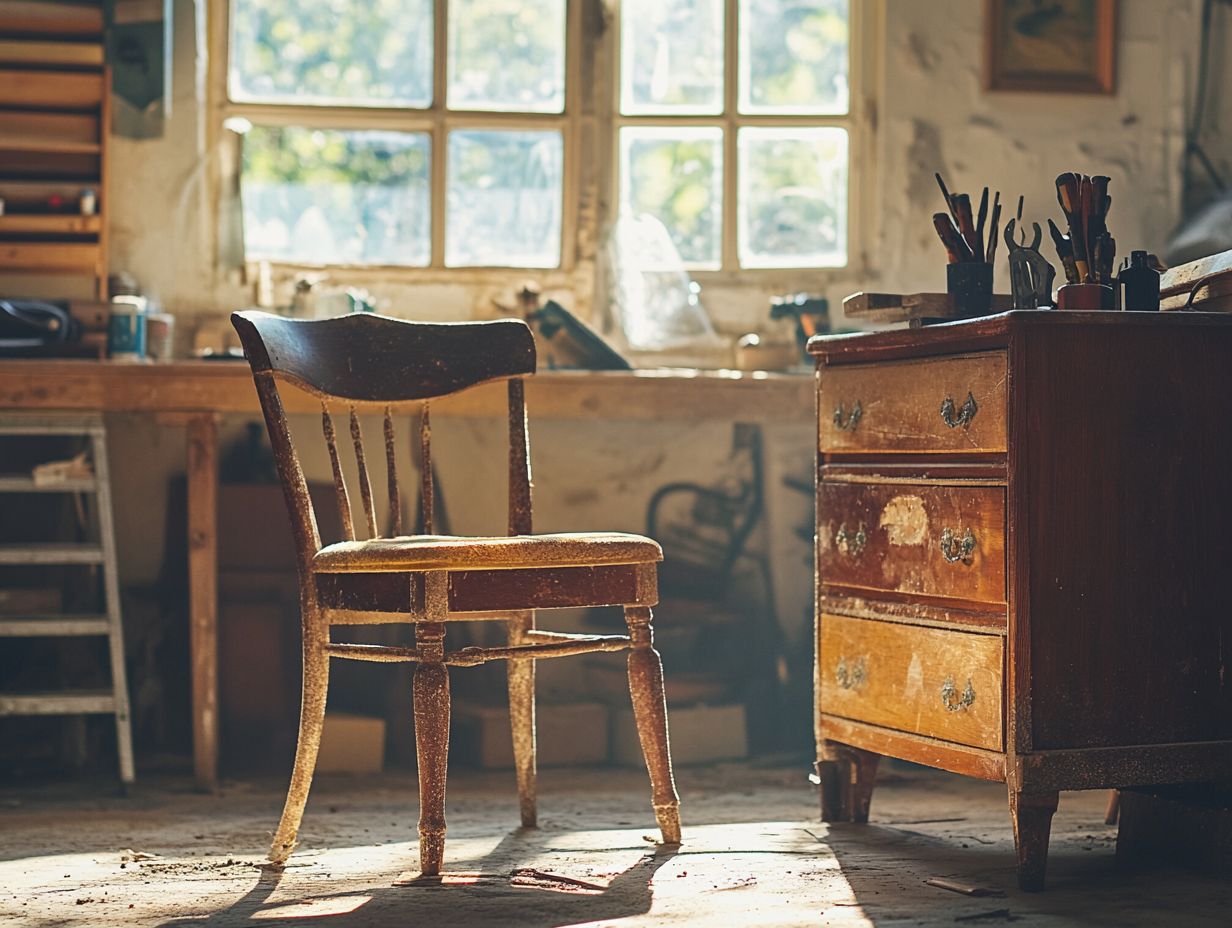
Refinishing your furniture is a transformative step in the restoration process that allows you to rejuvenate the wood’s appearance while enhancing its natural beauty. This stage involves applying finishes like wood finishing oil or varnish, which protect the wood and elevate its aesthetics.
By thoughtfully selecting the right finish and applying it with precision, you can ensure that your refinished piece beautifully complements your home decor and stands the test of time. For more insights, check out these quick DIY tips for transforming old furniture.
Choosing the Right Finish
Choosing the right finish is essential when refinishing wood projects, as it greatly influences the beauty and durability of the final piece. You have various options, including wood finishing oil, varnish, and polyurethane. Each offers distinct levels of protection and aesthetic appeal.
Consulting a furniture restoration guide can provide valuable insights, helping you determine which finishes are best suited for specific wood types and styles. For those looking to take on a creative project, upcycling vintage chairs can ensure that your creation dazzles the eye and stands the test of time.
Each finish has unique pros and cons. For example, wood finishing oil deeply penetrates the surface, enhancing the natural grain. Varnish provides a robust, protective layer, though it may mask some of the wood’s texture. Polyurethane, a strong clear finish, is renowned for its durability, making it excellent for high-traffic items. However, its application can be tricky due to potential bubbling.
When selecting a finish, consider the wood species you re working with. Hardwoods like oak or walnut shine with an oil finish that highlights their natural beauty, whereas softer woods benefit from the strong protection of a sealant. Understanding these nuances enables you to make an informed decision that balances functional needs and aesthetic desires. Also, be aware of wood dye application techniques that can enhance the wood’s appearance.
Applying the Finish
Applying the finish is your chance to make your furniture shine like never before! This stage requires you to use brushes or rags to apply your chosen finish evenly, ensuring that every detail is covered and the wood grain is beautifully highlighted.
By incorporating various wood polishing techniques, you can enhance the sheen and protective qualities of the finish. This ensures your furniture dazzles and withstands the test of time. For the best results, selecting the right type of finish be it oil-based, water-based, or lacquer is essential. Each brings unique characteristics that influence how you apply it.
Remember to use chemical stripper techniques to remove any old finishes effectively. Apply your finish in thin layers, allowing each coat to dry completely before the next. This method helps you avoid drips and ensures an even application. For more tips, check out this guide on vintage furniture staining and finishing. Patience is your ally in this process.
Integrate furniture polishing techniques, like buffing with a soft cloth or using a polishing compound. These can elevate the final look to a professional standard, giving your piece a smooth and radiant surface that exudes sophistication. Additionally, explore techniques for restoring vintage wood to enhance your restoration efforts.
Final Touches and Maintenance
Final touches and ongoing maintenance are vital for ensuring the longevity and beauty of your restored furniture. Once the restoration is complete, think about incorporating final details, such as decorative elements or protective pads, to elevate both aesthetics and functionality.
Regular maintenance, including effective cleaning and furniture care advice, plays a crucial role in preserving the finish and keeping your piece in impeccable condition. Start your maintenance routine today to keep your furniture looking brand new! Thoughtful furniture care is essential for long-term upkeep and enhances the preservation of furniture.
Adding Final Details
Adding those final touches to your restored furniture can elevate its charm! This transformation can turn it into a true standout in your home decor. Think about incorporating decorative elements like stylish knobs, elegant stencils, or even custom cushions that harmonize with the overall design and color scheme of the piece. These thoughtful additions personalize your furniture and ensure it integrates beautifully into your home s aesthetic.
For example, when you choose hardware that reflects a specific theme be it vintage, rustic, or modern you seamlessly weave the furniture into the existing design narrative of the room. Custom upholstery not only offers comfort but also showcases a unique fabric that resonates with your personal style. Layering in furniture cleaning hacks, such as carefully placed plants or art pieces that echo similar hues or materials, creates a cohesive atmosphere. Additionally, transforming vintage finds with DIY restoration tips can elevate your space, turning your furniture from just an item into a focal point, enhancing the overall ambiance of your space.
Tips for Maintaining Restored Furniture
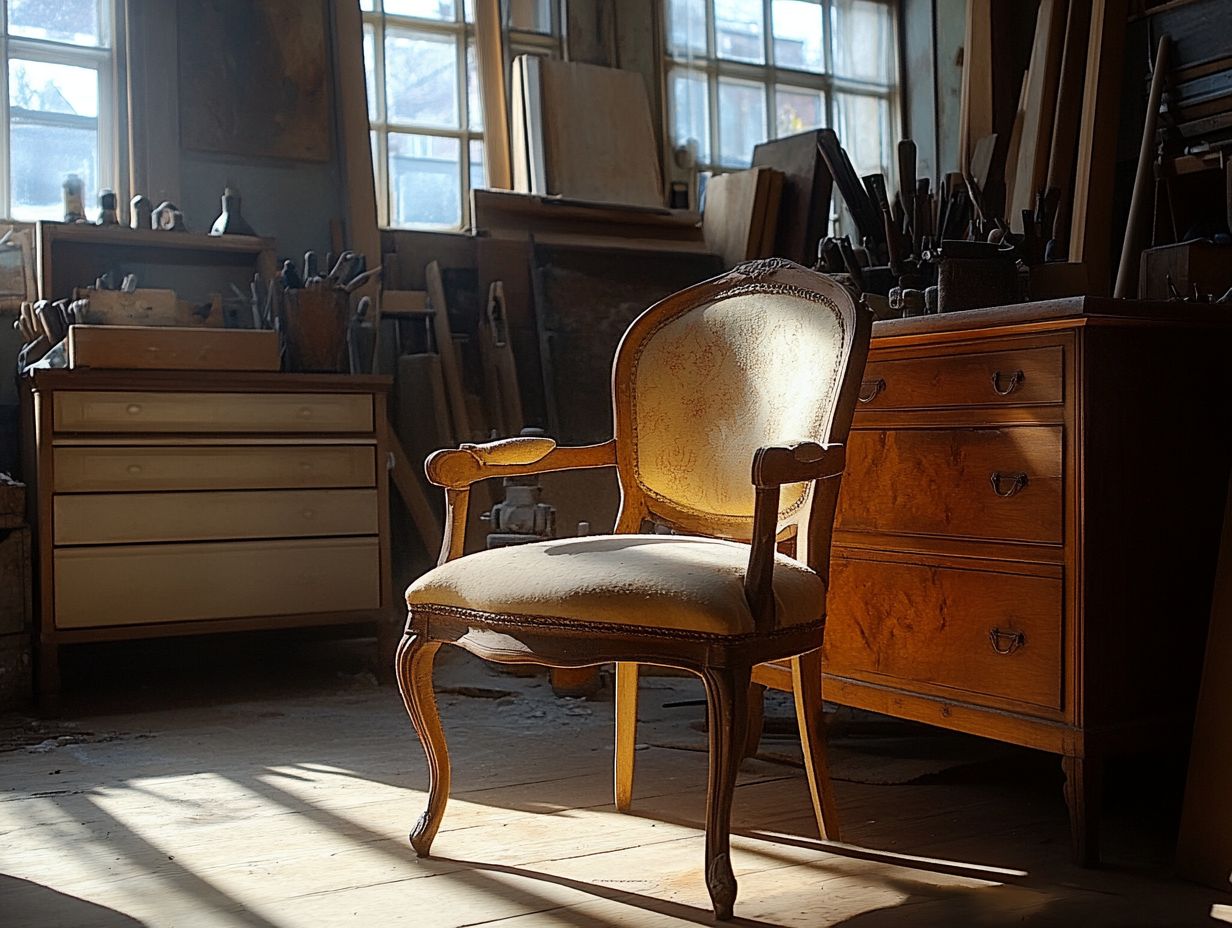
Maintaining your restored furniture is key to keeping it beautiful and functional for years. A few simple practices can make a big difference. Regular dusting and cleaning with gentle solutions help prevent buildup that could damage the finish or the wood itself.
Periodic wood polishing enhances its glow and creates a protective layer against wear and tear. Making your commitment to furniture care invaluable keeps vintage pieces looking their best. For a comprehensive approach, you can revamp your vintage chair with a simple DIY guide, while referencing furniture repair tips to help maintain the integrity of your beloved items.
Different finishes, such as oil, varnish, or lacquer, demand specific maintenance routines, so understanding the unique needs of each type is essential. For example, oil finishes thrive when nourished with specialized oils to prevent drying out, while lacquered surfaces appreciate a light buff with a clean, soft cloth to maintain their shine. Incorporating furniture refinishing materials in your maintenance routine can enhance the piece’s longevity.
If you have furniture made of softwoods like pine, expect to give it more frequent attention compared to hardwoods, which are less susceptible to scratches and dents. Using coasters and pads under hot dishes significantly enhances long-term durability, ensuring each piece retains its original luster and functionality. Your efforts in furniture care advice will truly pay off in the beauty and longevity of your cherished pieces. Always consider furniture safety tips to protect your investments!
Frequently Asked Questions
What is Restoring Vintage Furniture?
Restoring vintage furniture is the process of fixing up old or antique furniture to restore it to its original beauty and functionality. This process often involves cleaning old wood and assessing its condition before beginning any updates.
Why should I restore vintage furniture?
Restoring vintage furniture allows you to preserve and appreciate the history and craftsmanship of each piece, adding unique and timeless items to your home decor ideas.
What tools and materials do I need for restoring vintage furniture?
The tools and materials you will need may vary depending on the condition and type of furniture, but some essential items include wood restoration tools such as sandpaper, wood glue, wood stain or paint, and a good quality varnish or sealant. Other helpful tools may include a putty knife, clamps, and a heat gun to ensure a thorough restoration.
Can I restore vintage furniture without professional help?
Yes! Restoring vintage furniture can be a fun and rewarding DIY project for wood refinishing. If you are unsure or uncomfortable with certain steps, it’s always best to seek professional help to avoid causing further damage to the piece.
What are some common issues to look for when restoring vintage furniture?
Some common issues to look for include cracked or loose joints, water damage, scratches and dents, and missing or damaged hardware. It’s important to carefully inspect the piece before beginning the furniture restoration process.
Do I need to follow a specific process when restoring vintage furniture?
Restoring vintage furniture can be a rewarding adventure! Here’s a simple process to guide you.
Each piece may require different techniques, but a general approach includes cleaning the wood, prepping the piece, repairing damages, sanding, and finishing. Finally, add a protective finish using furniture wax or wood finishing oil. Always test products and techniques on a small, inconspicuous area before applying them to the entire piece.

