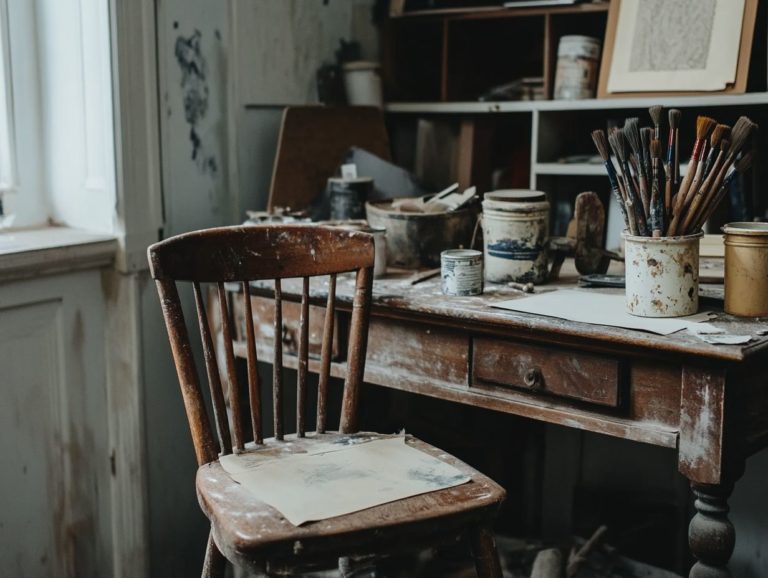
DIY Restoration: Refreshing Old Wooden Toys
Restoring wooden toys is more than just an enjoyable DIY project; it s a great activity to revive cherished childhood memories, especially when properly caring for wooden toys.
Gather essential tools and materials for the restoration process. You ll appreciate the step-by-step guide covering everything from cleaning and sanding to painting and sealing. This ensures you have high-quality toys that can last through playtimes. Additionally, discover helpful tips for maintaining these beloved toys, such as using a homemade cleaner and suggestions for upcycling them into painted blocks.
Whether you’re a seasoned crafter or just starting in the DIY world, you ll find plenty of inspiration to transform old wooden treasures, like building blocks, into beautiful keepsakes that hold a special place in your heart.
Contents
- Key Takeaways:
- Tools and Materials Needed
- Step-by-Step Guide to Restoring Wooden Toys
- Tips for Maintaining Restored Wooden Toys
- Alternative Methods for Restoring Wooden Toys
- Frequently Asked Questions
- What is DIY restoration and why is it important for old wooden toys?
- What tools and materials do I need for DIY restoration of old wooden toys?
- How do I properly sand old wooden toys during the restoration process?
- Can I use any type of wood glue for DIY restoration of old wooden toys?
- What is the best way to restore the color of old wooden toys?
- Are there any safety precautions I should take while restoring old wooden toys?
Key Takeaways:
- Restoring old wooden toys is a fun way to bring them back to life and help the environment.
- You ll need basic supplies like sandpaper and paint to get started on your restoration.
- Keep your restored toys safe in a tidy playroom to enjoy them for years.
Why Restore Wooden Toys?
Restoring wooden toys is a fun project that preserves the charm of heirloom-quality toys while promoting sustainability. Using eco-friendly materials like beeswax can make this process even better. As children grow, their preferences change, and toys that once brought joy can fade into the background. Therefore, refurbishing and maintaining wooden toys becomes essential.
By restoring these wooden building blocks and cherished childhood toys, you extend their lifespan and create opportunities for future generations to enjoy them, enriching their play experiences. Upcycling these items can turn them into treasured keepsakes, while donating or selling them at thrift stores spreads joy to other children.
Wooden toys carry deep emotional value. They remind us of joyful playdates and imaginative adventures, connecting us to our childhoods. Such toys symbolize timeless craftsmanship, offering a tactile experience that plastic alternatives cannot replicate. By reviving these treasures, you preserve your family legacy and foster nostalgia through the creative process of cleaning and polishing.
Focusing on restoration, rather than discarding, contributes positively to the planet by minimizing waste. For those interested in this process, transforming vintage finds can lead to unique projects. Whether transformed into art pieces or gifted to a new young owner, salvaged wooden toys can beautifully bridge the past and present.
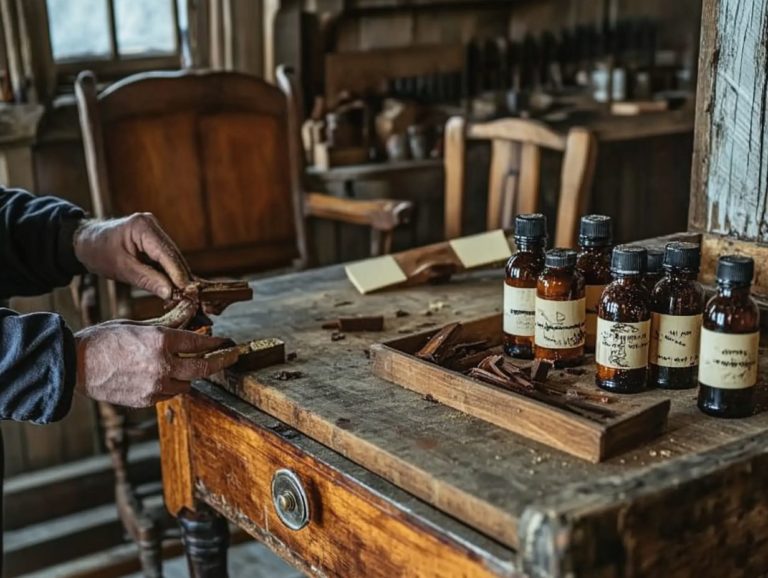
Tools and Materials Needed
To restore wooden toys effectively, gather a curated selection of tools and materials, including a proper cleaning kit and wood conditioner. Choosing the right items streamlines the cleaning process and enhances the toys’ finish.
Essential tools include:
- A comprehensive cleaning kit
- Wood glue for any necessary repairs
- Sandpaper for achieving smooth surfaces
- A premium wood polish to maintain the luster and durability of the toys
Don t forget beeswax it serves as a natural finishing touch that enhances the overall appeal, working beautifully with wood finish.
So gather your tools and start breathing new life into those wooden treasures today!
Essential Supplies for Restoration
Having the right supplies at your fingertips is essential for restoring wooden toys effectively. This ensures they are cleaned, repaired, and finished to heirloom-quality standards while applying methods like deep cleaning.
Gathering these tools is crucial. Not only does it help achieve a polished look, but it also enhances the toys’ durability over the years, especially with proper maintenance.
When you apply a wood finish, it acts as a protective barrier against moisture and wear. This safeguards the toys for little hands while revealing the wood grain’s natural beauty and enhancing their charm.
Wood conditioner is also important. It maintains the wood’s flexibility and prevents cracking, ensuring your toys endure the test of time and remain safe for children.
The choice of cleaning solutions, such as a homemade cleaner, is another critical aspect. The right products effectively lift stubborn grime, allowing your restoration work to truly shine.
For added strength, wood dowels and wood beads can act as both functional repair materials and decorative details. They make the toys sturdy while also adding visual appeal.
Each supply complements the others, creating a comprehensive approach to toy restoration that preserves both function and charm, while ensuring the toys remain safe for children.
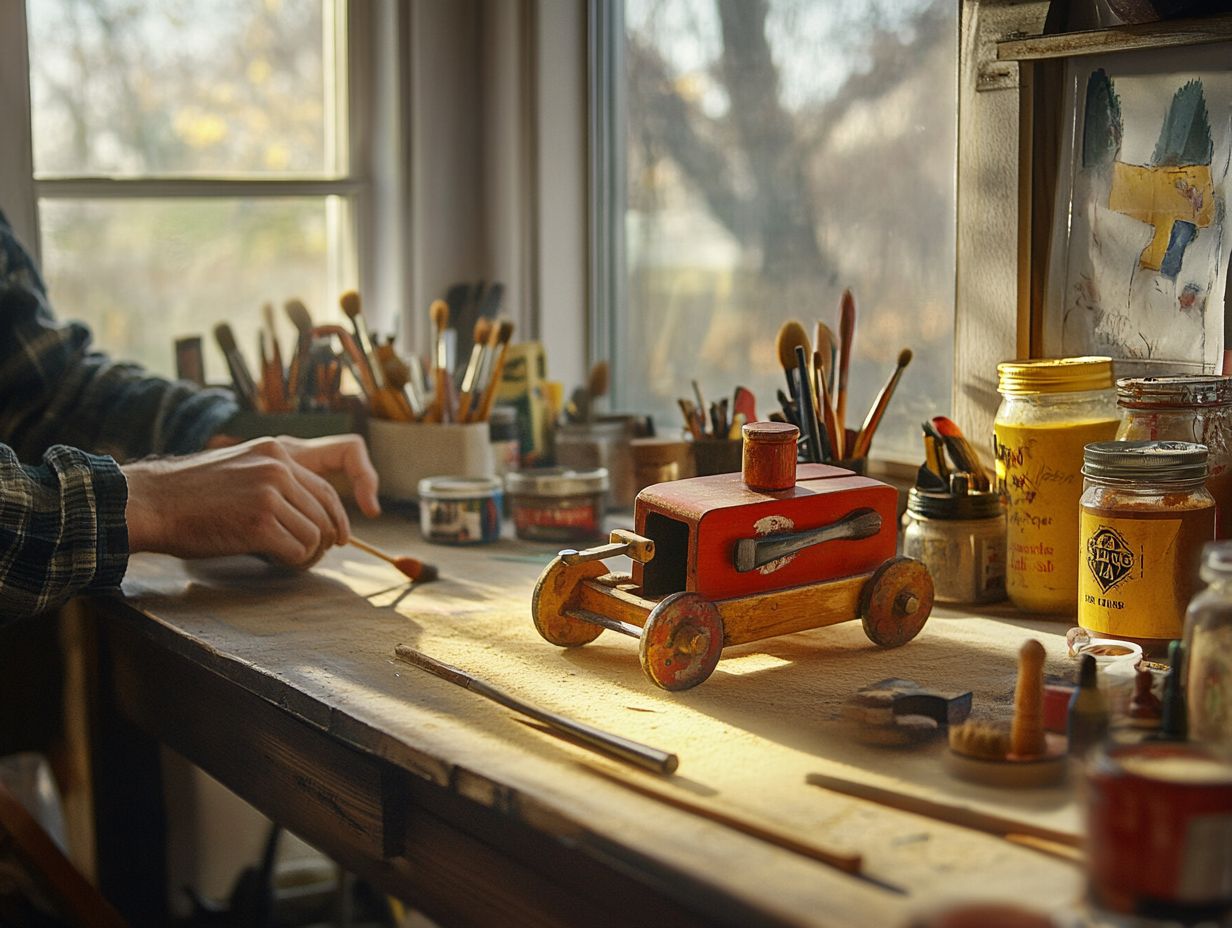
Step-by-Step Guide to Restoring Wooden Toys
Restoring wooden toys requires a careful method that ensures thorough cleaning, utilizes the right tools and techniques for effective repairs, and achieves a stunning finish. By following a step-by-step guide, you can easily turn those treasured childhood toys into heirloom-quality treasures, including wooden building blocks, that can be cherished for generations.
The journey typically begins with a deep clean using suitable cleaning solutions, perhaps even a specialty cleaner like Tide. This is followed by essential repairs that might involve wood glue and polishing techniques to preserve the toys’ inherent beauty. For those interested in furniture, consider exploring DIY restoration methods for reviving vintage bedroom sets.
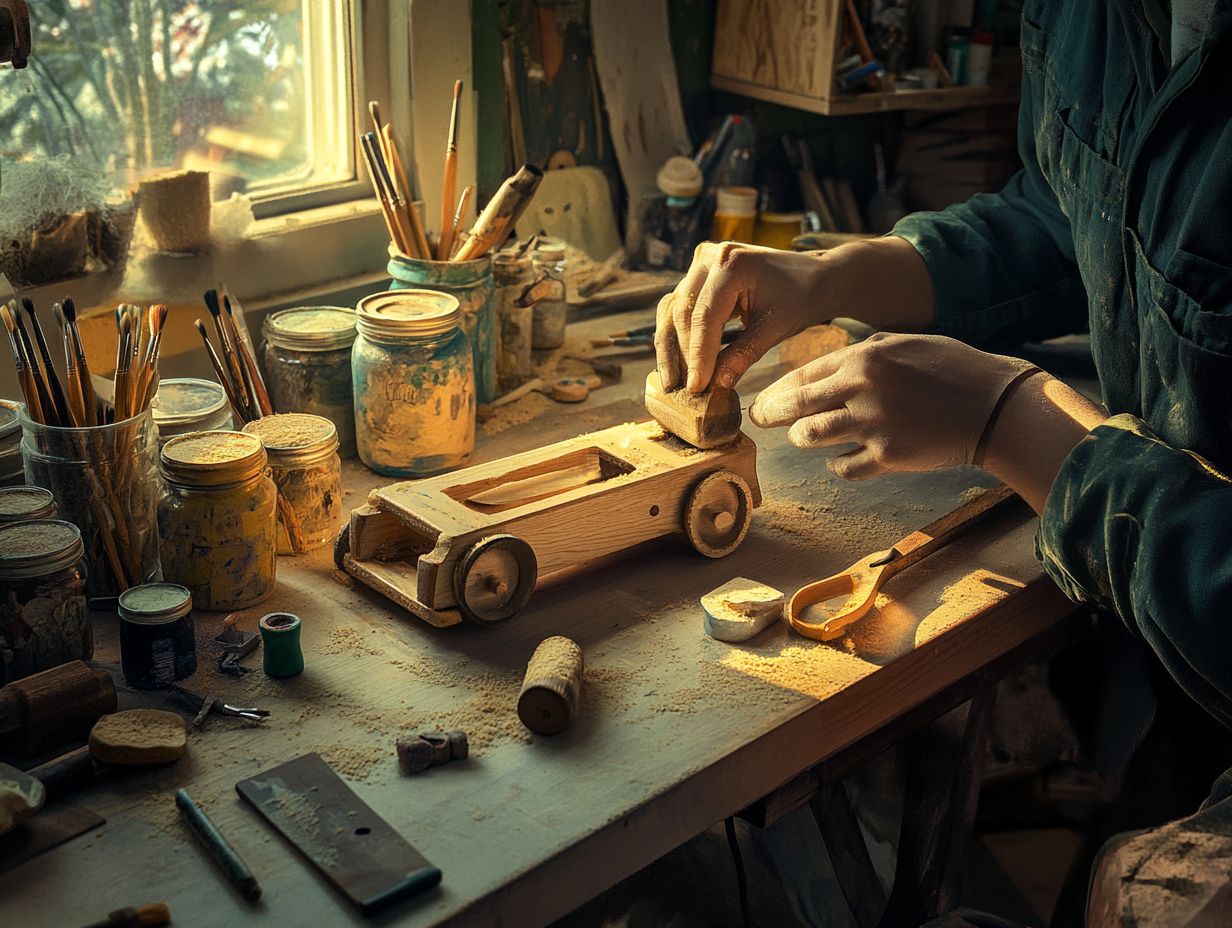
Cleaning and Sanding the Toy
Cleaning and sanding the toy is an essential foundation in the restoration process. It sets the stage for the subsequent treatments, especially when using sandpaper and a thorough cleaning solution.
Start with a suitable cleaning solution to eliminate any mud, stains, or dirt that have accumulated over time. This ensures the surface is completely free of contaminants for a proper clean.
Once the cleaning is done, grab some sandpaper to smooth out any rough spots. This prepares the wood for polishing and ensures it is ready for that beautiful finish.
Using a gentle soap and warm water can effectively lift stubborn grime without harming the finish. However, a homemade cleaner can often be more effective. If you’re seeking a natural alternative, a homemade solution of vinegar and water works wonders, especially in combination with gentle scrubbing.
After you’ve cleaned, choosing the right sandpaper is crucial for preparing surfaces for refinishing. Begin with a medium grit (around 120) to address imperfections, then move on to finer grits (up to 220) for that velvety smooth finish that ensures the toys are safe for kids.
This careful process not only makes the toy look great but also keeps it safe for children! It underscores the importance of careful cleaning and sanding in the restoration journey for wooden toys.
Start your restoration today and revive those cherished memories!
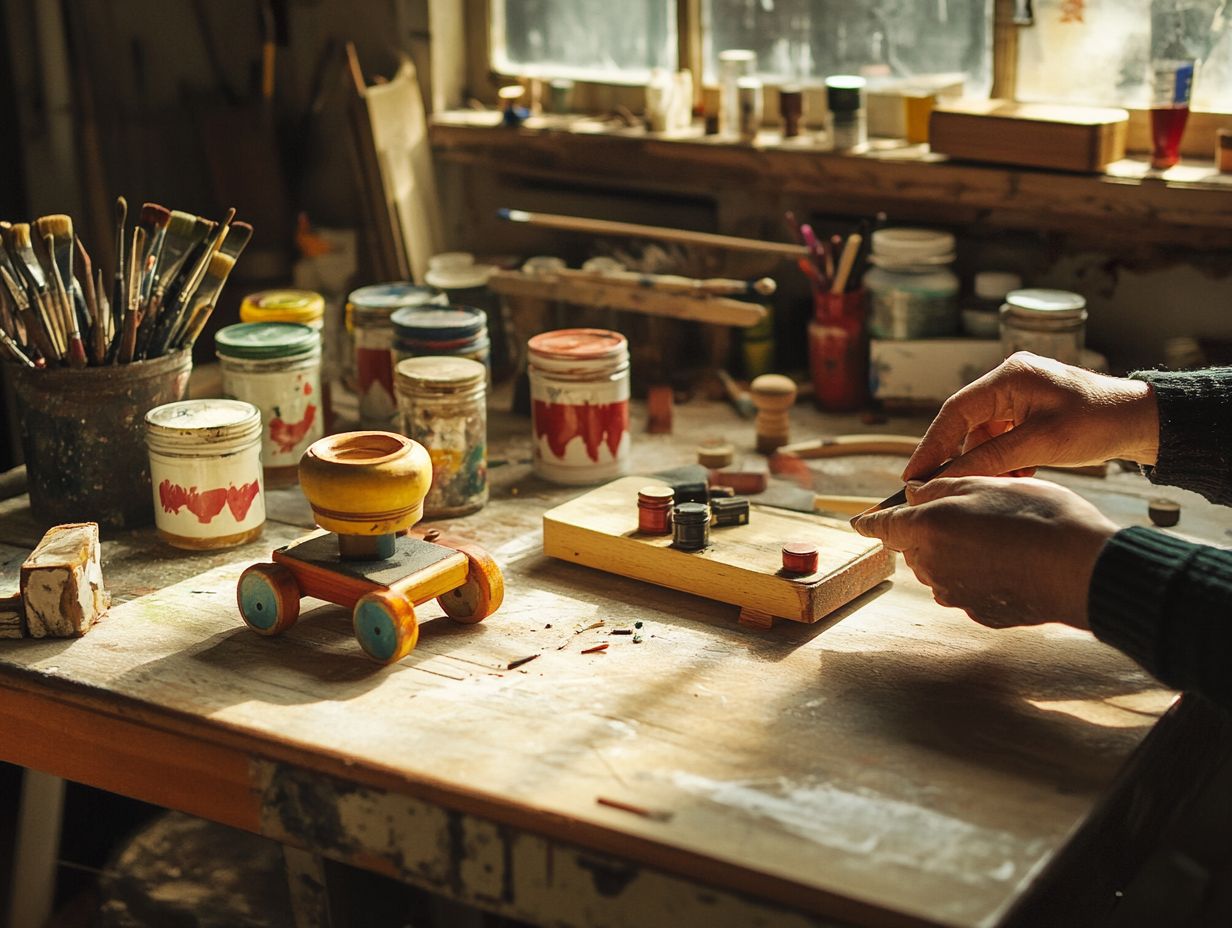
Painting or Staining the Toy
Once you ve meticulously cleaned and sanded the toy, adding a splash of paint or stain can truly elevate its appeal. Using high-quality, non-toxic options suitable for children is essential. Opting for high-quality paints or stains ensures that your creation looks delightful and withstands the demands of play. This way, it maintains its heirloom-quality features. A wood finish applied after painting enhances both durability and appearance, transforming your project into a beautiful heirloom-quality toy that can be enjoyed by future children.
When selecting the right type, consider water-based paints for their ease of application and quick drying times. They re a favorite among DIY enthusiasts for wooden toys. If you prefer a rich, enduring color, oil-based options might be just what you need, as they provide a protective layer on your childhood toys. Non-toxic stains are a lovely alternative, allowing the natural grain of the wood to shine through while adding depth to its character, ensuring safety for children.
Finishes like polyurethane or beeswax seal the surface beautifully, protecting against scratches and moisture. This is essential for maintaining the quality of wooden toys. These finishes not only keep your toy visually striking but also durable enough to withstand years of playful adventures. Each choice you make influences not just the toy’s aesthetic charm but also its resilience in the hands of eager children.
Sealing and Finishing Touches
Sealing and applying finishing touches are crucial steps to ensure that your restored wooden toys maintain their beauty and stand the test of time. Using wood polish and beeswax creates a stunning protective layer that enhances the natural luster of the wood while safeguarding it against moisture and wear. This completes your restoration process. These finishing techniques not only make your toys sparkle but also play a vital role in their maintenance, allowing them to be cherished for generations with periodic care.
Incorporating natural oils, like linseed or tung oil, elevates the wood’s appearance while delivering deeper nourishment. These oils penetrate the wood grain, offering long-lasting hydration and enhancing resistance to cracking.
Adding a non-toxic sealant provides an extra layer of defense, ensuring that the toys remain safe for children. By taking these essential steps in the sealing and finishing process, you not only preserve the aesthetic appeal of the toys but also uphold their structural integrity. This promotes sustainable practices in your children’s playtime experiences.
Tips for Maintaining Restored Wooden Toys

Maintaining your restored wooden toys requires thoughtful care and regular cleaning. Use appropriate cleaning solutions to preserve their quality and charm for years to come. By establishing a routine for their upkeep, including caring for wooden toys, you ensure that these treasures remain in excellent condition, ready to delight children and future generations alike.
- Regular dusting
- Gently wiping them down with a damp cloth
- Occasionally polishing
Proper Storage and Care
Proper storage and care of wooden toys are essential for ensuring their longevity and continued enjoyment, especially when stored in a playroom away from direct sunlight. By regularly cleaning them and storing them in a safe, dry place, you can help maintain their original charm and functionality.
Creating an organized playroom environment enhances the appeal of these childhood treasures and encourages children to cherish and respect their toys, treating them with care and love.
To further preserve these delightful items, consider using breathable fabric bags or wooden bins for storage. This approach protects against dust accumulation and potential damage while creating a visually harmonious arrangement of wood toys.
Regularly inspecting the toys for signs of wear can prevent small issues from escalating into larger problems. Involving children in the cleaning and organizing process fosters a sense of responsibility and pride in their playroom, nurturing their appreciation for these beautifully handcrafted pieces.
Alternative Methods for Restoring Wooden Toys
Restoring wooden toys can be fun. It opens the door to creative, sustainable solutions. Consider options like upcycling old toys into fresh designs or donating them to thrift stores. Both choices can give wooden toys a second life.
You can use homemade cleaners and natural substances to beautifully restore the charm of wooden toys without harsh chemicals. If restoring is necessary, products like paint strippers and Varathane can be valuable allies, along with DIY restoration tips for refinishing wood.
Using Natural Cleaning and Finishing Products
Using natural cleaning and finishing products enhances your restoration process. This ensures a safe play environment for your children. Homemade cleaners, made from simple ingredients, effectively remove dirt without harsh chemicals. This makes them an excellent choice for families like yours.
Incorporating natural substances such as beeswax and wood conditioner helps the wood and protects its finish. This extends the life of your wooden toys.
Embrace these eco-friendly solutions! You ll not only keep your children safe but also help the planet. For example, a mixture of vinegar and water acts as a powerful cleaner, while olive oil blended with beeswax becomes a premium wood conditioner, leaving a stunning shine.
The delightful scents of essential oils like lavender or lemon waft through your home and offer natural antibacterial properties. By using these recipes, you enhance the toys’ appearance and nurture the wood, keeping it in great condition for years to come.
Frequently Asked Questions
What is DIY restoration and why is it important for old wooden toys?
DIY restoration is the process of restoring old or worn-out wooden toys by yourself. It preserves the history and sentimental value of the toys while saving money on new purchases.
What tools and materials do I need for DIY restoration of old wooden toys?
You will need:
- Sandpaper
- Wood glue
- Clamps
- Wood stain or paint
- A paintbrush
- A cloth for wiping
Optional tools include a saw, drill, and wood filler.
How do I properly sand old wooden toys during the restoration process?
Start by using coarse sandpaper to remove any rough or damaged surfaces. Next, use fine sandpaper to smooth out the wood. Sand in the direction of the grain to avoid damaging the wood fibers.
Can I use any type of wood glue for DIY restoration of old wooden toys?
No, use wood glue specifically designed for bonding wood. Regular white glue or super glue can damage the wood and won t provide a strong enough bond.
What is the best way to restore the color of old wooden toys?
If the toy has faded, use wood stain or paint to restore its color. Choose a non-toxic, child-safe option and test a small area first to ensure it meets your expectations.
Are there any safety precautions I should take while restoring old wooden toys?
Yes, always wear protective gear such as gloves and a mask when working with sanding and painting materials. Work in a well-ventilated area and keep chemicals out of reach of children.
Have you tried restoring wooden toys? Share your tips or projects with us!