DIY Restoration: Reviving Vintage Bedroom Sets
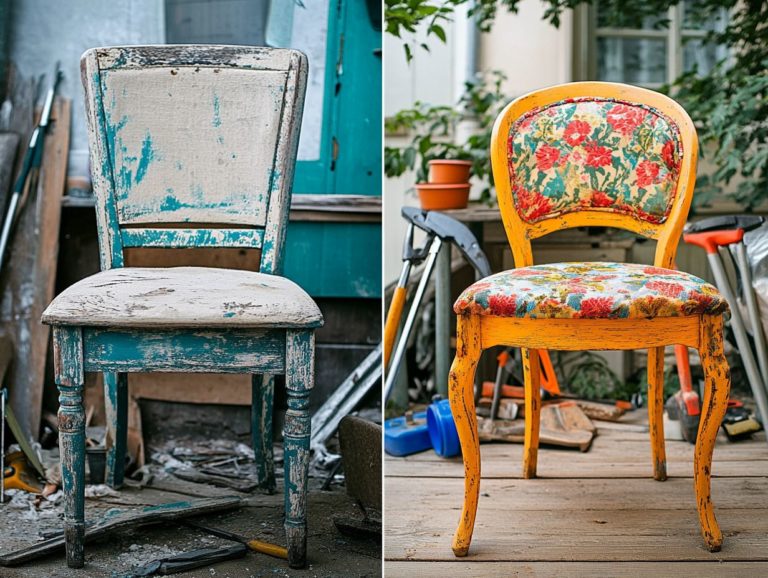
Restoring vintage furniture isn t merely a creative endeavor; it s an enriching journey into the past. This process allows you to infuse new life into timeless treasures through furniture restoration.
This guide will navigate you through the intricacies of restoring a vintage bedroom set. We ll cover everything from assessing its current condition to pinpointing necessary repairs.
You ll gain insights into the materials and tools required. Follow a detailed step-by-step restoration process and uncover valuable tips for maintaining your beautifully revived furniture.
Whether you re a DIY enthusiast or contemplating professional assistance, this guide serves as your comprehensive resource for transforming vintage gems into stunning focal points in your home.
Contents
- Key Takeaways:
- Assessing the Condition of the Bedroom Set
- Materials and Tools Needed for Restoration
- Step-by-Step Guide to Restoring a Vintage Bedroom Set
- Tips for Maintaining Restored Vintage Furniture
- Alternative Options for Restoring Vintage Bedroom Sets
- Frequently Asked Questions
- What is DIY restoration and why is it useful for reviving vintage bedroom sets?
- What are the basic tools and materials needed for DIY restoration?
- What common issues might arise during restoration?
- Can I use any type of paint or stain for my vintage furniture?
- Do I need to strip the old finish before painting or staining?
- Is DIY restoration suitable for beginners?
Key Takeaways:
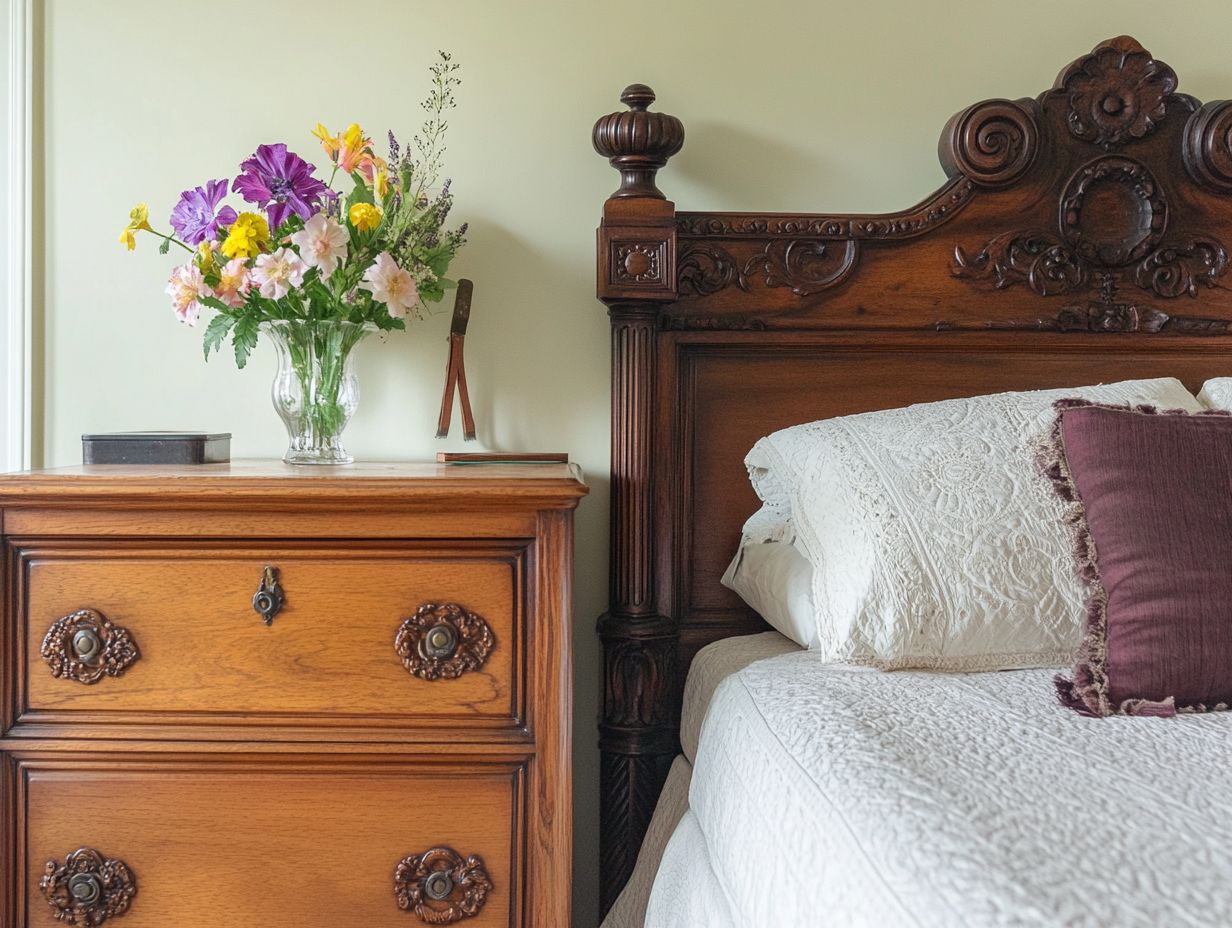
- Restoring vintage bedroom sets can add charm and character to your space while preserving the history and craftsmanship of the furniture.
- Before beginning a restoration project, assess the condition of the set and identify any damage that may need repair, which may require professional furniture repair.
- To successfully restore a vintage bedroom set, gather essential supplies and follow a step-by-step guide, paying attention to maintenance tips for long-lasting beauty and quality.
Why Restore Vintage Furniture?
Restoring vintage furniture isn t merely a DIY project; it s a journey through time. It s a chance for you to preserve history and craftsmanship while enhancing your living space.
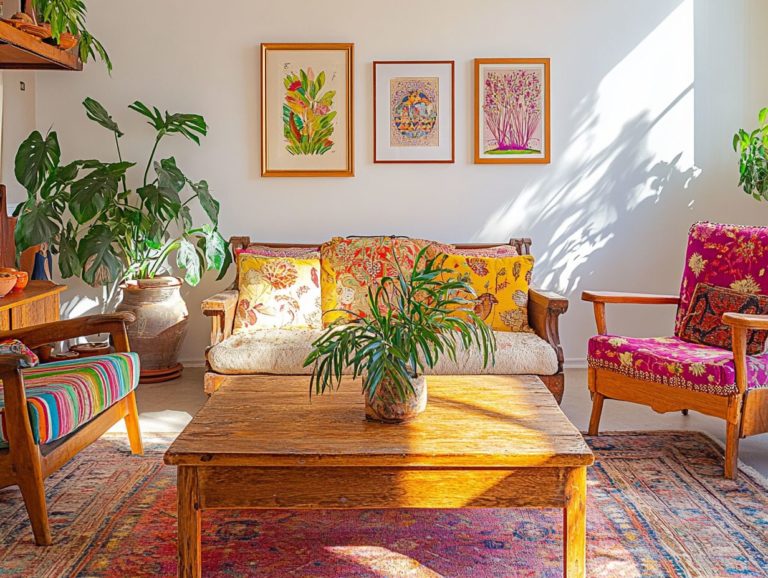
By employing techniques that accentuate the distinctive qualities of styles like Mid Century Modern, Shabby Chic, and Atomic Age Modern, you can transform these pieces into functional works of art.
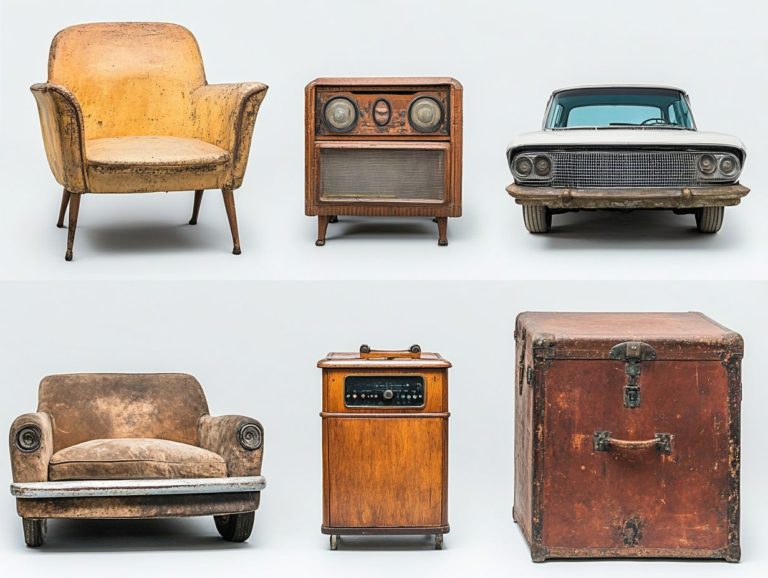
Vintage restoration is exciting! It s your chance to upcycle treasures, such as exquisite Kent Coffey pieces, into modern staples that resonate with both nostalgia and modern design.
In places like Mesa, Arizona, where vintage finds are plentiful, the art of furniture restoration stands as a testament to both skill and creativity.
This process not only revives the beauty of well-crafted items but also nurtures emotional connections. Each piece carries a story waiting to be uncovered.
Picture yourself breathing new life into a classic Kent Coffey dresser; it s about embracing sustainability while making a stylish statement through various styles, including Mid Century furniture.
Upcycling not only minimizes waste but also promotes a more conscious lifestyle. This helps to reduce your carbon footprint in the process.
As vintage styles seamlessly integrate into modern d cor, the impact of restoring these unique items goes beyond mere aesthetics. It transforms your home into a curated narrative of personal expression and environmental responsibility.
Assessing the Condition of the Bedroom Set
Before you dive into a furniture restoration project, it’s crucial to assess the condition of your vintage bedroom set. This step may call for professional furniture repair or even specialized antique restoration techniques.
A thorough evaluation will allow you to uncover visible damages and any hidden issues that could impact the entire restoration process.
Identifying Damage and Repair Needs
Identifying damage and repair needs is a crucial step in your furniture restoration journey. Overlooking even the smallest mistakes can lead to costly errors and an unsatisfactory end result.
Common types of damage include unsightly scratches, missing parts that detract from the overall aesthetics, and structural weaknesses that could compromise stability.
Assessing these issues requires a careful look at everything from surface blemishes to the condition of each piece. Consider factors like wood integrity and the condition of the finish.
A thorough inspection will help you pinpoint areas that require attention, whether that means addressing surface blemishes or replacing essential components.
Understanding previous repairs helps guide your restoration approach. This ensures the final result honors the character and quality of that original vintage piece.
Materials and Tools Needed for Restoration
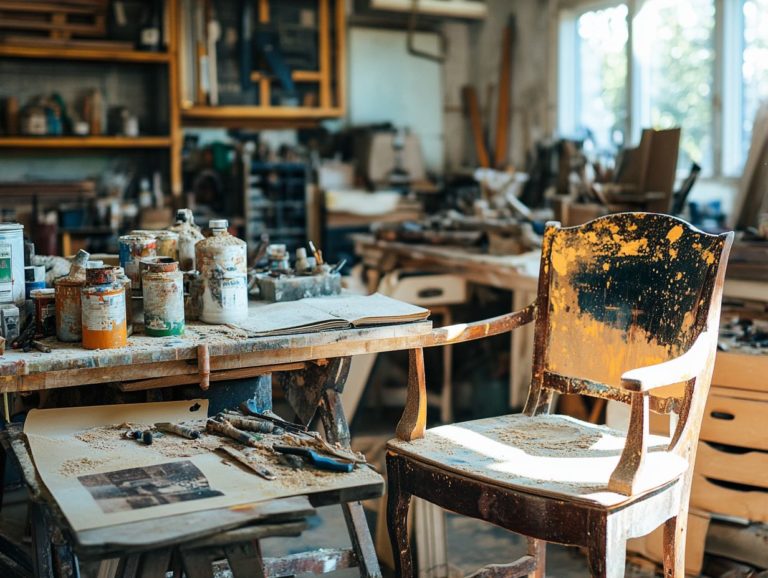
Having the right materials and tools is essential for any successful DIY restoration project, especially with vintage furniture like Mid Century Modern pieces.
You should gather essential supplies such as Howards Restor-A-Finish for surface refinishing, a liquid sanding deglosser to prep the wood, and various adhesives like wood glue.
Don t overlook finishing products either; pre-catalyzed lacquer, a quick-drying finish, and conversion varnish, which offers durability, are critical for achieving that durable, aesthetically pleasing finish you desire.
Essential Supplies and Equipment
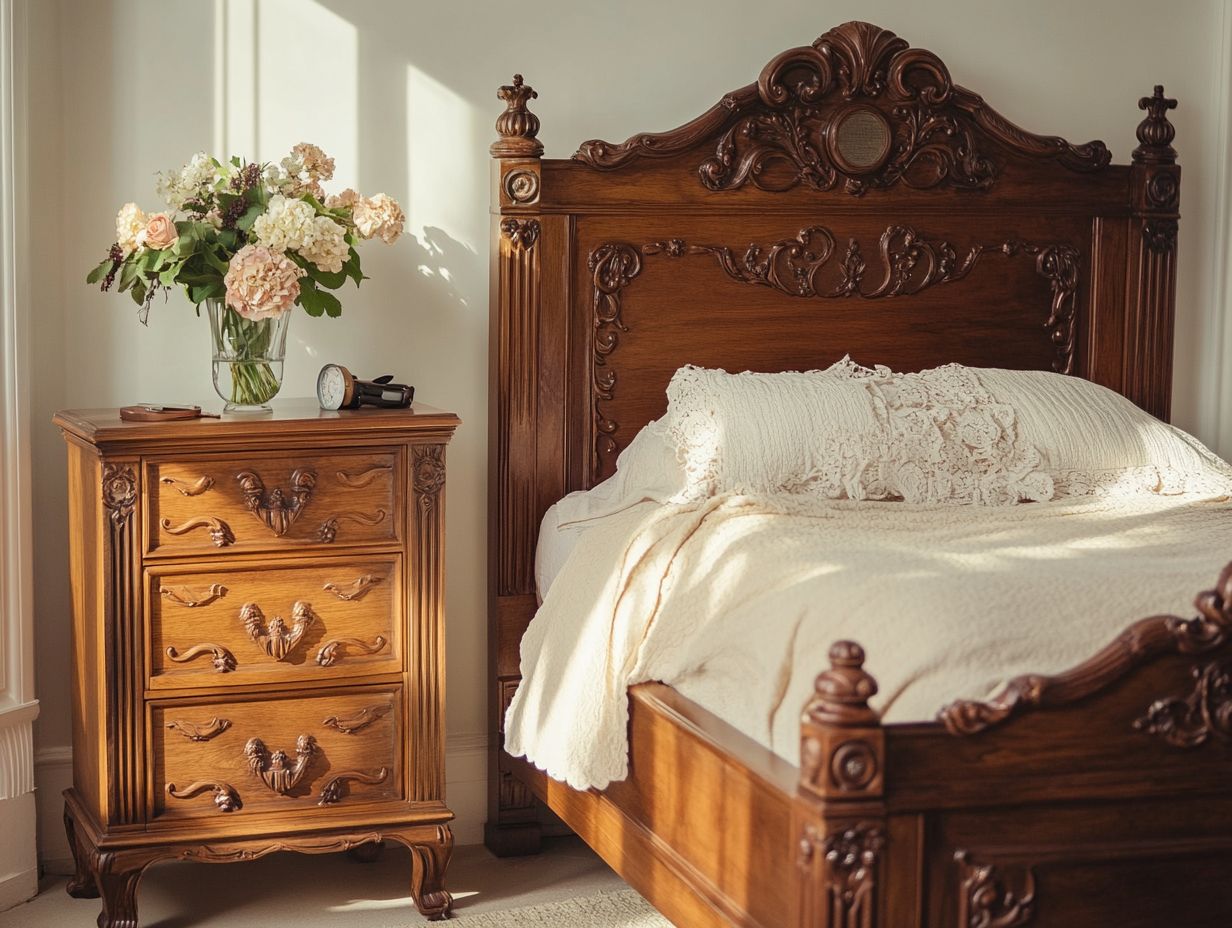
Embarking on a DIY restoration journey can transform your results from amateur to professional, whether you’re tackling a simple fix or a more extensive refinishing project.
A well-stocked toolkit is essential. Consider including some fundamental tools, such as:
- Screwdrivers
- Sandpaper of various grits
- Wood glue
If you want to elevate your DIY restoration projects, investing in a high-quality orbital sander can significantly streamline the refinishing process. Brands like DeWalt and Makita are known for their durability and efficiency.
For finishes, eco-friendly options like water-based stains and varnishes from Minwax or General Finishes are excellent choices, appealing to both DIY enthusiasts and seasoned professionals.
For larger repairs, consider investing in professional-grade furniture repair materials like epoxy, a strong adhesive used for repairs, or wood fillers. You can find these at resources like the Furniture Refinishing Resource. This ensures that your restoration work not only looks stunning but also stands the test of time.
Step-by-Step Guide to Restoring a Vintage Bedroom Set
A meticulously crafted step-by-step guide to restoring a vintage bedroom set is a must-have for anyone eager to master the art of restoration! By following these guidelines, you can navigate every phase of the restoration, from the initial assessment to the finishing touches, ensuring the finest results possible.
Preparing the Furniture
Preparing the furniture is a pivotal stage in your restoration journey, laying the groundwork for a smooth and successful finish.
To achieve the best results, start with a clean surface by removing any dust, grease, or old finishes that could interfere with adhesion. Inspect the piece for any damage like scratches, dents, or loose joints so you can identify areas needing repair before you start sanding.
Sanding is crucial as it smooths the surface and enhances the adherence of paint or stain. Be careful not to over-sand to avoid thinning the wood or creating uneven surfaces. Keeping these techniques in mind will help you avoid common pitfalls like peeling or bubbling finishes later on. Your restoration project deserves that extra touch of care for a truly stunning outcome, worthy of sharing on platforms like Facebook, Instagram, Pinterest, and YouTube.
Repairing and Refinishing
The repairing and refinishing stage is where your vintage furniture can truly come alive, often requiring professional techniques and special finishes.
This process typically begins with a thorough assessment of your piece, identifying any structural issues like loose joints or cracked wood. You might need methods like dowing or gluing to restore stability.
For cosmetic repairs, filling scratches or dents becomes essential. Use products like wood fillers or wax sticks to achieve that seamless appearance you desire.
Once you ve addressed the necessary repairs, sanding the surface sets the stage for a flawless finish. The final touch involves applying a durable finish, such as polyurethane or oil-based varnish, which enhances both the beauty and longevity of your furniture.
Together, these steps not only preserve the integrity of vintage pieces but also accentuate their unique character, ensuring they continue to tell their story for years to come.
Finishing Touches
The finishing touches in your furniture restoration project are vital, enhancing both the aesthetic appeal and the longevity of your beautifully restored piece.
Selecting the right products, such as Howards Feed-N-Wax, can profoundly impact the final appearance and protection of the wood. This exquisite blend of beeswax and orange oil not only nourishes the wood but also accentuates its natural grain, giving your furniture a polished, professional touch.
Be sure to follow the application instructions closely for stunning results! Allow the finish to dry completely before putting the furniture back into use. Following this practice ensures that every layer adheres properly, preserving the beauty and integrity of your piece for years to come.
Tips for Maintaining Restored Vintage Furniture
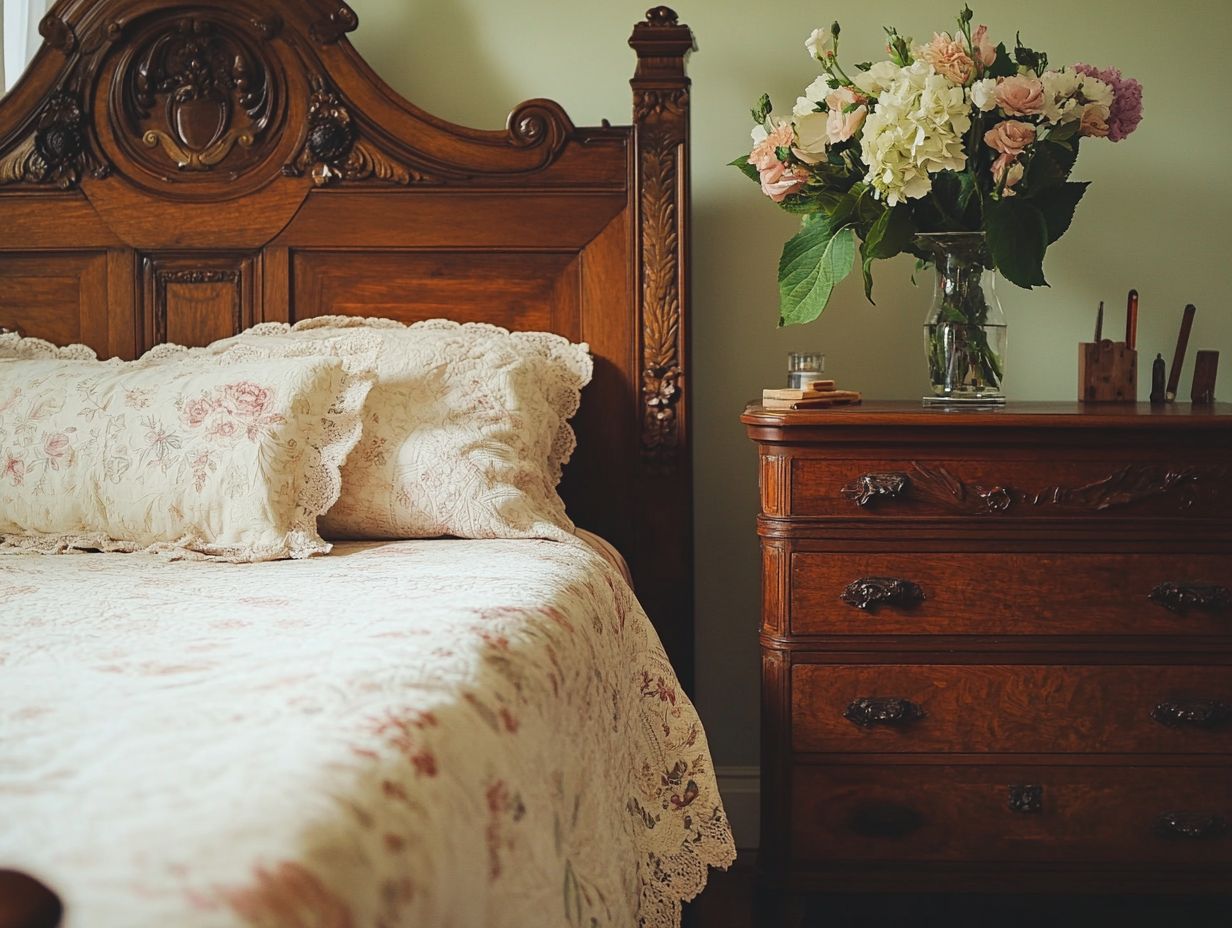
Maintaining the beauty and quality of your restored vintage furniture is crucial for ensuring its longevity and continued enjoyment. Embrace some straightforward maintenance tips that complement your restoration efforts, helping you preserve the charm and character of these timeless pieces.
Preserving the Beauty and Quality
Preserving the beauty and quality of your restored furniture requires a dedicated approach to regular maintenance and a solid grasp of best practices, especially for antique pieces.
To ensure longevity, establish a routine cleaning schedule that gently removes dust and grime. Aim to clean every two weeks using soft, lint-free cloths rather than harsh chemical cleaners, which can mar those beautiful finishes. Keeping your furniture out of direct sunlight is another vital step; it helps prevent fading and warping, allowing the original luster to shine through.
If you’re particularly passionate about antique furniture restoration, consider applying protective wax finishes periodically. This creates a barrier against moisture and dirt, significantly enhancing the piece’s durability over time. For more detailed techniques, check out restoring vintage furniture. These thoughtful habits not only maintain aesthetic appeal but also safeguard your investment for generations to come.
Alternative Options for Restoring Vintage Bedroom Sets
If you find yourself lacking the time or expertise for a DIY restoration, considering professional restoration services can be an excellent alternative.
In places like Mesa, Arizona, you ll discover a wealth of skilled artisans ready to help you with your furniture restoration needs. Don t hesitate to explore local artisans or services for restoration!
Professional Restoration Services
Choosing professional restoration services can bring your vintage bedroom sets back to life. Skilled artisans like Bob Kennedy and Amanda Kennedy offer impressive results, ensuring your furniture shines.
These experts assess each piece carefully. They determine the best methods to restore its original design while keeping it authentic.
Expect tailored services for your needs, including:
- Refinishing
- Reupholstering
- Structural repairs (fixing broken parts)
Costs vary based on damage and materials. You could spend a few hundred to several thousand dollars.
Timelines also vary. Some projects might take weeks, while others may need several months.
Transform your cherished furniture into a stunning piece today!
Frequently Asked Questions
What is DIY restoration and why is it useful for reviving vintage bedroom sets?
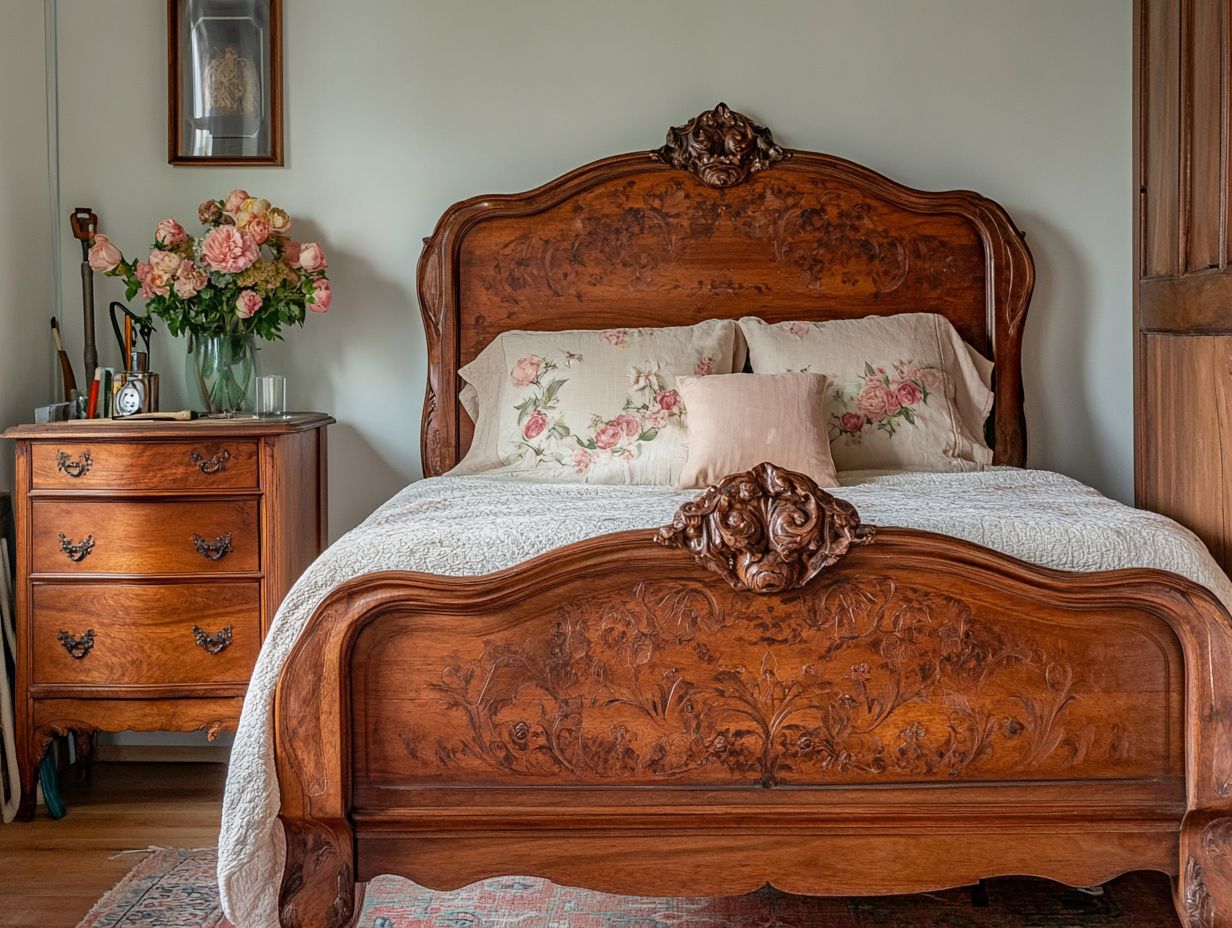
DIY restoration involves fixing up old furniture using your own skills and resources. It s great for vintage bedroom sets because you can customize the process to fit your style and budget.
What are the basic tools and materials needed for DIY restoration?
Basic tools include sandpaper, paint or stain, brushes, a screwdriver, wood filler, and wood glue. For advanced projects, you might also need a drill and saw.
What common issues might arise during restoration?
Watch out for termite damage, water damage, and loose joints. Inspect your furniture carefully before starting the restoration.
Can I use any type of paint or stain for my vintage furniture?
It s best to use paints and stains made for furniture restoration. These products stick better and last longer. Also, make sure they are safe for indoor use.
Do I need to strip the old finish before painting or staining?
This depends on the furniture s condition. If the old finish is in good shape, you might not need to strip it. However, if it s peeling, strip it for a smooth surface.
Is DIY restoration suitable for beginners?
Absolutely! DIY restoration is a fun way to learn basic skills. Start with simple projects and build your way up to more complicated ones.

