How to Restore a Vintage Trunk: Tips and Tricks
Vintage trunks are more than mere storage containers; they embody pieces of history, often rich with stories and charm. The art of trunk restoration allows you to infuse new life into these exquisite artifacts, transforming them into stunning decor or functional elements within your home.
This guide will help you assess your trunk and give it a new life! You’ll walk through the assessment of their condition, the materials you’ll need, and step-by-step restoration techniques that will elevate your trunk restoration project.
You will also find expert tips to keep your trunk in top condition for years. Immerse yourself in the art of vintage restoration and unlock the potential of these beautiful pieces!
Contents
Key Takeaways:
- Before starting the restoration process, thoroughly assess the condition of the vintage steamer trunk and identify any damage or wear that needs attention.
- Make sure to have all the necessary tools and supplies before beginning the restoration process.
- Follow a step-by-step guide cleaning, removing rust, repairing parts, and refinishing the exterior for a successful restoration.
What is a Vintage Trunk?
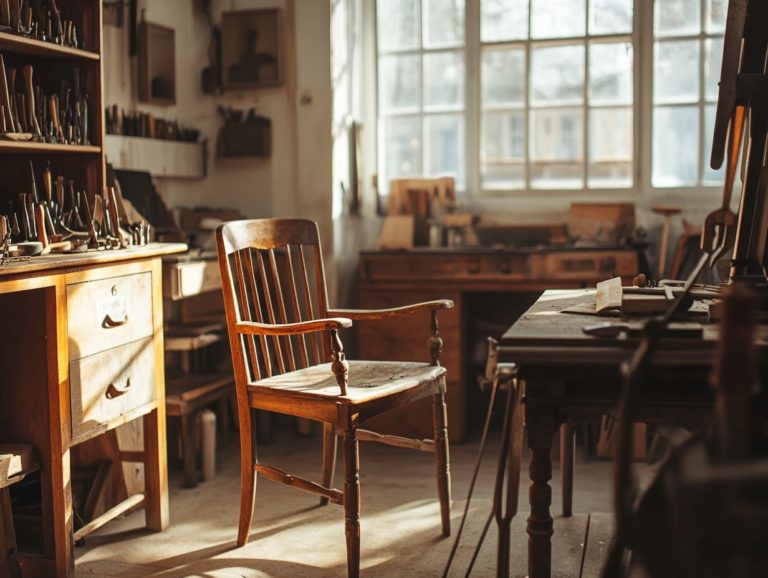
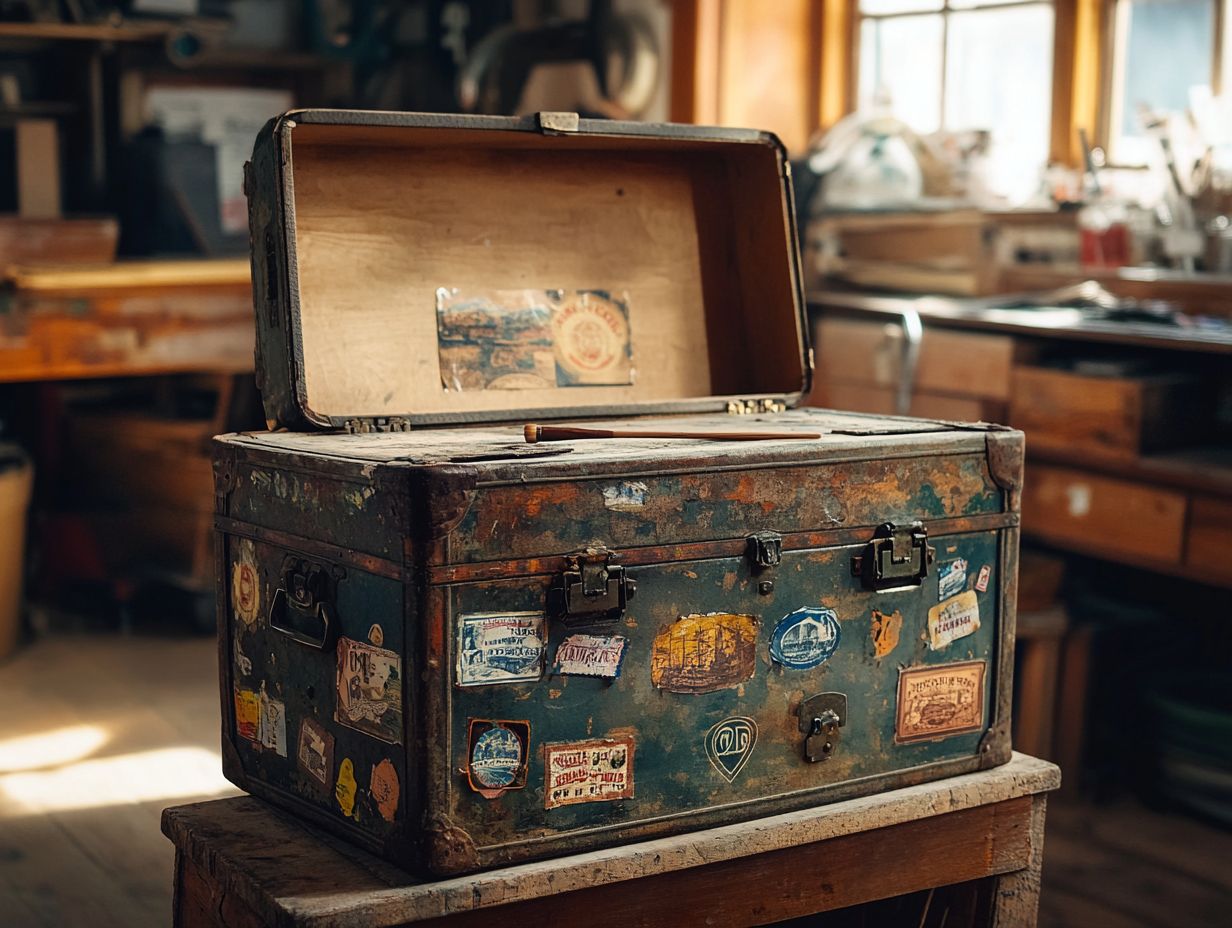
A vintage trunk is more than just a storage solution; it’s a slice of history that showcases the craftsmanship of its era. Often made from strong materials like wood, leather, and metal, these trunks exhibit unique design elements that have stood the test of time.
They’ve served both as travel companions and storage havens, making them significant artifacts in antique trunks collections. You can significantly enhance their value through restoration projects that highlight the beauty of original hardware and the distinctive character that comes from well-worn coverings.
These remarkable pieces often feature intricate details such as hand-painted designs, brass fittings, and embossed leather. Each vintage trunk tells its own story, connecting it to the journeys and experiences of its previous owners, thus elevating its historical significance.
You ll find that popular designs from the Victorian or Belle poque eras can command higher prices today, especially when restored with care.
By employing techniques that preserve the trunk s original charm while enhancing its durability, you can ensure that these timeless treasures maintain their allure for future generations. This fosters a deeper appreciation for the vintage restoration process.
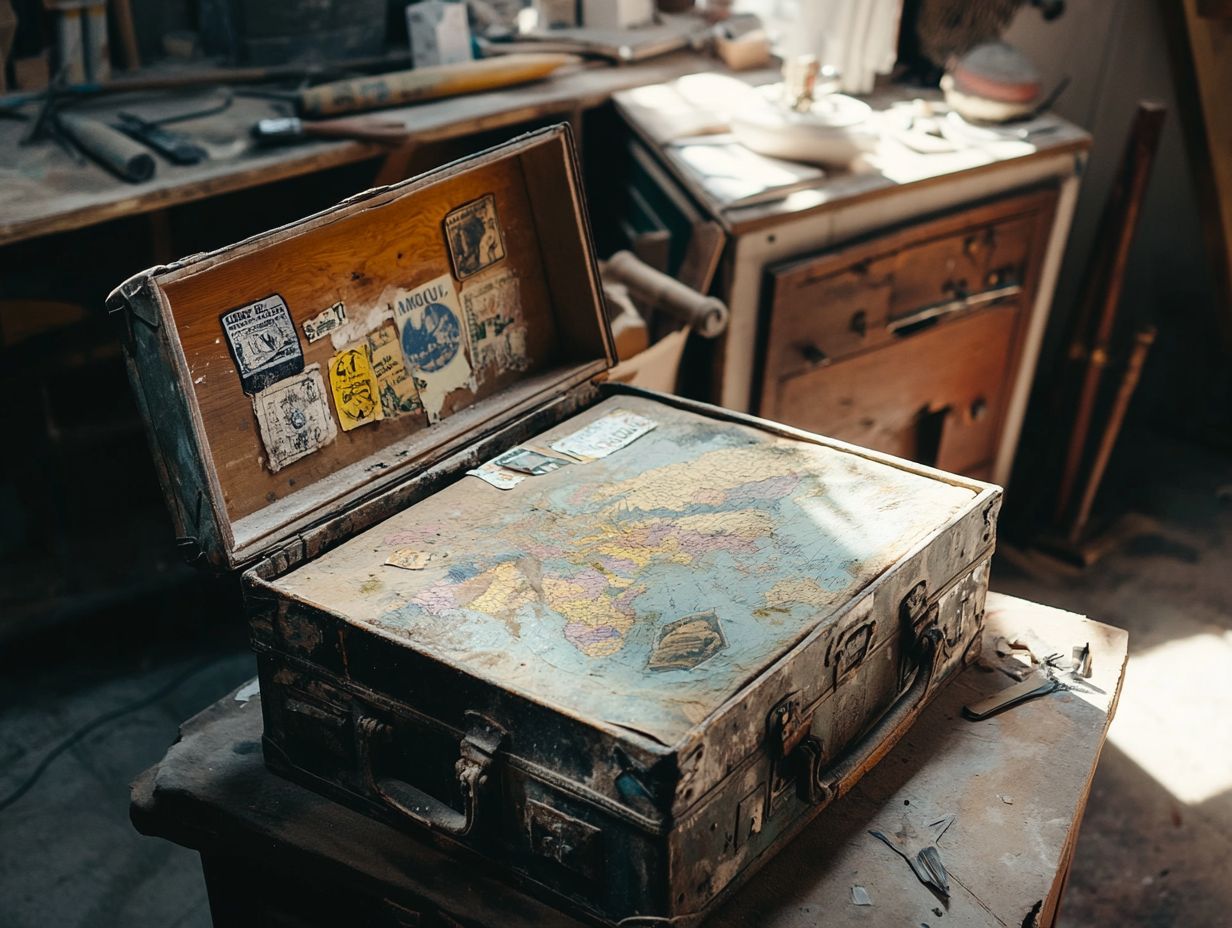
Assessing the Condition of the Trunk and Identifying Key Replacement Needs
Before you dive into a trunk restoration project, it s crucial to assess the condition of your vintage trunk. This means conducting a meticulous examination of its structure, materials, and any visible damage or wear that demands your attention, especially focusing on areas that might need replacement parts.
This thorough evaluation will guide you in deciding whether the trunk requires a complete refurbish, a soft restoration, or a moderate restoration. By doing so, you ll ensure that both the visual appeal and functional integrity of the trunk are preserved, all while enhancing its curb appeal.
Identifying Damage and Wear
Identifying damage and wear on a vintage trunk is essential for determining the right restoration techniques. Neglecting these issues can lead to further deterioration and a significant loss of value. Common forms of damage include scratched surfaces, rusted metal parts, and worn leather handles.
Scratches, often caused by years of handling and transport, not only detract from the trunk s appearance but can also expose underlying materials to moisture, increasing the risk of mold or rot.
Rust on metal fittings can diminish both structural integrity and visual appeal, making hinges and locks ineffective over time. Leather handles can crack or fray, compromising usability and potentially posing safety risks.
Each type of wear presents unique challenges, so recognizing these specific issues early on is key. By addressing them promptly, you can enhance the overall success of your restoration efforts, preserving the trunk s historical integrity and ensuring its monetary worth.
Don’t wait start your restoration journey today!
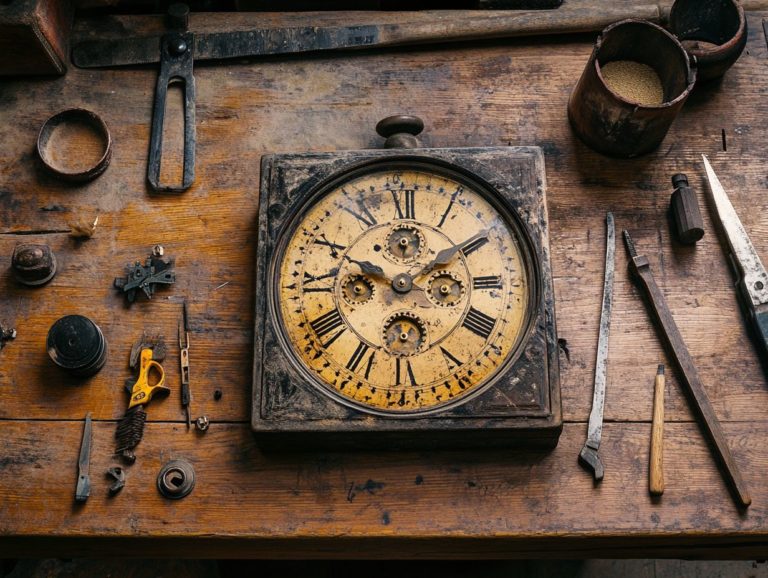
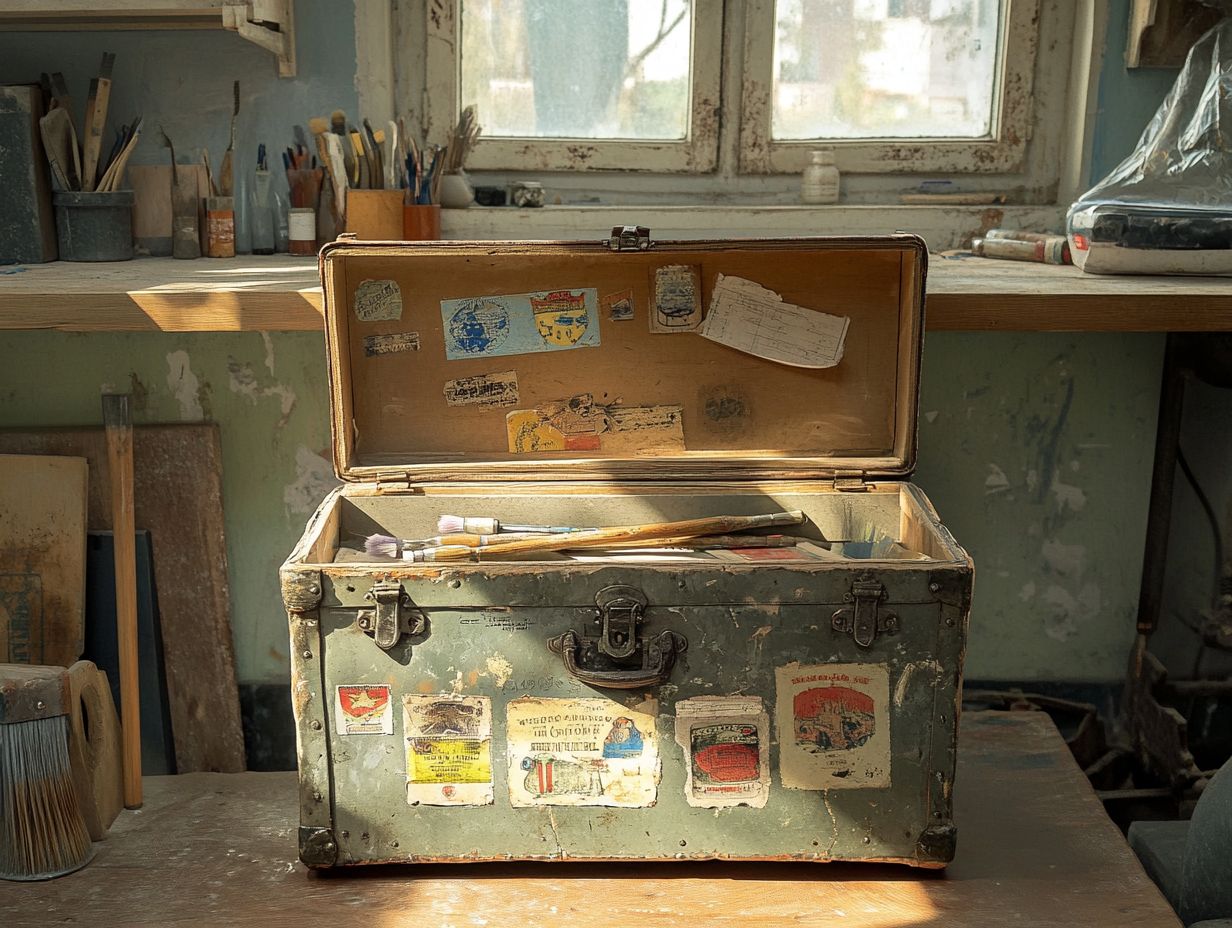
Materials and Tools Needed
Selecting the right materials and tools is crucial for a trunk restoration project. Essential supplies include tools for cleaning, restoring hardware, and applying finishes, all tailored to your vintage trunk’s needs.
Key tools are utility knives, metal scrapers, and sanders. Use materials like wood stain, beeswax polish, and leather treatment to simplify restoration and preserve the trunk’s charm.
Recommended Supplies for Restoration
For a successful trunk restoration, use recommended supplies tailored to your project’s needs. Include wood grain filler for surface imperfections, embossed tin for hardware, and leather straps for the trunk’s exterior.
During the cleaning phase, have essentials like gentle wood cleaner and microfiber cloths ready. These tools will help you remove years of grime without harming the delicate surface.
For any structural repairs, wood glue, clamps, and sanding blocks are critical. They assist you in restoring the trunk s integrity while maintaining its original charm.
When it s time for finishing touches, consider high-quality wood varnish or oil. These products will protect the wood and enrich its natural beauty, transforming the trunk into a stunning piece of art and history that complements any room.
Step-by-Step Guide to Restoring a Vintage Trunk
A comprehensive, step-by-step guide to restoring a vintage trunk can assist you in navigating the entire process, from the initial assessment to the final refinishing touches. This meticulous approach ensures that each aspect is addressed methodically, leading to optimal results.
Within this guide, you’ll find essential restoration techniques, including how to clean metal components, replace damaged hardware, and apply protective layers such as canvas covers. Additionally, restoring vintage wood not only enhances the trunk’s longevity but also elevates its curb appeal.
Cleaning and Removing Rust
Cleaning and removing rust from a vintage trunk is an essential part of the restoration journey. Not only does it enhance the trunk’s visual charm, but it also extends the lifespan of its metal components.
By using the right cleaning supplies and techniques, like metal scrapers and rust removers, you can ensure that the original hardware stays intact and operates as it should. Consider employing methods such as vinegar or baking soda solutions; these can effectively dissolve rust without inflicting any harm on the trunk’s delicate surfaces. For more detailed insights, check out transforming vintage finds: DIY restoration tips.
Regular maintenance is equally important gentle polishing and protective coatings play a vital role in preserving the integrity of the hardware and preventing future corrosion.
By embracing these meticulous practices, you can maintain the character of your vintage treasures and ensure that each piece continues to narrate its story for years to come. Prioritizing both cleaning precision and preservation is key to achieving a successful restoration.
Repairing and Replacing Parts
Repairing and replacing parts of a vintage trunk is essential for restoring its functionality and charm. This is especially true for components like leather handles and locking mechanisms that may have seen better days.
You ll need to find original or matching hardware. This ensures new pieces fit well with the trunk’s vintage style.
As you embark on this restoration adventure, start by exploring specialized vendors or online marketplaces for antique hardware. It s important to closely examine the existing parts note the materials and dimensions to find that perfect match.
Using techniques like gentle cleaning, reconditioning leather, and applying protective finishes can significantly enhance the trunk’s durability. Understanding how the trunk was constructed, whether it used nails, screws, or glue, will help you choose the best repair methods. For a comprehensive approach, refer to this step-by-step guide for restoring vintage furniture. This makes the restoration process not only effective but also deeply rewarding.
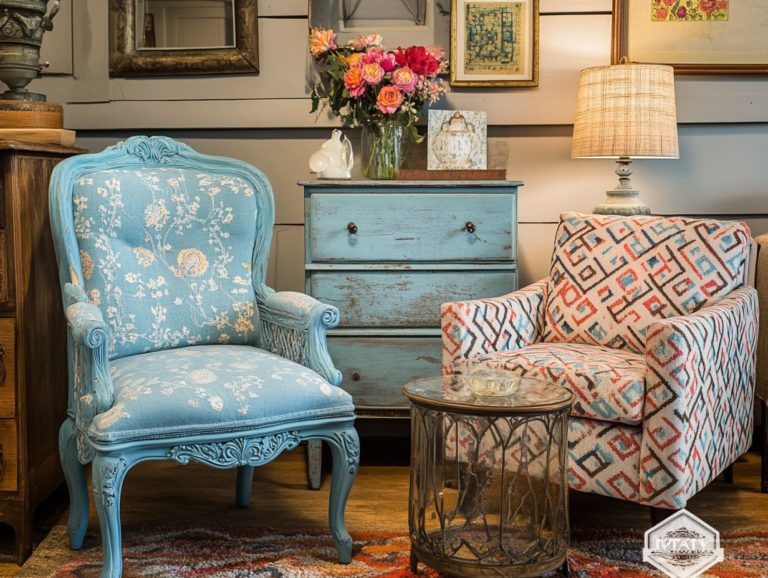
Refinishing and Restoring the Exterior
Refinishing and restoring the exterior of a vintage trunk elevates its charm and adds protection for longevity. Techniques like sanding, applying wood stain, and finishing with tung oil or a type of finish that protects wood can create a stunning finish.
To kick off the refinishing process, it s essential to remove any existing hardware and clean the surface of dirt and old finishes. Once you ve sanded the surface for a smooth texture, choose a wood stain that enhances its richness.
For a polished final touch, layer on a durable finish whether a water-based polyurethane for a low-odor experience or a classic oil-based varnish. This ensures your trunk can withstand wear and tear and transforms it into an impressive addition to any home d cor.
Tips and Tricks for a Successful Restoration
Want to maximize your trunk restoration project? Implementing valuable tips and tricks can greatly enhance your final outcome. This ensures that your vintage trunk not only preserves its charm but also functions beautifully.
By avoiding common pitfalls like hurrying through the cleaning process or using materials that don t mesh you can save time and protect the integrity of your antique treasure.
Expert Advice and Common Mistakes
Consulting expert advice can elevate your trunk restoration efforts and help you avoid common beginner mistakes. One essential tip is to take your time with the sanding process; this attention to detail is vital for achieving that coveted smooth finish.
Using the right cleaning supplies for different materials is crucial to avoid damage.
Seeking insights from seasoned restorers can provide invaluable knowledge about the best types of finishes and sealants. This enhances the longevity and aesthetics of your project. Many novice restorers underestimate the importance of proper ventilation when working with certain chemicals, which can lead to health risks and poor results.
Patience is another key factor you can t overlook. Rushing through any stage may result in costly mistakes, like uneven surfaces or unsightly blemishes. By following tried-and-true practices, you can transform your trunk restoration project into a professional-looking masterpiece.
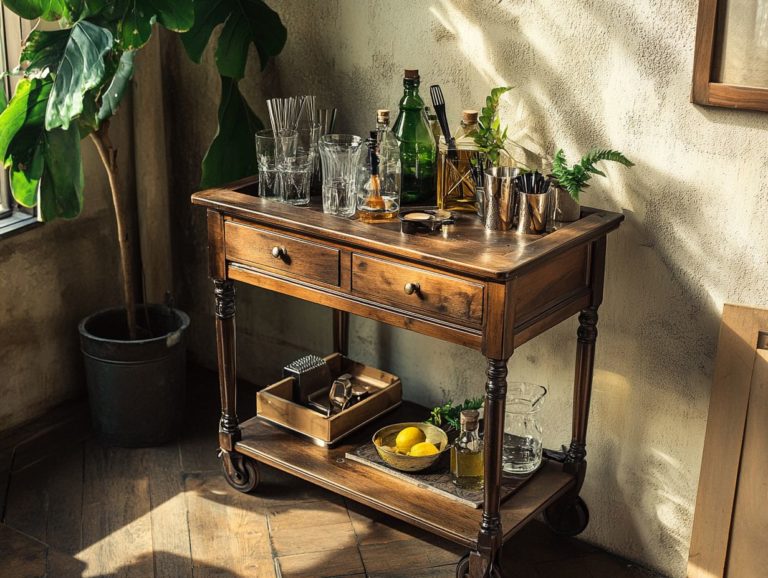
Caring for Your Restored Vintage Trunk
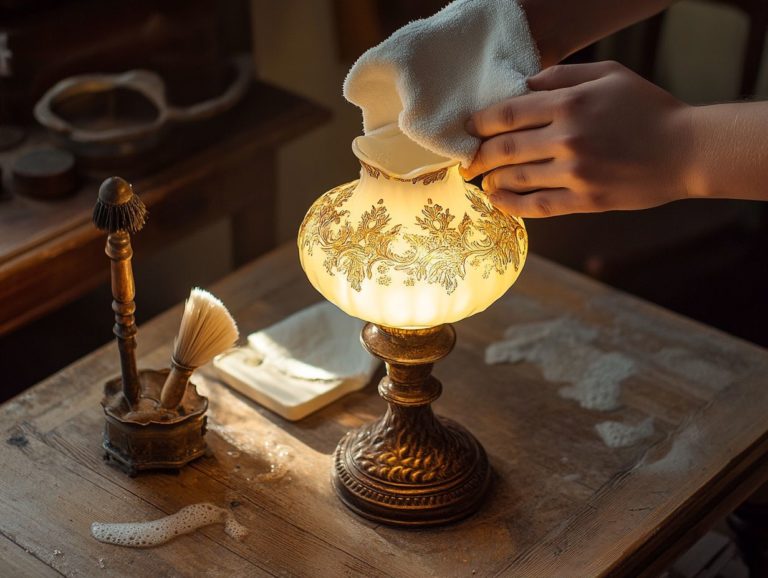
Want to keep your beautiful vintage trunk looking great? Proper care is vital for ensuring its longevity and preserving its unique charm. This requires regular cleaning, gentle handling, and protecting the trunk lining to safeguard its interior.
By following preservation tips like applying beeswax polish on leather and routinely cleaning the metal components you can greatly enhance the lifespan of your cherished trunk.
Maintenance and Preservation Tips
Use effective maintenance strategies to enhance your vintage trunk’s lifespan. This will transform it into a cherished piece for years.
Regularly apply leather treatment to straps and handles. Inspect metal parts for rust and use suitable cleaning supplies to prevent deterioration and keep your trunk looking its best.
Storing your vintage trunk in a room with steady temperatures and humidity is essential to avoid excessive moisture, which can lead to mold and damage. Utilizing padded dust covers will provide a protective layer against dust and scratches while ensuring airflow.
Show off your trunk in style by placing it away from direct sunlight. This exposure can fade colors and weaken materials over time.
Documenting the trunk’s history and any restoration work done will enhance its value. It becomes a fascinating conversation piece that reflects your personal style.
Frequently Asked Questions
What tools do I need to restore a vintage trunk?
Some essential tools for restoring a vintage trunk include a screwdriver, pliers, hammer, sandpaper, paintbrush, wood glue, and leather cleaner.
How do I clean the exterior of a vintage trunk?
To clean the exterior of a vintage trunk, start by wiping it down with a damp cloth to remove dirt and dust. Next, use a mixture of warm water and mild soap to gently scrub away any stains.
Be sure to dry the trunk thoroughly before moving on to the next step. Act now to keep your trunk looking stunning!
What should I do if the trunk’s hardware is rusty?
If the trunk’s hardware is rusty, you can use a mixture of vinegar and baking soda to remove it. Apply the mixture to the rusty areas and let it sit for a few minutes before scrubbing it off with a toothbrush or steel wool.
Rinse with water and dry thoroughly.
How do I repair damaged wood on a vintage trunk?
To repair damaged wood on a vintage trunk, start by sanding down the damaged area to remove any rough edges. Then, apply wood glue to the damaged area and press the pieces back together.
Use clamps to hold the pieces in place until the glue dries completely.
Should I repaint a vintage trunk?
Whether or not you should repaint a vintage trunk depends on the condition of the existing paint. If the paint is chipped or peeling, it’s best to strip it off and repaint the trunk.
However, if the paint is in good condition, you may choose to leave it as is.
How do I restore the leather on a vintage trunk?
To restore the leather on a vintage trunk, start by cleaning it with a leather cleaner. Then, use a leather conditioner to moisturize and protect the leather.
If there are any tears or holes, you can use a leather repair kit to fix them. Be sure to test the products on a small, inconspicuous area first.