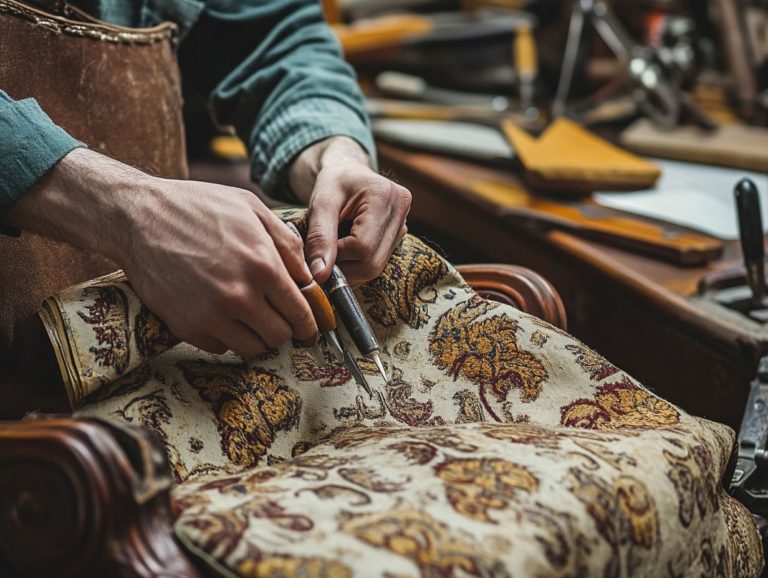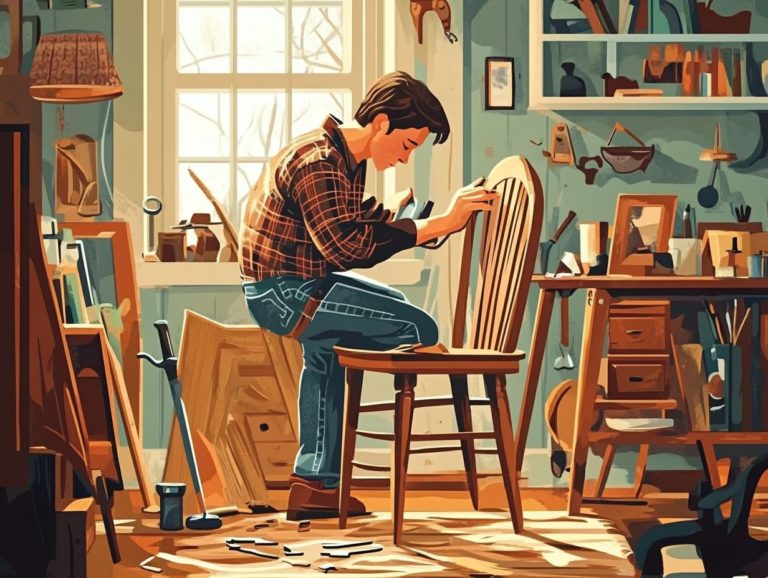
The Art of Distressing: DIY Vintage Techniques
If you seek to infuse your home decor with character and charm, mastering the art of distressing can truly be transformative! This guide will equip you with all the essential knowledge, covering everything from must-have tools and materials to both basic and advanced techniques. Get ready to unleash your creativity!
You ll uncover the secrets to achieving that sought-after vintage aesthetic, complete with invaluable tips and tricks for an authentic finish. Whether you re a DIY novice or a seasoned pro, you will find plenty of inspiration to elevate your space with exquisitely distressed pieces.
Contents
Key Takeaways:
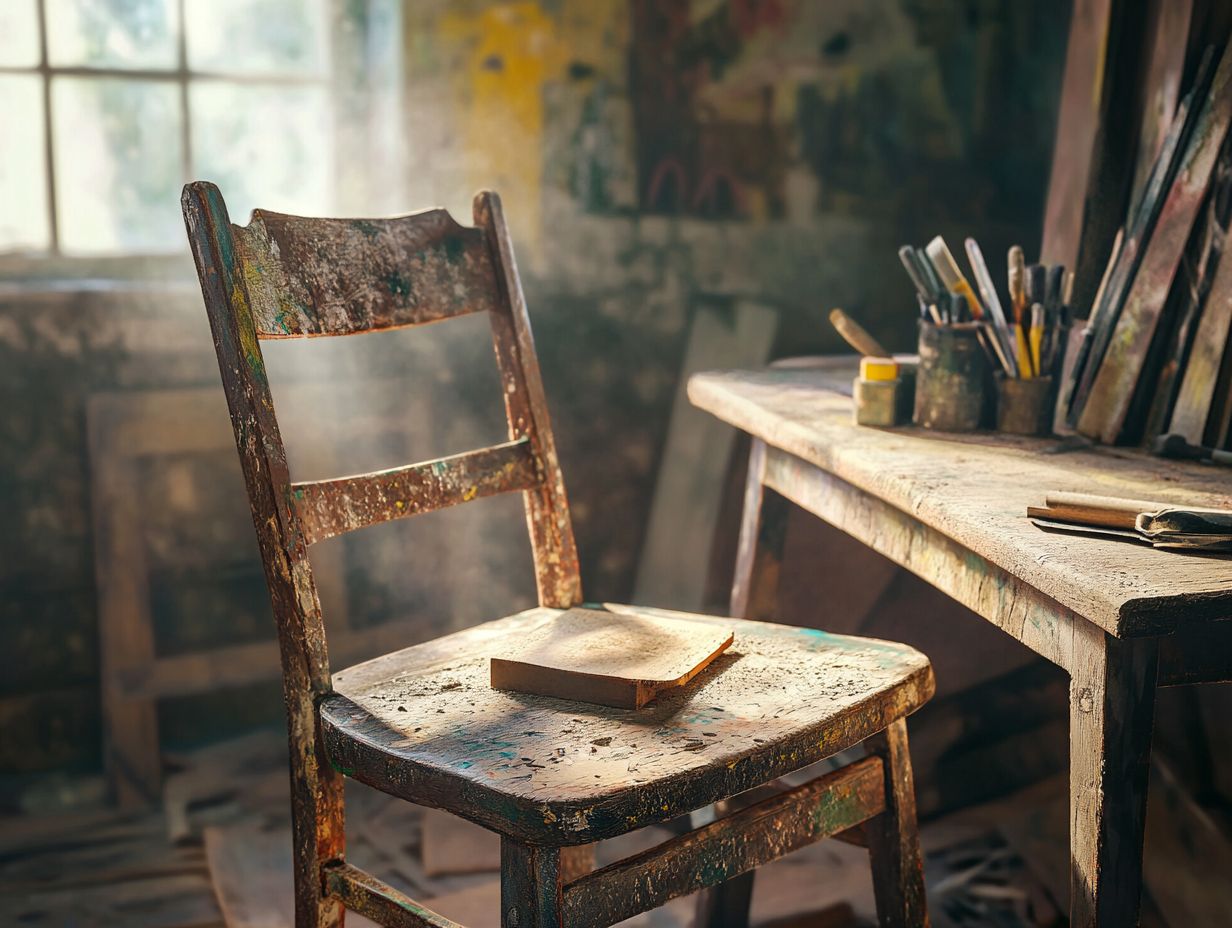
What is Distressing?
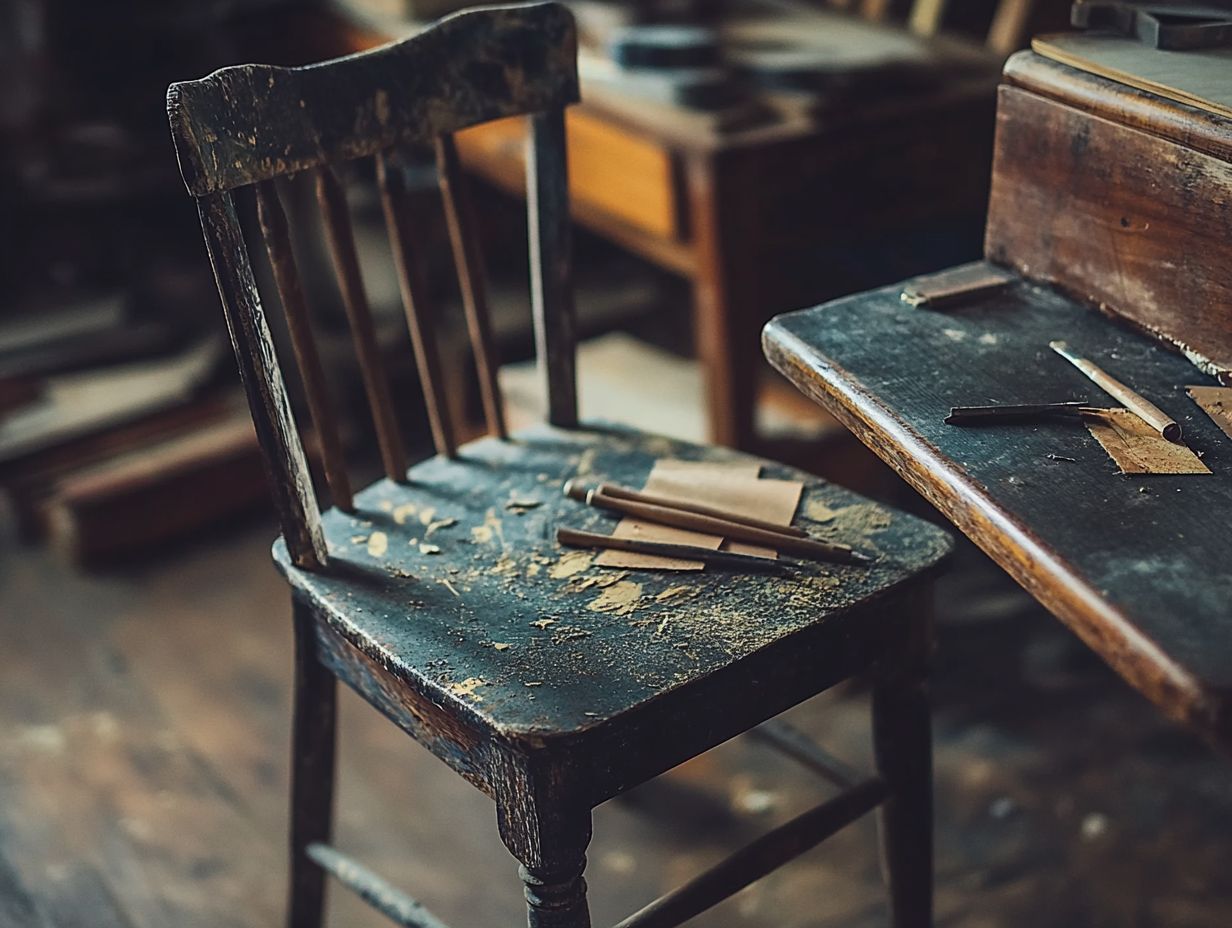
Distressing is a technique that gives new items an aged or vintage look. It allows you to create a weathered appearance on materials like wood and paper, transforming ordinary items into unique pieces brimming with character. This method employs a range of distressing techniques that impart an aged, rustic aesthetic, often found in distressed furniture or through innovative paper crafting methods.
By applying specific distressing techniques like sanding or painting techniques, you can achieve visual aesthetics that evoke a nostalgic sensory experience, making your crafting projects truly stand out. For more insights on this, check out transforming vintage finds. Distressing not only elevates the visual appeal but also adds depth and texture, infusing each piece with a rich narrative.
Techniques such as soft sanding, using soft sandpaper, mimic the natural wear and tear that occurs over time. Layering paint followed by strategic scratching can replicate the look of decades of use, creating a story within the wood.
For paper crafting, faux distressing techniques can involve tearing edges or using inks to create vintage hues while maintaining the structural integrity of the materials. The choice of distressing method often reflects your personal style, crafting a dialogue between you and the piece you ve created.
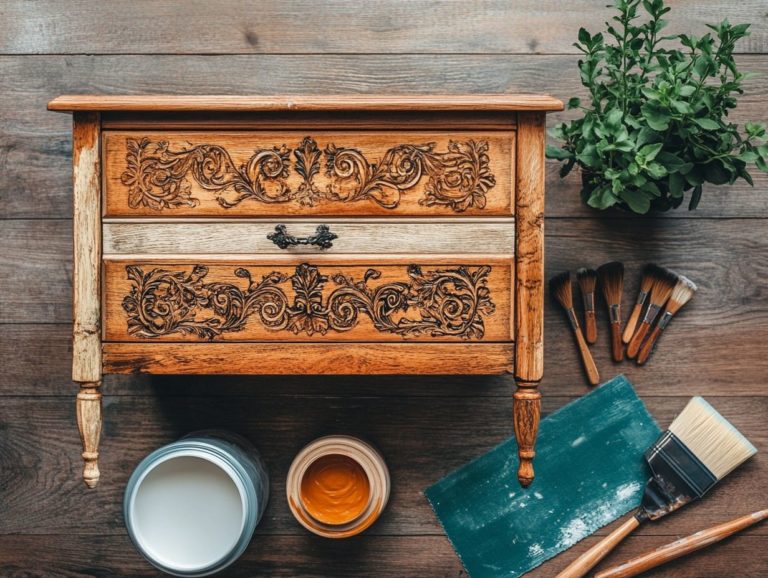
Tools and Materials Needed
Ready to dive into your next project? You ll need some essential tools! To truly excel in challenging projects, you’ll require an array of essential tools and materials.
Start with scrap wood, perfect for crafting unique furniture pieces. Fine sandpaper is your go-to for achieving that flawless, smooth finish. Don’t forget to select various types of paint whether it s vibrant acrylics or the sophisticated Chalk Paint to create the color palette that elevates your visual aesthetics.
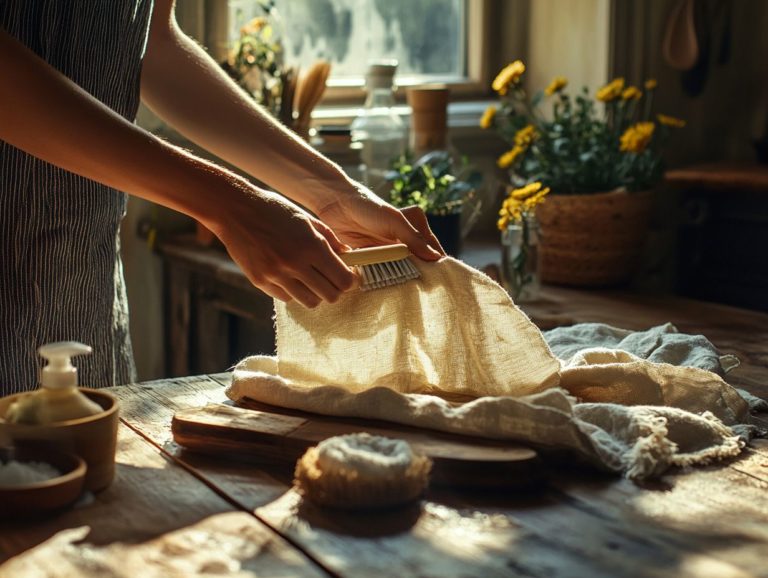
Essential Supplies for Distressing
Essential supplies for your distressing projects include high-quality paper, acrylic paint, and paper samples that will help you create unique crafting projects embodying that coveted weathered wood aesthetic. Selecting the right paper is paramount to achieving that authentic vintage vibe.
Opt for textured papers like linen or handmade varieties; they add depth and a tactile quality that speaks of years gone by. Color plays a crucial role in your creations muted shades like light grays or soft browns beautifully complement the distressed style you’re aiming for.
You ll find a wide selection of supplies at local craft stores or online marketplaces, making it easy to gather everything you need. Acrylic paint, especially in matte finishes, allows for effortless layering and blending, enhancing that overall weathered appearance. Pair these supplies with tools like sandpaper or quality brushes to elevate your craftsmanship, ensuring each project boasts its unique character.
Basic Distressing Techniques
Basic distressing techniques lay the groundwork for achieving that coveted distressed look. You ll find methods like sanding to add texture, the candle technique for those charming faux aging effects, and a variety of painting techniques that elevate the visual appeal of your final product.
Each approach adds its unique touch, transforming your piece into something truly special. For those interested in keeping vintage items in great condition, consider exploring vintage fabric preservation tips and techniques. Start your distressing journey today and watch your space transform!
Sanding and Scratching
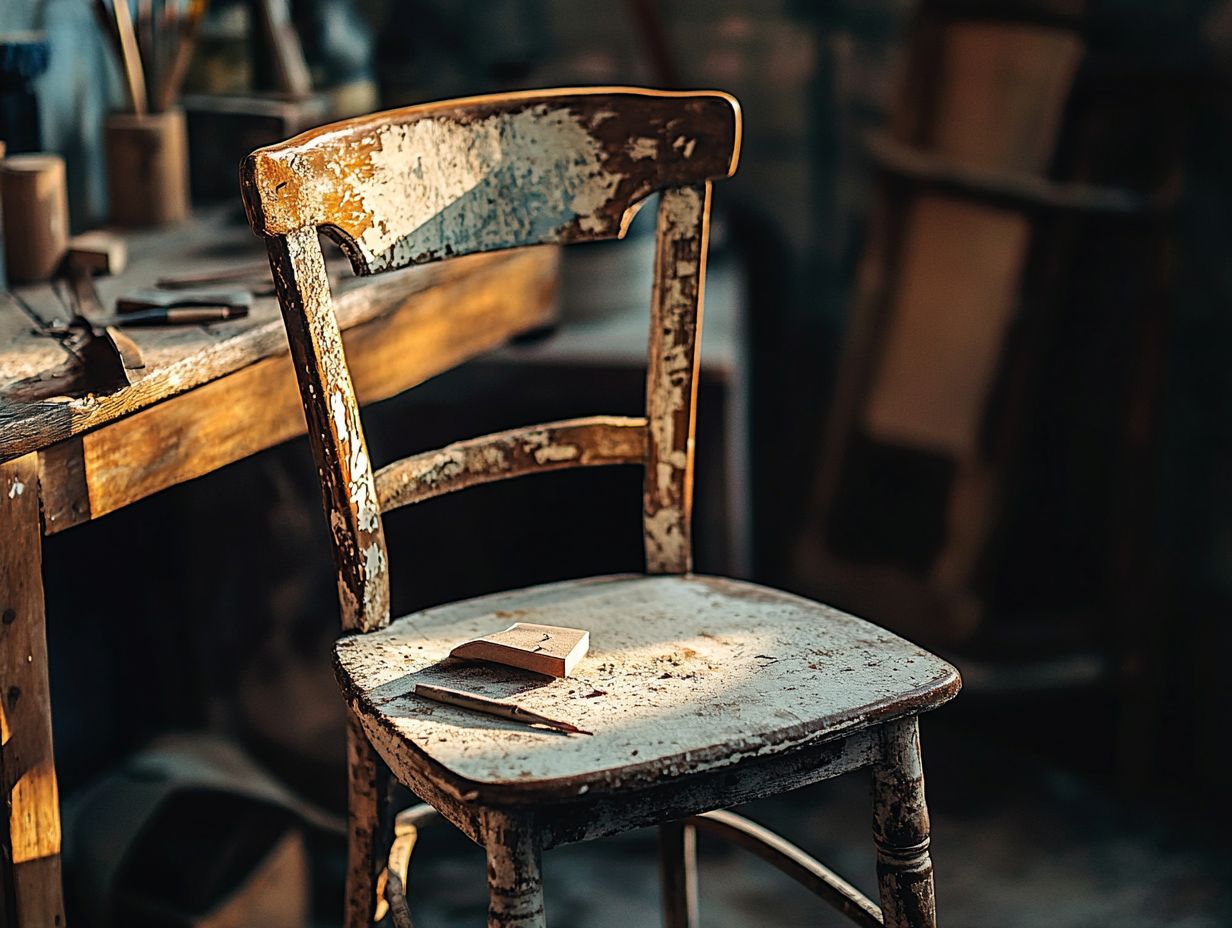
The sanding and scratching technique is the best way to achieve a coveted weathered wood effect. Using fine sandpaper can help craft a beautifully distressed look that elevates your project.
Select the right grit of sandpaper to manipulate texture and smoothness. This allows for finishes from lightly worn to heavily distressed.
Starting with a coarser grit removes more material, creating deeper scratches and a pronounced vintage charm. As you progress, switch to finer sandpaper to refine those edges and soften harsh lines.
Experiment with different methods like circular motions or cross-hatch patterns for extra texture. Mastering these techniques gives you control over the final outcome, transforming ordinary surfaces into unique pieces that tell their own story.
Painting and Staining
Painting and staining are key techniques in the distressing process. They allow you to add color and enhance the rustic look of your piece.
To achieve stunning results, try layering techniques. Applying lighter hues beneath darker finishes adds depth and complexity. For example, a soft cream base topped with a muted teal beautifully highlights the furniture’s details.
Choosing popular color palettes, like warm greys and muted navy, creates a sophisticated yet inviting atmosphere. Earthy tones, such as deep greens and burnt oranges, evoke warmth and a connection to nature.
Each color choice defines the mood of your distressed piece. It enhances the overall aesthetic, making it a true focal point in any room.
Advanced Distressing Techniques
Advanced distressing techniques, like crackling and chipping, add complexity and creativity. These methods let you explore mixed media approaches and faux techniques, enhancing your projects.
Crackling and Chipping
Crackling and chipping techniques are fantastic for artistic expression. They add depth and charm, making each project one-of-a-kind.
To achieve the crackling effect, start with a base layer of paint. Apply crackle medium before adding a contrasting topcoat. As the topcoat dries, a delicate network of fine cracks will appear.
For an aged appearance, use the chipping technique. Layer paint and gently distress with sandpaper or a wire brush. Allow each layer to dry thoroughly before progressing.
Feel free to experiment with different paints to create intricate textures and finishes. Mixing and matching is part of perfecting your unique approach!
Layering and Waxing
Layering and waxing are essential in advanced distressing. They help achieve an aged, rustic aesthetic while adding depth and protection.
Select colors that go well together for a captivating blend. The right products, from chalk paint to glazes, can elevate your finish.
Once your layers are applied, waxing is crucial. It adds a barrier against wear and tear, enriching color and providing a lustrous sheen. Regular waxing extends your piece’s lifespan while maintaining its rustic charm.
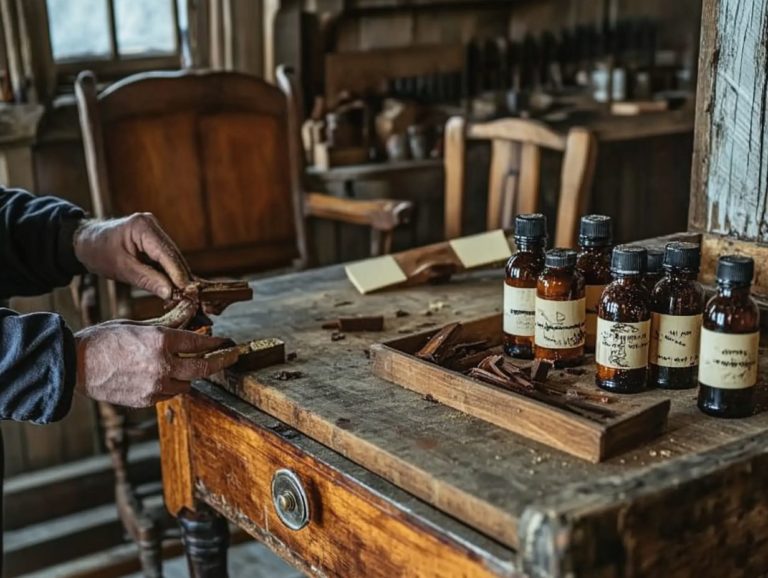
Creating a Vintage Look
Creating a vintage look requires a meticulous blend of artistic techniques and careful sourcing of materials. Curating distressed furniture and vintage-style items draws inspiration from hidden gems found in antique bookstores and the charm of old books. Each element evokes a timeless aesthetic that reflects your unique style and inspires your DIY adventures.
Tips and Tricks for an Authentic Vintage Finish
To achieve an authentic vintage finish, apply specific crafting tips that elevate the visual appeal of your distressed project, ensuring they exude a sense of history and character.
One effective approach is to utilize layering techniques. Apply multiple coats of varying shades and then sand them down to reveal the underlying hues. This adds depth to your piece. Incorporating natural materials like beeswax or homemade pastes creates the sought-after aged patina. You might also use an antiquing glaze a finish that gives furniture an aged appearance to enhance details and replicate years of wear. Stencils or stamp designs can introduce a nostalgic touch.
Your aim is to not only mimic the imperfections of time, but to imbue each item with a story, transforming it into a cherished artifact rather than just a mere decoration.
Using Distressing in Home Decor
Incorporating distressing techniques into your home decor can transform your space into something extraordinary! This approach combines creativity with functional design across a variety of DIY projects, allowing you to create a space that is visually captivating and deeply personal.
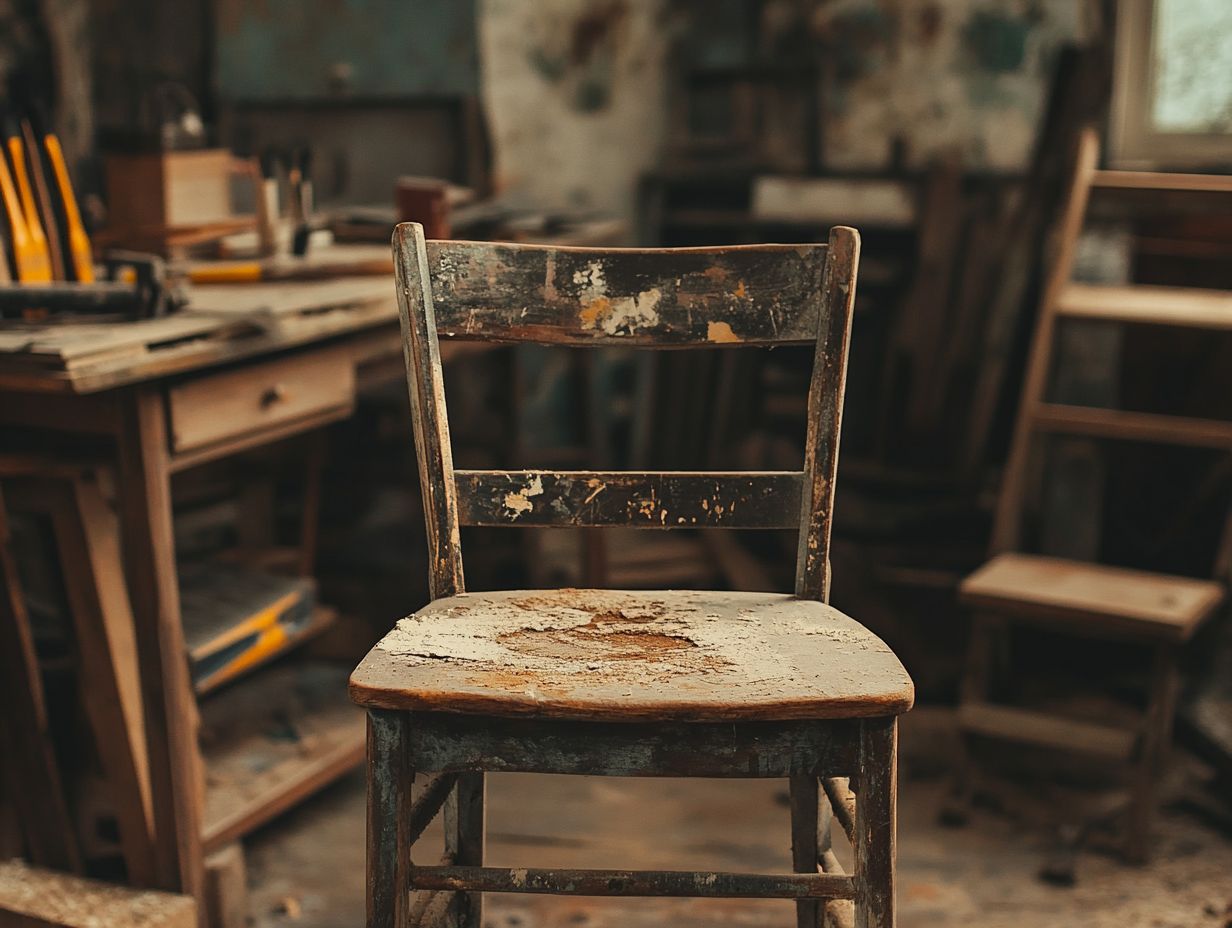
Incorporating Distressed Pieces in Your Home
Bringing distressed pieces into your home decor creates a unique atmosphere. It blends rustic charm with modern aesthetics through various artistic techniques.
When selecting distressed furniture or accessories, choose items that resonate with a specific color palette or style to maintain cohesion throughout your space. For instance, a weathered wooden coffee table can become an inviting centerpiece, harmonizing beautifully with contemporary sofas. Adding distressed mirrors expands light while introducing depth, creating a focal point that naturally draws the eye.
The versatility of these pieces means they can fit effortlessly into various settings from a farmhouse kitchen adorned with vintage utensils to a chic urban living room brimming with eclectic finds. Collectively, these elements enhance the ambiance, infusing warmth and character into every corner of your home.
Frequently Asked Questions
What does it mean to “distress” furniture?
Distressing furniture is a technique used to give a piece a worn, aged, or vintage appearance. This is achieved by deliberately making changes to the furniture’s surface, such as sanding, staining, and using various tools to create wear and tear marks.
Why would someone want to distress their furniture?
Distressing furniture allows you to create pieces that feel uniquely yours. It adds character and charm, making each piece appear as if it has a story to tell. Distressed furniture can also be less intimidating to use in a home, as it has a more lived-in and comfortable feel.
What are some common distressing techniques?
Common distressing techniques include sanding, using a hammer or chain to create dents or divots, applying a crackle finish, staining with multiple colors, and using a dry brush method to add layers of paint. Various distressing tools are also available, such as distressing brushes and sandpaper blocks.
Can any type of furniture be distressed?
Most types of furniture can be distressed, including wood, metal, and even plastic. However, consider the material and condition of the furniture before distressing. For example, it may be more challenging to distress a piece with a glossy or laminated finish.
Do I need any special materials to give my furniture an aged look?
You don’t need special tools to give your furniture an aged look. Basic materials like sandpaper, paint, and household items such as a hammer or chain will work just fine.
Don t forget to wear protective gear, like gloves and goggles, to keep yourself safe while you work!
Is it hard to give my furniture an aged look by myself?
Giving your furniture an aged look is an exciting DIY adventure that anyone can enjoy! While it requires some patience and practice, you can easily master it.
Plan your techniques ahead of time to get the look you want. There are tons of online resources and tutorials to help you along the way!