How to Repair Old Mirrors: A DIY Guide
Mirrors serve as both functional and decorative elements in your space, but the passage of time can certainly lead to wear and tear.
Whether you’re dealing with scratches, chips, or a broken pane, the thought of repairing an old mirror might feel overwhelming. This guide will equip you with everything you need to restore your mirrors quickly and effectively!
You’ll also discover valuable tips for maintaining your newly restored mirror, ensuring it continues to shine beautifully for years to come. Dive in and revitalize your reflection!
Contents
Key Takeaways:
- Identify the type of mirror and assess the damage before beginning any repairs. This will help determine the best course of action.
- Gather all necessary materials and tools before starting the repair process. This will ensure a smooth and efficient repair experience.
- Regular maintenance and preventative measures will extend the lifespan of your repaired mirrors. Use proper cleaning techniques to keep them looking like new.
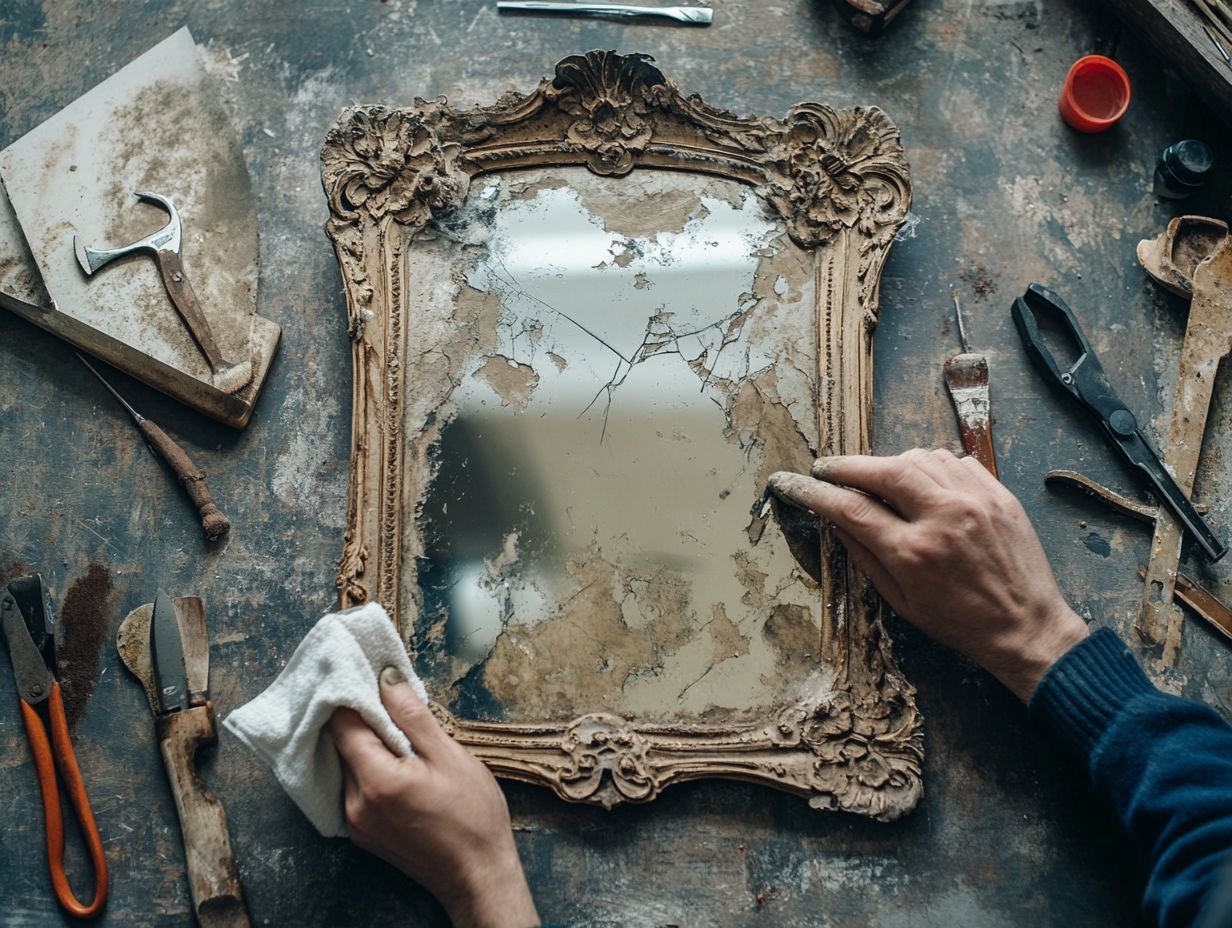
Assessing the Damage
Assessing the damage is vital in the restoration of antique mirrors. It requires not only identifying the specific type of mirror but also evaluating the extent of damage to its reflective surface, frame, and overall integrity.
These elements are crucial as they significantly influence both the aesthetic appeal and functionality of the piece. Understanding these factors is essential before you begin any DIY restoration project, as they will inform your subsequent steps in the repair process.
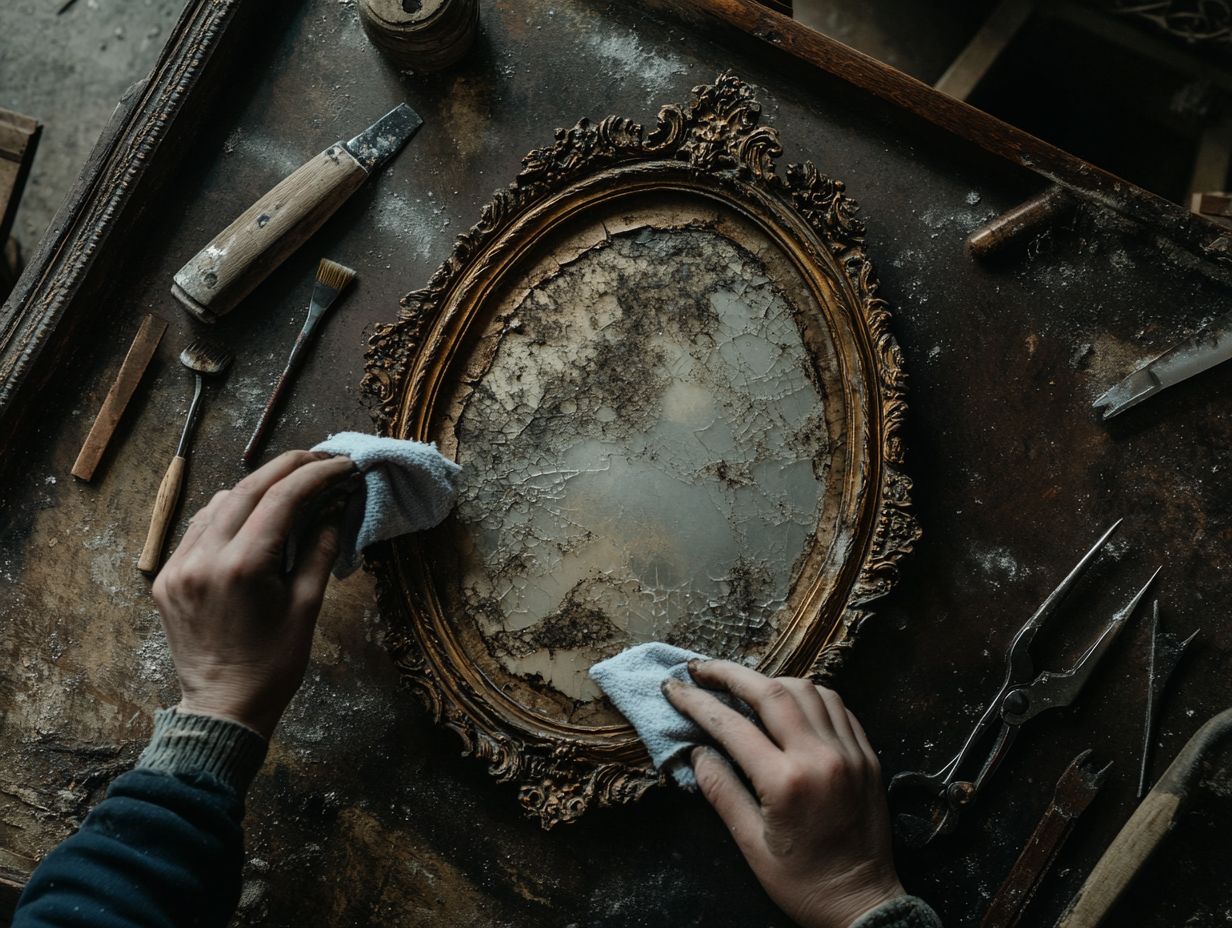
Identifying the Type of Mirror
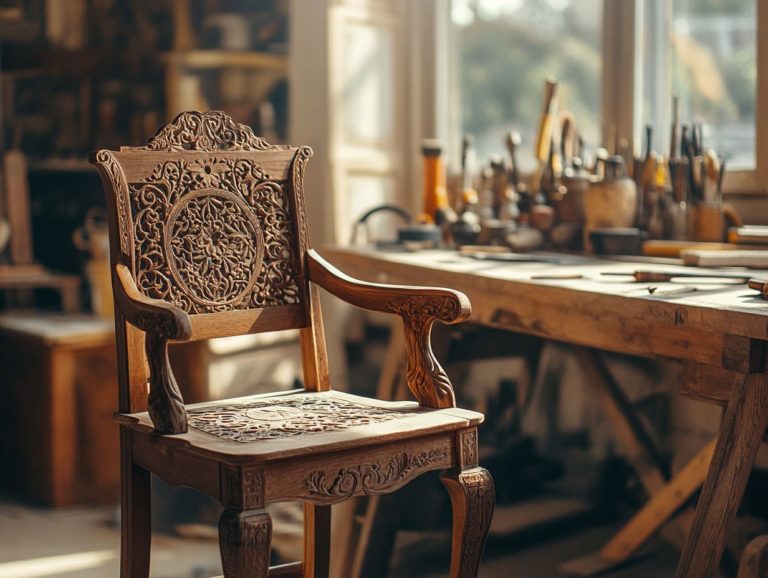
Identifying the type of mirror you re working with is crucial for effective restoration. Different styles like vintage mirrors adorned with decorative molding or classic glass designs call for distinct restoration techniques and materials.
Antique mirrors with ornate wood frames require careful cleaning methods. This helps preserve their intricate carvings and finishes without causing damage. Utilizing a soft, damp cloth paired with gentle cleaners can help revive their luster while avoiding harsh chemicals.
Meanwhile, simpler glass designs can greatly benefit from a thorough polish that effectively removes any cloudiness or oxidation. If you re a DIY enthusiast, consider incorporating specialized waxes or sealants to protect the surface after restoration.
The methods you choose not only enhance the beauty of these timeless pieces but also ensure they remain vibrant and relevant in modern home decor.
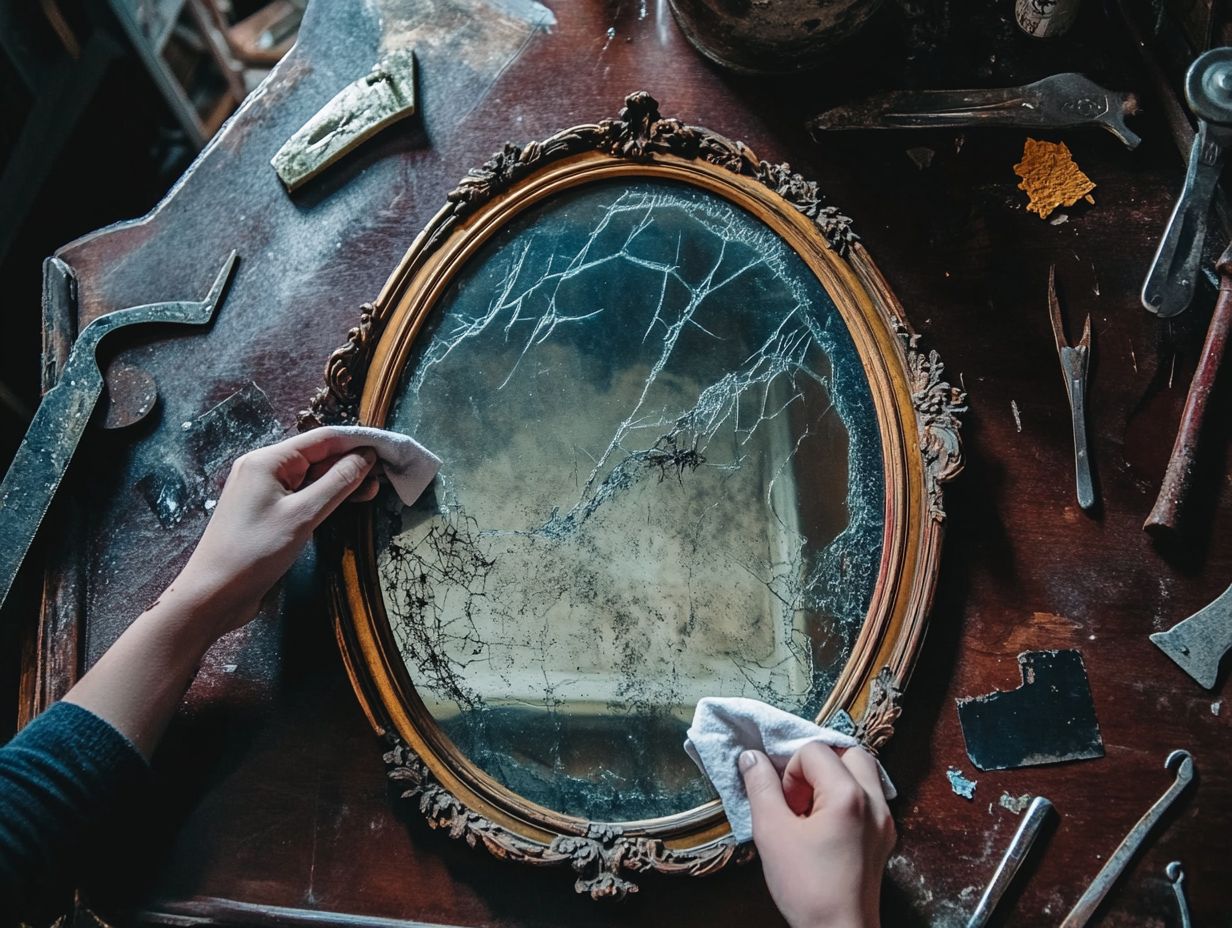
Common Types of Damage
Common types of damage to mirrors include scratches, chips, and mirror rot, each capable of undermining the beauty and functionality of your vintage treasures. This often necessitates effective mirror repair and restoration techniques.
Scratches might creep in from improper cleaning tools or an unfortunate brush with hard surfaces. Chips can occur during transportation or installation an all-too-common occurrence. Mirror rot, however, generally stems from moisture damage, leading the reflective backing to deteriorate over time.
By identifying these issues early like spotting haze or peeling at the edges you can take proactive steps to mitigate further degradation. Effective restoration might involve polishing the surface, replacing chipped sections, or even re-silvering the damaged areas, ensuring your mirrors not only regain their original luster but also function optimally once again.
Materials and Tools Needed
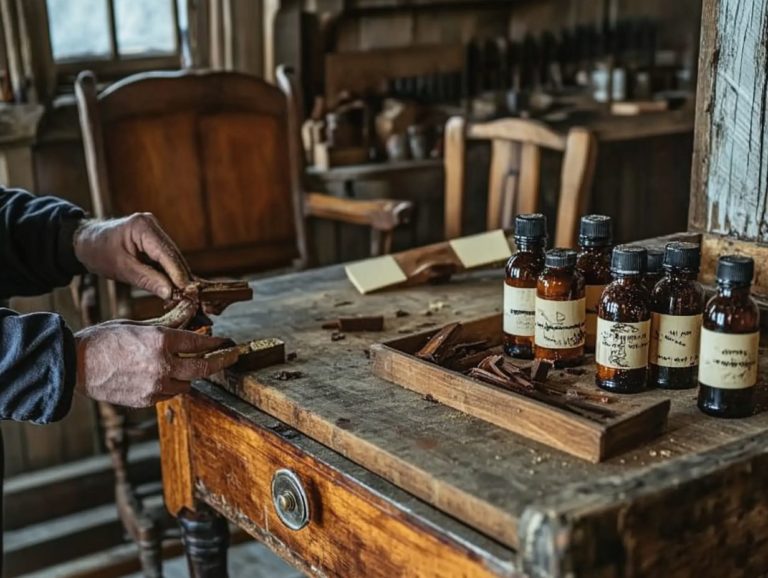
To successfully restore antique mirrors, you ll require a carefully curated selection of materials and tools. Start with protective gear, such as chemical gloves, to ensure your safety.
Then, gather restoration supplies like:
- muriatic acid for effective cleaning,
- various paint removers for precision in paint applications,
- epoxy putty, a strong adhesive material that helps fix broken parts.
Each of these elements plays a crucial role in helping you achieve that immaculate, polished finish.
Gathering the Necessary Supplies
Gathering supplies for your mirror restoration project is essential for a smooth workflow. Make sure you have everything from drop cloths to chemical gloves.
Don’t forget cleaning materials like WD-40 and cleaning sponges. Having these items on hand will set you up for success.
You also need fine-grit sandpaper to smooth out imperfections. A high-quality sealant will protect your newly restored mirror.
If you’re refreshing the frame, pick up some wood or metal paint along with brushes for a polished look.
Get your supplies from local hardware stores or online retailers. You can often find kits designed specifically for restoration projects.
Understanding how each item works will streamline the process. For example, sponge applicators help distribute cleaning agents evenly.
Repairing Scratches and Chips
Repairing scratches and chips in vintage mirrors requires a careful method. Techniques like filling imperfections with epoxy putty will help blend repairs with the original surface.
These strategies restore the mirror’s beauty and extend the life of your cherished antiques.
Step-by-Step Guide to Fixing Minor Damage
Fixing minor damage on antique mirrors involves a careful, step-by-step method. Start by assessing the damage and selecting the right materials.
Look for cracks, chips, or faded paint to ensure your restoration addresses every issue. Choose high-quality restoration supplies, such as glass adhesives and paint made for glass surfaces.
Use fine brushes for precision to elevate the mirror’s appearance. Work in a well-lit environment to match colors accurately.
Finally, allow ample drying time before handling the mirror. This ensures your restoration stands the test of time.
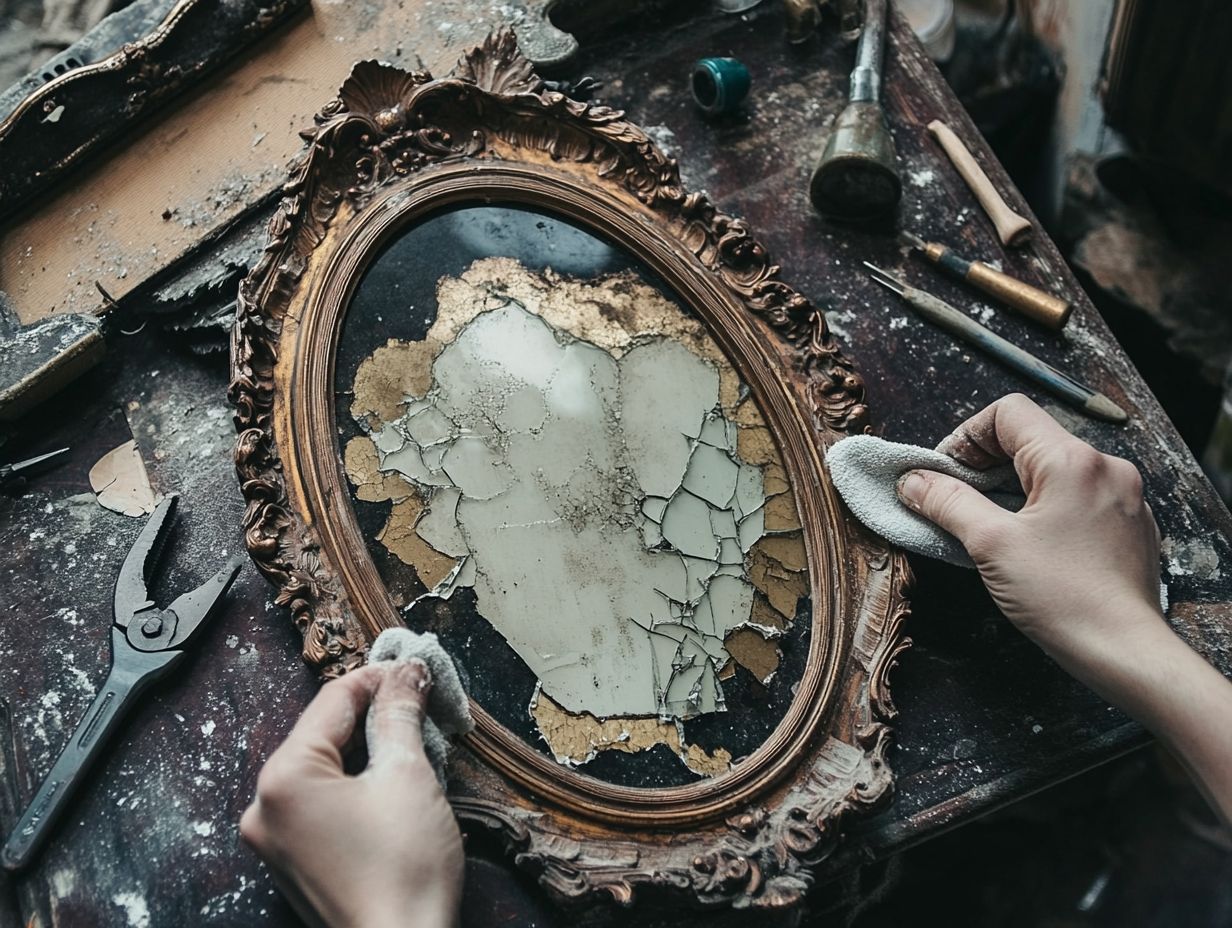
Re-silvering a Mirror
Re-silvering a mirror is key to restoring its shine. This process starts with removing the old silver coating to prepare for modern techniques.
The result is a stunning finish that transforms your mirrors into beautiful focal points in your space.
Process for Re-silvering a Damaged Mirror
The re-silvering process requires several steps, including applying removal agents and restoration techniques. These steps ensure the new silver layer adheres properly and enhances reflectivity.
- Start by assessing the damage to the original silver backing. This will guide your restoration approach.
- Put on protective gloves and eyewear to stay safe while using desilvering agents like sodium sulfide.
- In a well-ventilated space, gently remove the old silver layer with a soft sponge or cotton swab.
- Apply the new silver solution carefully, ensuring it spreads evenly to avoid streaks.
- Allow thorough drying and proper curing of the new silver to ensure a flawless finish, reviving the mirror’s shine for future generations to cherish.
How to Replace Broken Mirror Glass
Replacing broken glass in a vintage mirror requires precision and care. Use strong adhesive materials like epoxy or hot glue to securely attach the new pane.
Make sure to keep the mirror looking great! The restoration should preserve the mirror’s original look while maintaining its functionality. Take your time; the results will be worth it.
Steps for Replacing Broken Mirror Glass
- Start by carefully removing the damaged pane.
- Measure the opening for the new glass accurately.
- Install the replacement securely for safety and aesthetic appeal.
Before you begin, gather the necessary tools: a utility knife, safety goggles, gloves, and suitable adhesive. Protecting your workspace and hands is vital, as broken glass can pose risks. Gently pry off any frame or backing without damaging surrounding structures to access the broken glass.
Once the old pane is removed, measure the opening to find the perfect fit for the new glass, allowing for a slight clearance. When installing the replacement, apply the adhesive evenly and ensure the mirror sits flush with its frame. For a secure fit, consider using additional support clips or fasteners, especially for larger mirrors, to prevent shifting or breaking.
Tips for Maintaining Repaired Mirrors
Maintaining your repaired mirrors is crucial for preserving their beauty and functionality. Regular cleaning will keep them sparkling. Monitor moisture levels to prevent potential damage, and use protective materials to safeguard against future issues.
By doing so, you ensure that your vintage mirrors remain a stunning focal point in your decor, enhancing any space they adorn.
Preventative Measures and Cleaning Techniques
To keep your mirrors clear and shiny, employ preventative measures and effective cleaning techniques. Use non-abrasive cleaning solutions, regularly check moisture levels, and apply protective materials to safeguard your DIY restoration efforts.
Consider a blend of distilled water and white vinegar for a streak-free finish, avoiding harsh chemicals that could damage the surface. Opt for microfiber cloths, which trap dust effectively and prevent scratches.
Pay attention to environmental conditions; high humidity can lead to mold and fogging. Using a dehumidifier or ensuring proper ventilation can make a significant difference. To extend the life of your mirrors, think about applying a protective coating that repels moisture, keeping them stunning for years to come.
Frequently Asked Questions
What materials do I need to repair an old mirror?
For mirror repairs, gather these items: a glass cutter, mirror mastic or adhesive, a scraper or putty knife, primer and paint, and a new frame if needed.
Can I repair a cracked or chipped mirror?
Yes, you can repair a cracked or chipped mirror using a glass repair kit or epoxy resin. Just remember, the repair may not be completely invisible.
How do I remove the old mirror from its frame?
To remove an old mirror from its frame, use a heat gun or hairdryer to soften the adhesive, then carefully pry the mirror from the frame using a scraper or putty knife.
Can I repaint a mirror frame?
Absolutely! You can repaint a mirror frame for a fresh look. Sand any rough spots and use a primer before painting.
What is the best way to clean an old mirror?
The best way to clean an old mirror is a mixture of equal parts water and vinegar. Avoid harsh chemicals or abrasive cleaners, as they can damage the mirror’s surface.
Don’t wait! Start your restoration today and bring your vintage mirrors back to life!
Do I need to replace the whole mirror if it’s missing a small piece?
No, you don t need to replace the entire mirror! If you have a small piece missing, you can easily fix it.
Use a glass repair kit or epoxy resin to fill in the gap. It s a simple and quick solution!