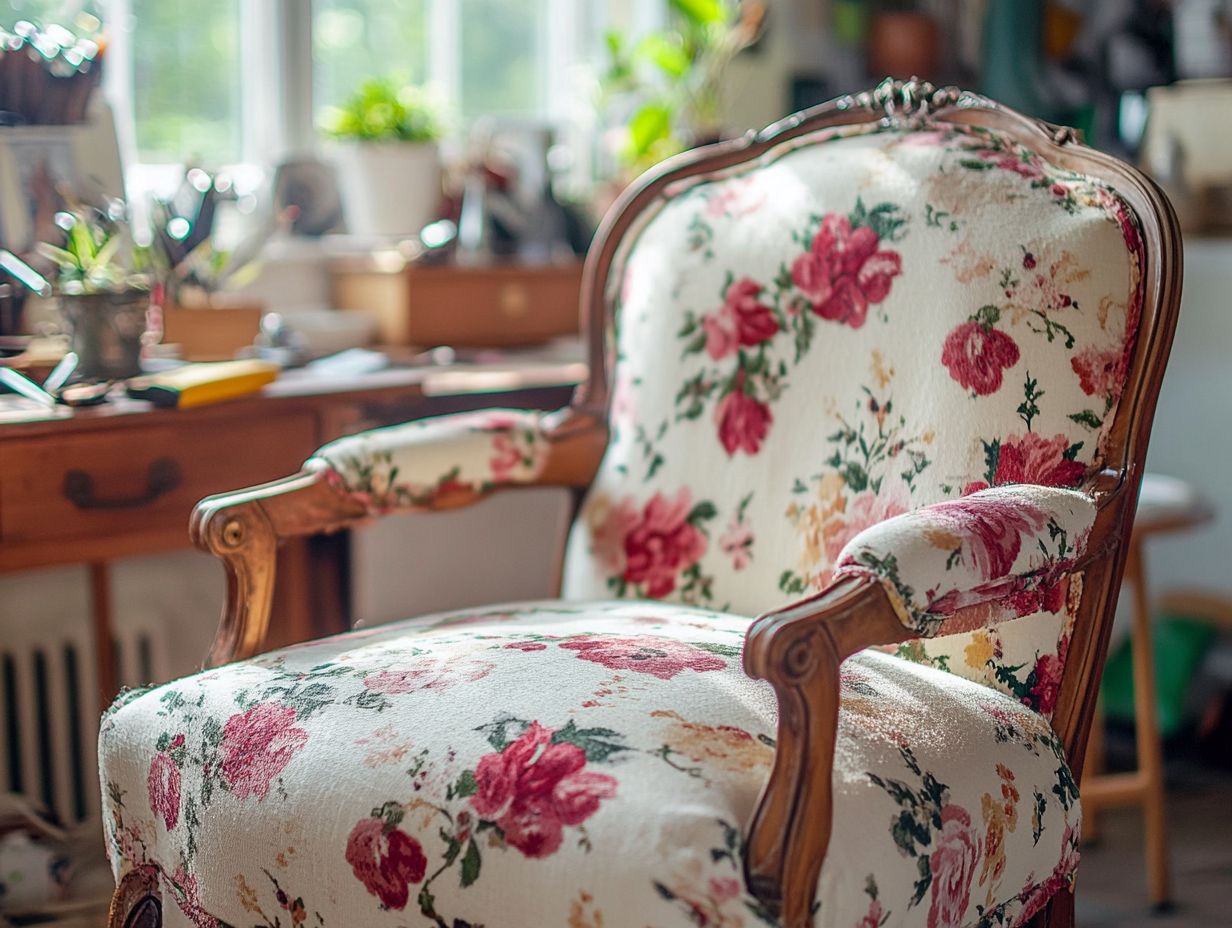
How to Reupholster a Vintage Chair: A Guide
Reupholstering a vintage chair is your chance to breathe new life into a cherished piece of furniture, transforming it from weary and worn to simply stunning. Get ready to dive into this exciting journey of transforming your chair!
This guide will walk you through the process of reupholstering, starting with the fundamentals and leading you to select the ideal materials and tools.
Learn how to prepare your chair, choose the perfect fabric, and follow a step-by-step approach that ensures a professional finish. Whether you’re just dipping your toes into DIY or you’re a seasoned expert in upholstery tips, this journey is sure to be both rewarding and creatively fulfilling.
Contents
- Key Takeaways:
- What is Reupholstering and Why Do It?
- Materials and Tools Needed
- Preparing the Chair for Reupholstering
- Choosing and Measuring New Fabric
- Step-by-Step Reupholstering Process
- Tips and Tricks for a Professional Finish
- Frequently Asked Questions
- How do I choose the right fabric for reupholstering my vintage chair?
- What tools will I need to reupholster a vintage chair?
- Can I reupholster a vintage chair myself, or should I hire a professional?
- How do I remove the old fabric from my vintage chair?
- What are some common mistakes to avoid when reupholstering a vintage chair?
- How long does it typically take to reupholster a vintage chair?
Key Takeaways:
- Transform your vintage chair and give it a fresh, vibrant life while showcasing its unique charm in your home decor.
- Essential supplies for reupholstering include fabric, cushioning, scissors, a staple gun, and pliers.
- To achieve a professional finish, carefully remove old fabric and cushioning, measure and choose the right fabric, and follow step-by-step instructions for each part of the chair.
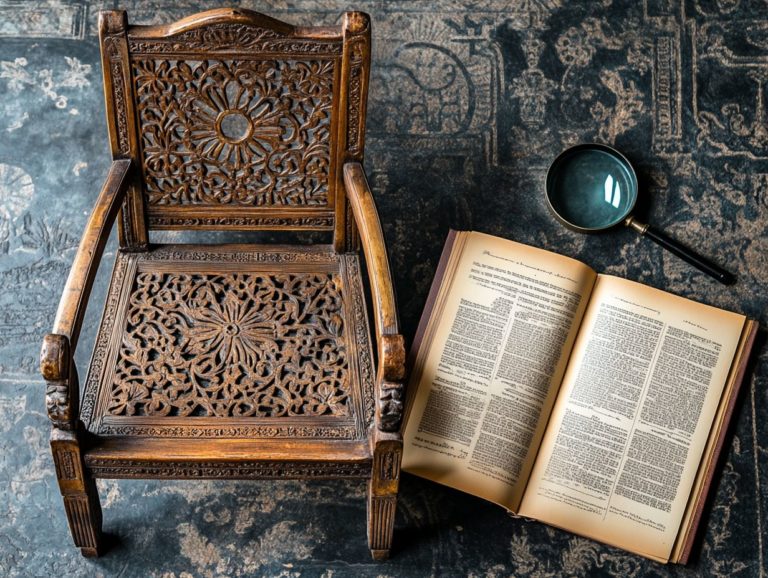
What is Reupholstering and Why Do It?
Reupholstering is the art of breathing new life into old furniture, like that exquisite antique or Victorian chair you’ve been eyeing. It involves replacing the worn-out fabric and cushioning with fresh materials, restoring the piece to its original beauty and functionality.
This upholstery endeavor not only revitalizes the vintage charm but also extends the furniture’s lifespan, enhancing its appeal for both personal enjoyment and resale, making it a desirable reupholstered chair.
Many individuals embark on such projects to refresh their living spaces or to craft distinctive pieces that truly stand out, particularly in a market saturated with mass-produced options.
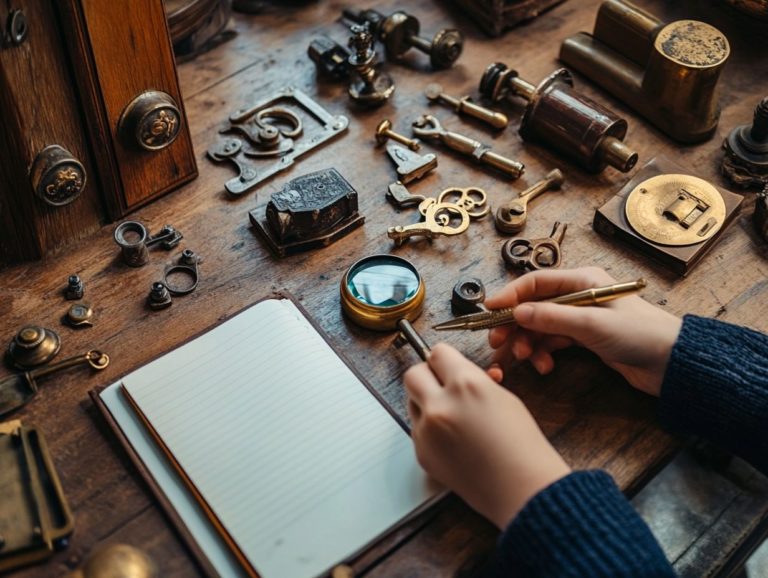
Materials and Tools Needed
To successfully complete an upholstery project, you’ll need a range of materials and tools to achieve that professional finish and lasting durability. Start by selecting fabric choices that beautifully complement the design of your chair. Consider adding batting layers for enhanced comfort, and don t forget the jute trim for that delightful vintage touch.
A reliable staple gun will be your best friend, ensuring everything is securely in place. Furthermore, equipping yourself with essential tools like upholstery webbing (a strong fabric used to support the cushioning) and a staple remover will make your process smoother and more enjoyable.
List of Essential Supplies
The list of essential supplies for your successful reupholstery project includes key items like:
- Upholstery fabric
- A sturdy wooden base to support your structure
- An upholstery staple remover for effortless fabric removal
- Needle nose pliers for precise handling of tricky small components
To ensure a flawless finish, consider adding:
- Foam padding for extra comfort
- A measuring tape to cut your materials accurately
- A heavy-duty staple gun to secure the fabric firmly in place
Each of these items plays a crucial role; the foam padding significantly enhances comfort, while the staple gun guarantees your fabric stays tightly secured.
In terms of gathering these supplies, platforms like Facebook Marketplace and Craigslist are excellent for sourcing vintage or budget-friendly materials that can add a unique charm to your project. Alternatively, browsing Amazon can provide quick delivery options with a variety of choices, making it easier for you to find just the right fabric and tools.
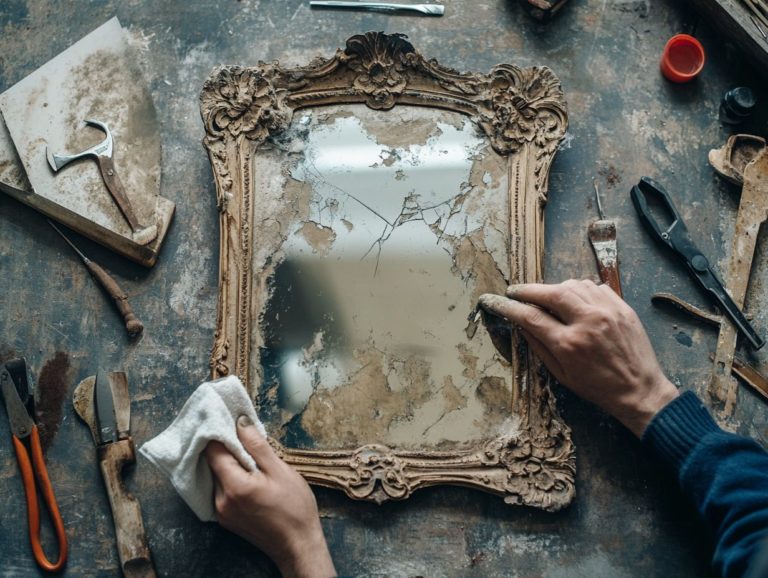
Preparing the Chair for Reupholstering
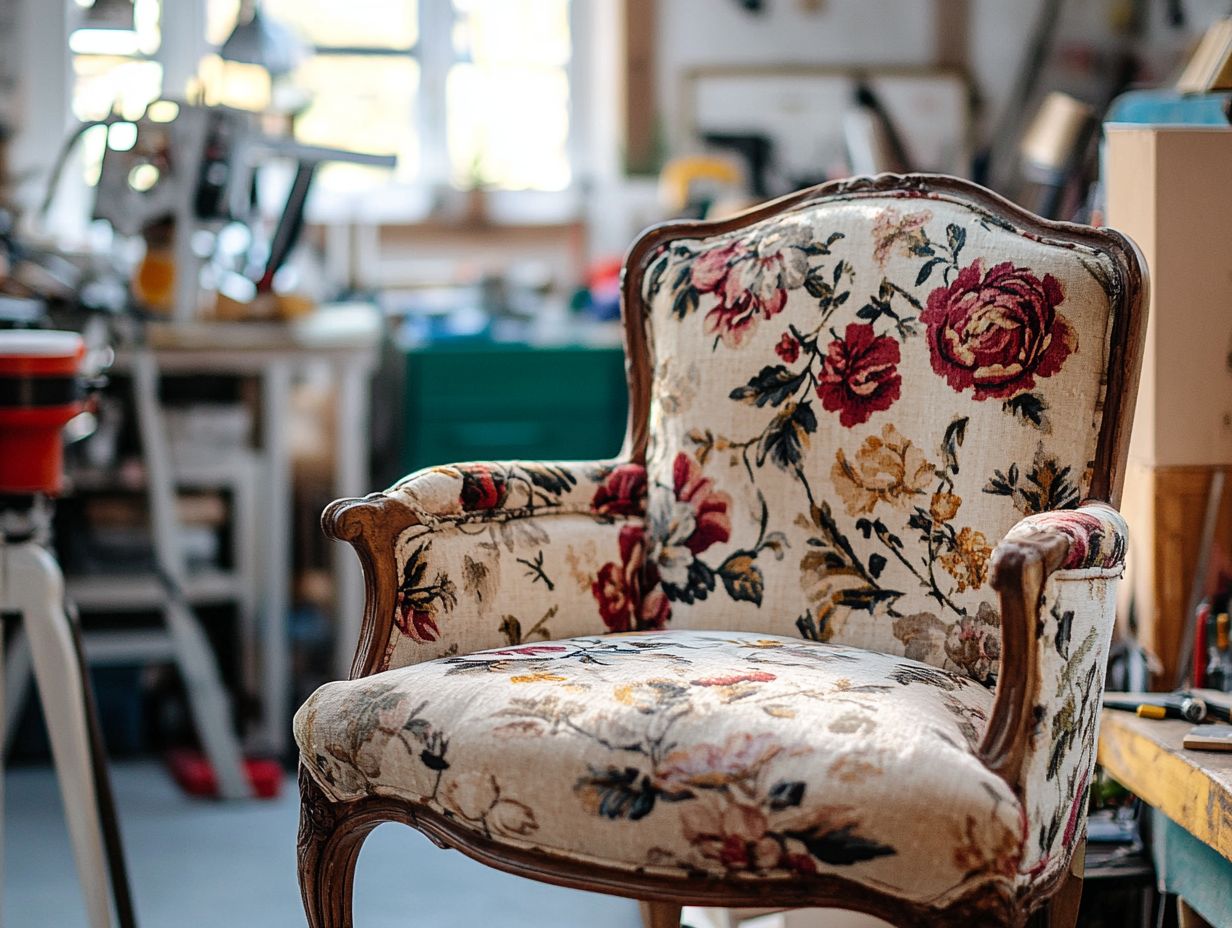
Preparing your chair for reupholstering is an essential step in the upholstery journey, creating a pristine foundation for the new fabric to adhere seamlessly.
Start by carefully removing the old fabric and any cushioning, such as batting layers and the underlying fabric, revealing the chair’s frame. This meticulous preparation allows for a detailed inspection of the wooden base and ensures it is sturdy enough to support the new upholstery.
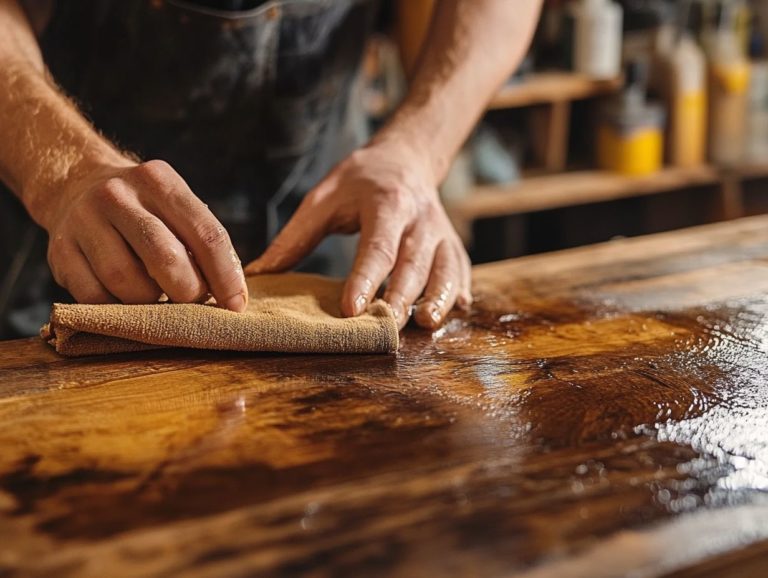
This is also a good time to spot and fix any needed repairs, such as treating the wooden base with furniture wax, before proceeding with the transformation.
Ready to transform your vintage chair? Let s get started!
Removing Old Fabric and Padding
Removing old fabric and padding is an essential first step in the reupholstery journey. It requires not only the right tools, like an upholstery staple remover, but also a keen attention to detail.
Begin by employing the staple remover to detach the old fabric from the wooden base. Ensure you carefully lift away any batting layers and fabric underlayers that may be lurking beneath.
To make this task a breeze, set up in a well-lit area with a sturdy workspace. As you peel away the old materials, keep a close inventory of the layers.
Snapping a few pictures can be invaluable for guidance during reassembly. If you encounter particularly stubborn staples, a flat-head screwdriver can come to your rescue.
Safety should be your top priority. Don t skip on gloves! They protect your hands from sharp edges or sneaky protruding nails.
By investing in high-quality upholstery supplies, you’ll turn reupholstering your chair into a rewarding endeavor. You’ll breathe new life into it that you can admire for years to come.
Choosing and Measuring New Fabric
Choosing and measuring new fabric is a crucial step in reupholstering your chair. The right fabric can transform your chair and make it a showstopper!
When making your selections, consider factors such as color, texture, and pattern. For instance, grain sack fabric may introduce a delightful rustic charm.
Precise measurement of your chair s dimensions is vital to prevent any shortages or excess fabric when it comes time to cut.
Types of Fabric and How to Measure
When selecting fabrics for your upholstery project, opt for durable fabric made for furniture that can endure daily wear and tear. Choose decorative fabric that infuses style and flair.
Your choices in fabric will affect both the appearance and longevity of your reupholstered chair. Incorporating expert upholstery tips can greatly elevate the outcome.
You have a variety of options, including:
- durable canvas
- sumptuous velvet
- adaptable polyester blends
Each fabric offers distinct benefits. Canvas is robust and easy to clean, making it ideal for homes with children or pets.
Velvet brings a sophisticated touch but may require a bit more care to keep it looking immaculate.
In terms of measuring, precision is key. Ensure that you take accurate dimensions of both the chair and the fabric needed.
Step-by-Step Reupholstering Process
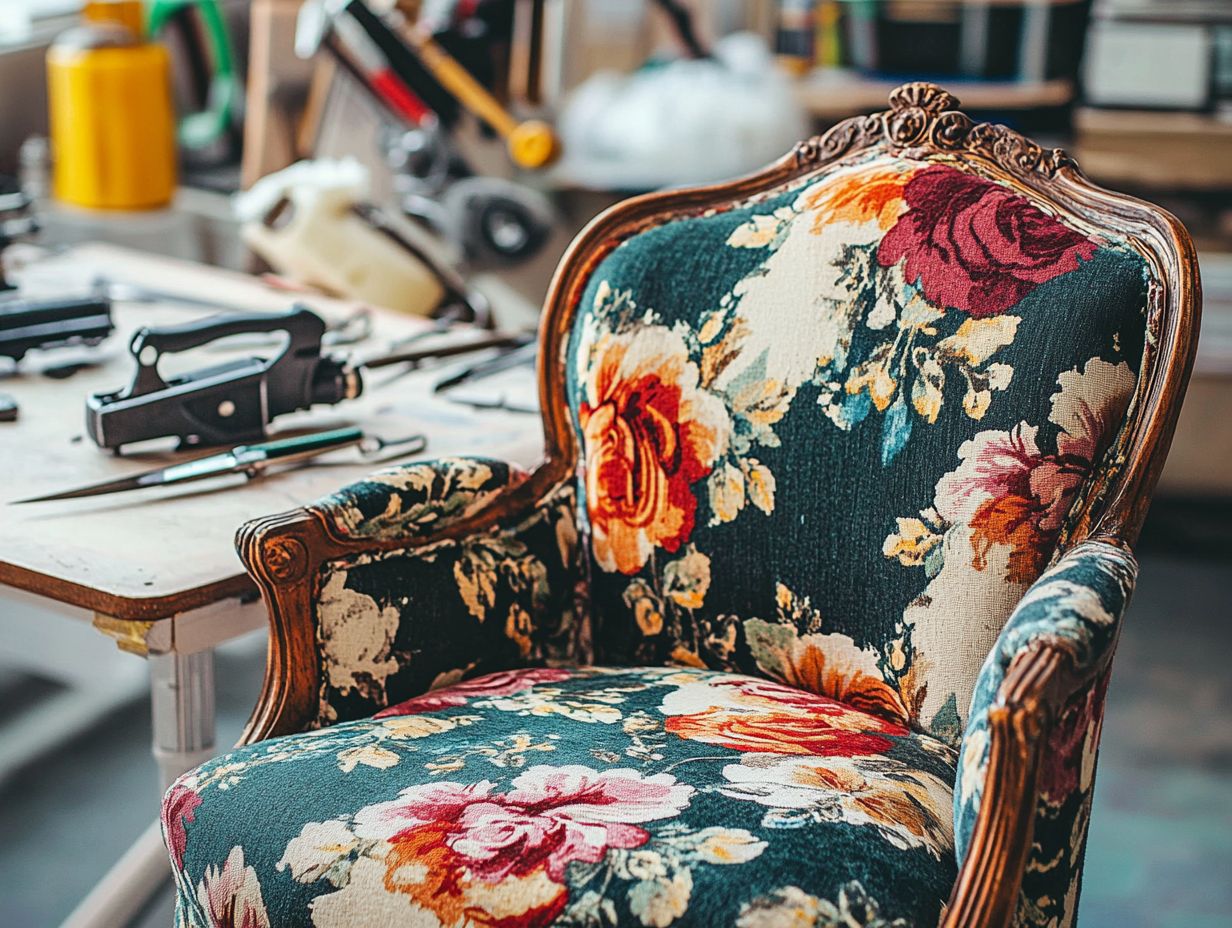
The step-by-step reupholstering process unfolds as a meticulous journey. It transforms an old, tired chair into a captivating, functional piece of furniture.
It begins with the careful removal of the old fabric and padding layers. This paves the way for a rejuvenation that breathes new life into the piece.
As you apply batting layers with precision and add the finishing touches with jute trim, each action requires your patience and keen attention to detail.
By embracing the right upholstery tips throughout this endeavor, you ll achieve a professional-looking result.
Ready to transform your furniture? Gather your materials and start your reupholstering journey today!
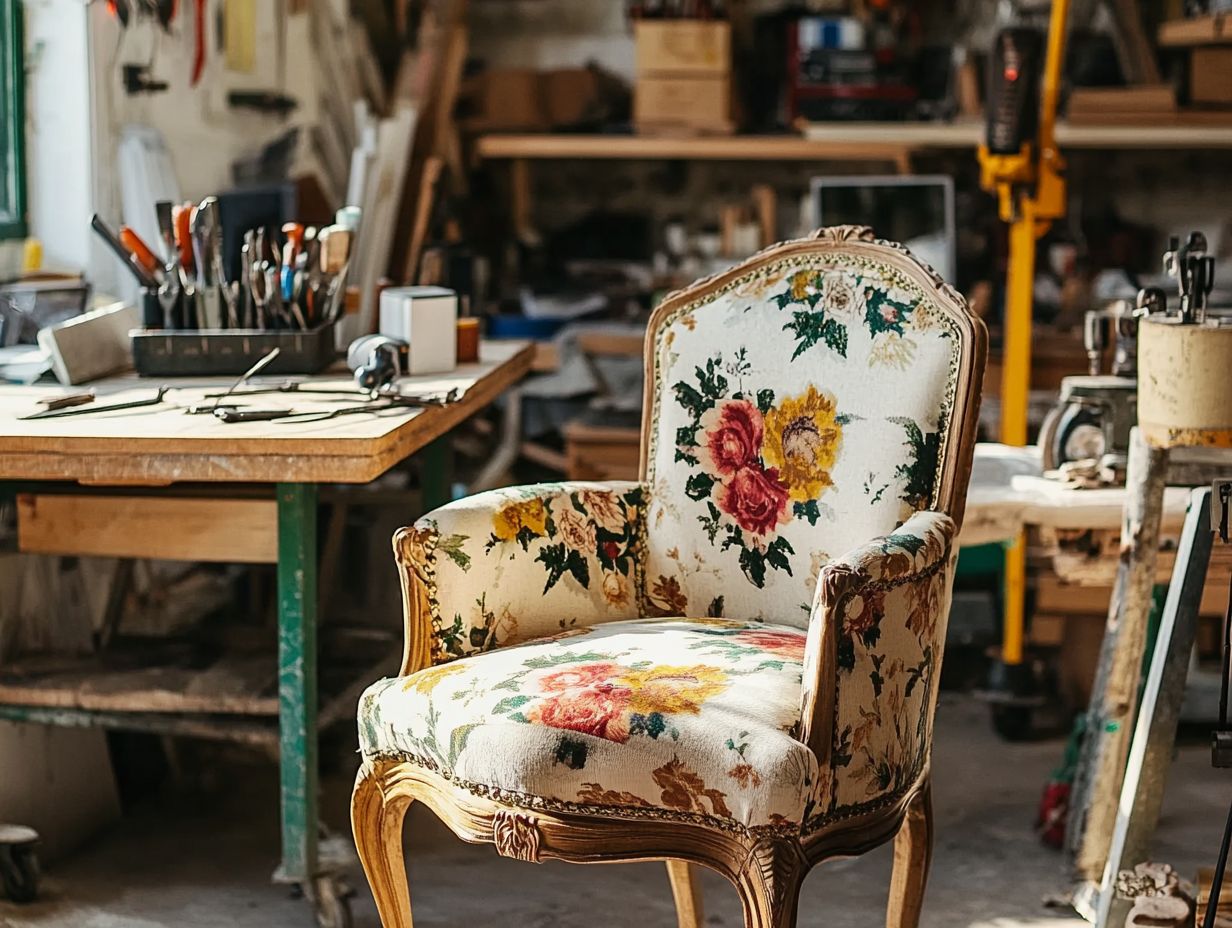
Instructions for Each Part of the Chair
Instructions for each part of the chair during your upholstery project a project to recover and improve old chairs are crucial for achieving a cohesive and polished look.
Particularly when employing tools like a staple gun to secure decorative fabric onto the wooden base, start layering the padding over the chair’s structure, followed by the fabric. It’s important to carefully align patterns and secure everything tightly with the staple gun.
To ensure an even distribution of padding, begin from the center and work your way outwards. Make sure the padding lies flat without any bunching.
Pay special attention to the corners, as they may require extra folds to achieve a neat finish. When draping the fabric, keep it taut but not overstretched to avoid distorting the chair s shape.
For the edges, consider using fabric glue or adhesive tape to hold everything in place before you start stapling. This will help maintain precision and give you that professional edge.
As you trim any excess fabric, do so close to the staples. Be careful not to cut too tight, as this will help you avoid fraying and keep everything looking tidy.
Finally, adding decorative trim or accents can elevate the overall appearance, giving your project that polished, professional touch.
Tips and Tricks for a Professional Finish
- Ensure that all fabric choices harmonize beautifully with the chair s design.
- Pay attention to the final touches consider using jute trim to accentuate the edges and create a seamless, polished look.
Expert Techniques for a Polished Look
Expert techniques can elevate the look of your reupholstered chair to a whole new level. Consider using furniture wax to enhance the wood s finish.
Don t underestimate the impact of carefully chosen decorative fabric to create visual interest. By paying attention to these details and using the right tools like needle nose pliers for those tight corners you can truly transform any DIY project into a stunning centerpiece.
Mastering the use of a staple gun is essential for achieving that smooth, professional finish on your fabric. Many experienced reupholsterers advise you to practice the tension and positioning of the fabric before you secure it with staples.
This ensures that every corner lays perfectly flat, making your work look polished. Don t forget about applying a quality fabric protector; it can significantly extend the vibrancy and lifespan of your material.
Thoughtful accents like trim or fringe can also elevate the overall design. By incorporating these expert techniques, you not only create a visually appealing piece but also showcase craftsmanship that deserves admiration.
Frequently Asked Questions
How do I choose the right fabric for reupholstering my vintage chair?
When selecting fabric for your vintage chair, it’s important to consider the durability, texture, and style of the fabric. Look for fabrics specifically designed for upholstery, such as canvas or heavy-duty linen.
Also, choose a fabric with a tight weave to prevent it from easily tearing. As for style, consider the color and pattern of your fabric to complement the existing decor of the room.
What tools will I need to reupholster a vintage chair?
The tools you’ll need will depend on the condition of your chair and the extent of the reupholstering. However, some basic tools include a staple gun, upholstery fabric, foam padding, scissors, a screwdriver, and pliers.
You may also need additional tools such as a sewing machine or hammer, depending on the project.
Can I reupholster a vintage chair myself, or should I hire a professional?
Reupholstering a vintage chair can be a daunting task, especially if you have no prior experience. It’s important to assess your own skills and comfort level with DIY projects before deciding whether to hire a professional or take on the project yourself.
Many DIY enthusiasts find it rewarding! Remember, reupholstering a vintage chair requires time, patience, and attention to detail.
Get started on your beautiful chair today!
How do I remove the old fabric from my vintage chair?
To remove the old fabric from your vintage chair, start by taking off any decorative elements like buttons or trimmings. Then, use pliers to pull out the staples or tacks holding the fabric in place.
Be sure to save any pieces you remove as templates for cutting out your new fabric. Once the old fabric is gone, use sandpaper to smooth out any rough areas and remove any leftover adhesive! For more ideas, check out repurposing vintage furniture to inspire your creative projects.
What are some common mistakes to avoid when reupholstering a vintage chair?
One common mistake is not taking the time to measure and cut the fabric correctly, which can lead to a poorly fitting chair. Another issue is not securing the fabric with enough staples or using the wrong type of staple gun.
Pay attention to the direction of patterns and textures on the fabric to ensure a cohesive look!
How long does it typically take to reupholster a vintage chair?
The time it takes to reupholster a vintage chair can vary based on the chair’s size and condition, as well as your level of experience. A simple project may take a few hours, while a more complex one can take a few days.
Don t wait to transform your vintage chair start today! Set aside enough time and don t rush the process to achieve the best results.