DIY Vintage Furniture Projects for Beginners
Are you prepared to elevate your living space with a dash of nostalgia? DIY vintage furniture projects present a creative and fulfilling opportunity to breathe new life into cherished pieces, all while expressing your distinctive style.
Whether you’re a seasoned crafter or just embarking on your creative journey, this guide will lead you through the essential steps from choosing the ideal furniture to perfecting painting and distressing techniques.
Immerse yourself in the process and uncover the secrets to crafting breathtaking vintage-inspired furniture that not only enhances your home decor but also beautifully reflects your personality.
Contents
- Key Takeaways:
- 2. Choosing the Right Piece of Furniture
- 3. Necessary Tools and Materials
- 4. Preparing the Furniture for Painting
- 5. Painting Techniques for Vintage Look
- 6. Distressing and Aging Techniques
- 7. Adding Vintage Hardware
- 8. Stenciling and Decoupage Techniques
- 9. Tips for Upholstery and Reupholstery
- 10. Creative Upcycling Ideas
- 11. Incorporating Vintage Pieces into Modern Decor
- 12. Common Mistakes to Avoid
- 13. Safety Tips for DIY Furniture Projects
- 14. Inspiration and Ideas for Future Projects
- Frequently Asked Questions
- What are some easy DIY vintage furniture projects for beginners?
- Where can I find inspiration for DIY vintage furniture projects?
- What tools and materials do I need to start DIY vintage furniture projects?
- How can I learn the basics of furniture restoration for my DIY vintage projects?
- Are there any common mistakes to avoid when doing DIY vintage furniture projects?
- How can I make my DIY vintage furniture projects look more professional?
Key Takeaways:

- Choose the right piece of furniture for your DIY project to ensure a successful result.
- Prepare the furniture properly before painting and use distressing techniques to achieve a vintage look.
- Get creative with stenciling which involves using cut-out designs to create patterns decoupage, and adding vintage hardware to give your project a unique touch.
2. Choosing the Right Piece of Furniture
Choosing the right piece of old furniture is essential for your DIY project, as it lays the groundwork for a stunning transformation that reflects your unique creativity and style.
When you dive into the world of vintage furniture, it’s crucial to assess quality. Look for durable materials, solid construction, and timeless designs that speak to you.
Thrift stores and furniture rentals are treasure troves filled with options that not only support sustainability but also allow you to discover unique finds at a fraction of the price.
As you consider repurposed pieces, pay close attention to their sturdiness to ensure they can handle the enhancements you envision. Each piece has creative possibilities; even the simplest furniture can be elevated with a fresh coat of paint or new upholstery, transforming it into a perfect canvas for your artistic vision.
3. Necessary Tools and Materials
To embark on successful DIY projects, ensuring you have the right tools and materials for a furniture makeover is essential. Getting ready will set you up for a fantastic transformation!
Equipping yourself with the right paintbrushes for various finishes, along with a diverse selection of sandpaper grades, can truly elevate the outcome to perfection.
Opting for quality paints, like Annie Sloan chalk paint, is a game-changer. These paints offer a rich palette and exceptional coverage, allowing you to unleash your creativity while keeping things user-friendly.
Incorporating sustainable decor choices, such as reclaimed wood or eco-friendly varnishes, not only enhances the aesthetics of your project but also aligns with an environmentally conscious mindset. By thoughtfully selecting your materials, you can transform tired furniture into exquisite, personalized pieces that embody both style and sustainability.
4. Preparing the Furniture for Painting
Preparing your furniture meticulously is an essential step in achieving that professional finish, especially when you’re transforming an old dresser into a stunning centerpiece for your home decor.
Start with a thorough cleaning to banish any dust, grease, or grime that might interfere with adhesion. Next, you ll want to sand the surface; this isn t just a chore it smooths out imperfections and creates a texture for the primer to grip.
After sanding, applying a high-quality primer is crucial. It not only enhances paint adherence but also acts as a barrier to prevent stains from bleeding through.
These careful steps are not just recommendations they’re vital. Without proper preparation, your final paint job could end up looking uneven or, worse yet, may chip or peel over time, undermining all your hard work and the vision you have for the piece.
5. Painting Techniques for Vintage Look
Utilizing the right painting techniques is crucial for achieving that coveted vintage look. This significantly enhances the character and charm of any repurposed furniture piece.
By diving into methods like color layering, you can introduce richness and dimension to your work. Distressing techniques create an aged appearance and weave a narrative through the paint s worn edges.
When you apply polycrylic finishes, which serves as a clear protective coat for your furniture, you protect its beauty from everyday wear and tear while preserving its artisanal allure.
For those who wish to elevate their projects even further, experimenting with faux textures can add intrigue. Techniques like sponging or rag-rolling bring captivating visual depth to your surfaces.
This blend of artistry and practicality transforms ordinary furniture into striking statements that truly stand out.
6. Distressing and Aging Techniques
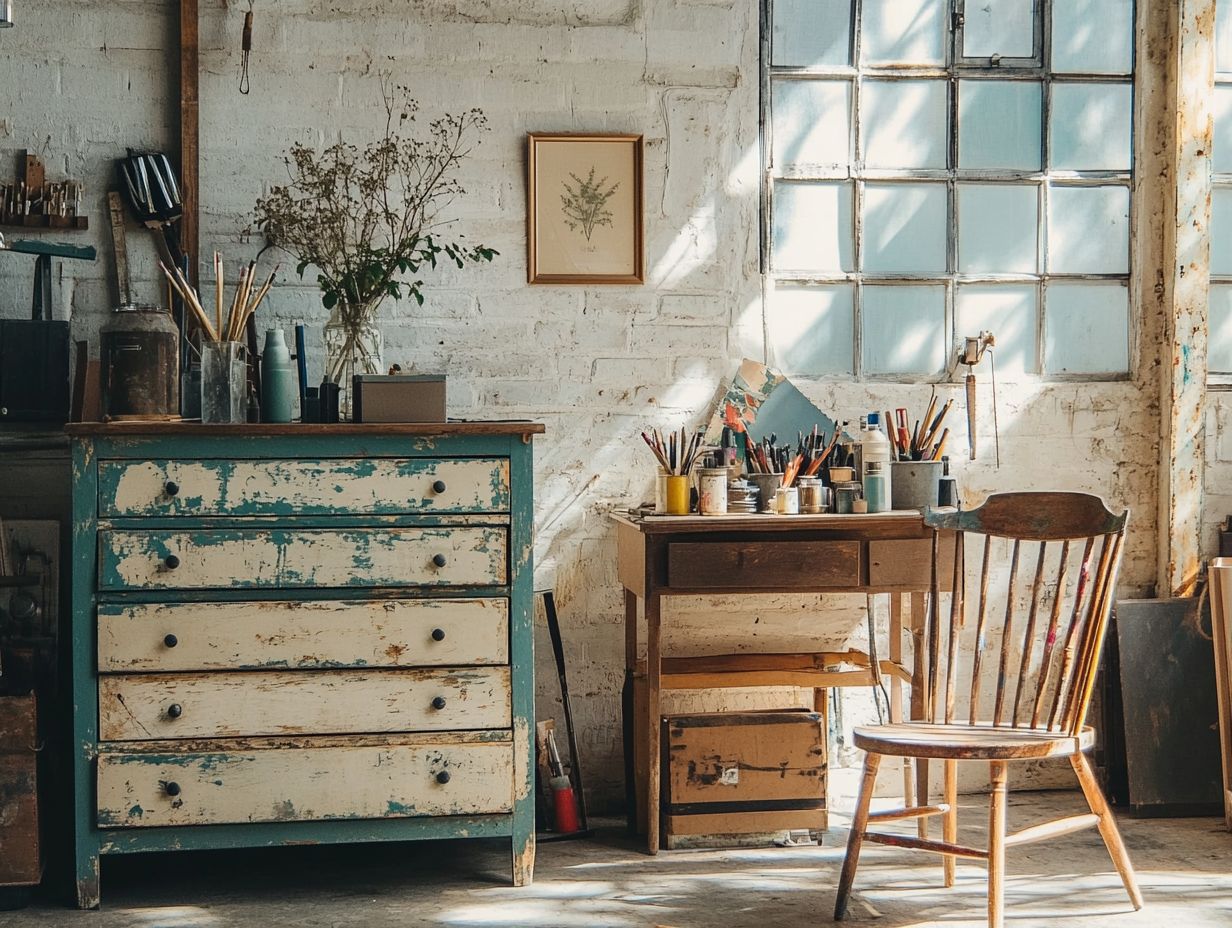
Implementing distressing and aging techniques infuses your DIY furniture transformation with charming character. It makes your pieces seem as if they possess a rich history and a tale to share.
By using sanding to create a rough surface, you enhance the piece s overall allure. Additionally, natural elements like vinegar or tea can lend a beautiful, aged patina when applied thoughtfully.
This evokes the timeless elegance of antique furnishings, making your furniture even more appealing.
Adding finishing touches like a wax application protects the surface and bestows a subtle sheen. Unleash your creativity by blending these techniques for unique, personalized results that elevate your d cor.
7. Adding Vintage Hardware
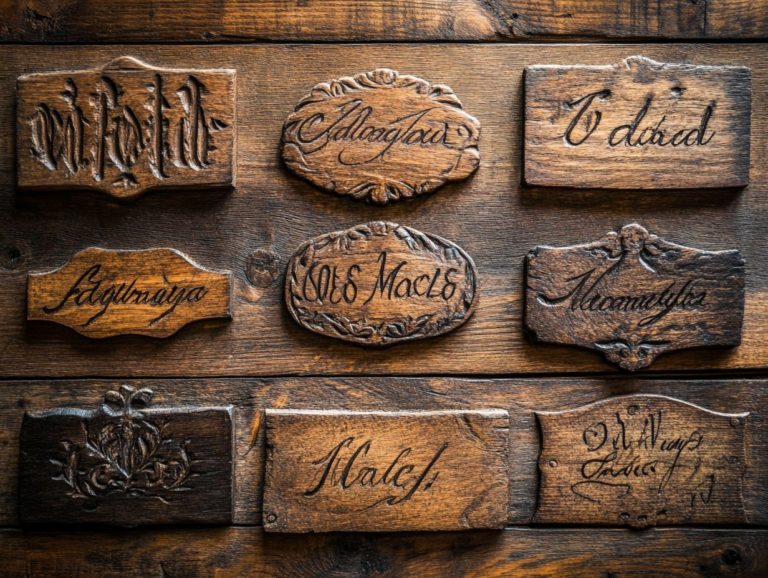
Incorporating vintage hardware into your furniture makeover can elevate the design. It transforms an ordinary piece into a captivating conversation starter that beautifully reflects your unique style.
Sourcing authentic vintage hardware is an exhilarating adventure! Explore flea markets, browse antique shops, or navigate the vast offerings of online marketplaces to find unique pieces.
These finds infuse character into your furniture and weave a narrative that enhances its overall aesthetic. Pay attention to how the colors and finishes of the hardware complement the existing tones of your piece.
For example, rich brass knobs create a stunning contrast with darker woods, while sleek silver pulls elevate light-colored furniture.
By thoughtfully selecting vintage elements, you can craft a cohesive design that inspires creativity and harmony throughout your space.
8. Stenciling and Decoupage Techniques
Stenciling and decoupage are exceptional techniques for personalizing your furniture. They allow you to infuse intricate designs that add a distinctive flair to your home decor.
These methods unleash your creativity and open a world of possibilities for transforming everyday pieces into captivating focal points.
With various stenciling options available, you can easily apply patterns that reflect your personal style. Tutorials for decoupage invite you to explore beautiful paper designs, breathing fresh life into surfaces.
As you delve into these artistic approaches, mix and match colors with diverse motifs. This journey of experimentation enhances the aesthetic appeal of your furniture and enriches the overall atmosphere of your living space.
9. Tips for Upholstery and Reupholstery
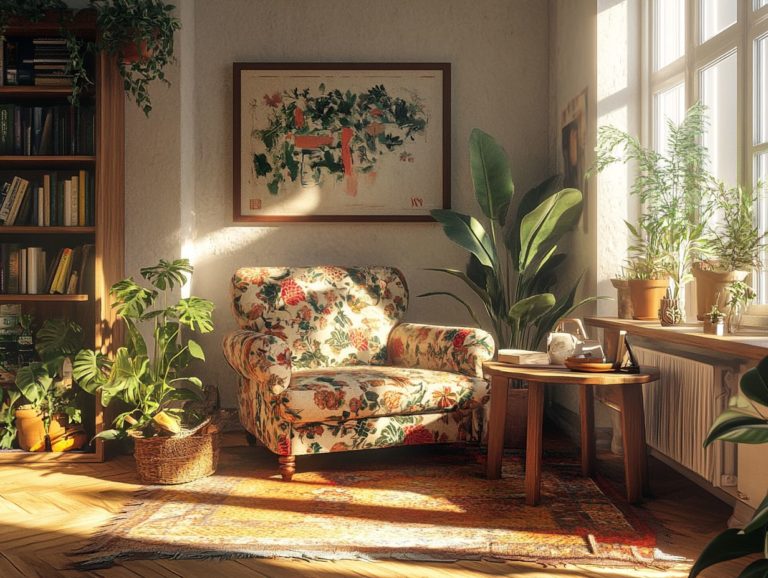
Upholstery and reupholstery present a remarkable opportunity to breathe new life into old furniture. This allows you to merge comfort with elegant home improvement.
As you dive into your DIY projects, the careful selection of fabrics and tools can significantly elevate your results. Start by choosing the right fabric. Consider durability, texture, and color to ensure it harmonizes with your overall d cor.
Essential tools like staple guns, upholstery needles, and fabric scissors will be your best allies in achieving a successful reupholstery job. Make sure to take accurate measurements of your furniture to avoid any unwelcome surprises along the way.
If you’re new to this craft, don t hesitate to seek out tutorials or advice. They can be invaluable resources!
By embracing upholstery, you not only refresh your furniture but also add a unique, personalized touch to your living space.
10. Creative Upcycling Ideas
Creative upcycling ideas are plentiful for those eager to breathe new life into old furniture. They offer innovative solutions that defy conventional decor norms.
Picture this: you can transform an old dresser into a magnificent kitchen island, complete with a butcher block top and extra storage for all your utensils!
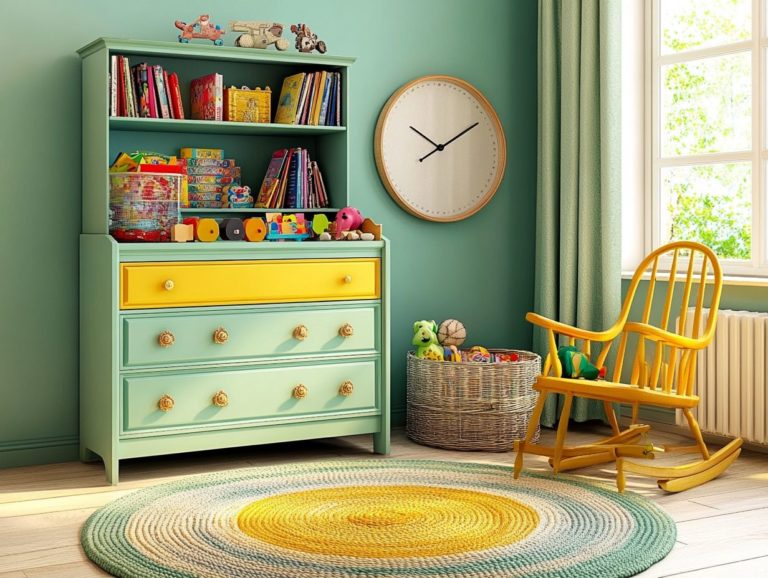
Alternatively, think about repainting midcentury cabinets in vibrant hues. They can serve as stylish decorative storage while adding a delightful retro touch to any room.
Consider the potential of converting wooden crates into trendy shelving units or turning vintage trunks into one-of-a-kind coffee tables. Encouraging others to brainstorm can unveil even more distinctive projects that truly reflect personal style and creativity.
Sharing these unique ideas not only fosters a sense of community but also inspires new endeavors. This makes the entire experience enjoyable for everyone involved!
11. Incorporating Vintage Pieces into Modern Decor

Incorporating vintage pieces into your modern decor allows you to create a unique blend of styles. This results in a dynamic home environment that beautifully showcases both nostalgia and contemporary aesthetics.
One popular way to achieve this is by creating a kitchen island from old furniture or vintage cabinets. This fusion adds character and invites conversation, breathing life into spaces that might otherwise feel stark.
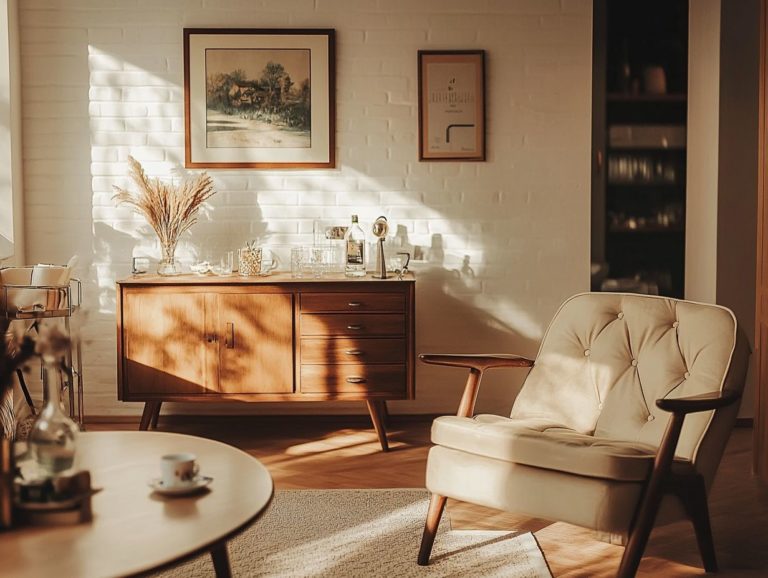
One effective technique is to think about how colors work together. For example, a vintage teak sideboard can be strikingly juxtaposed against crisp white walls adorned with abstract art.
Mixing materials further enhances this synergy. Pairing a rustic wooden dining table with sleek metal chairs fosters an inviting atmosphere. Picture a room featuring an antique armchair draped in a modern geometric throw it perfectly illustrates the successful harmony of old-world charm and current design sensibilities.
12. Common Mistakes to Avoid
Avoiding common mistakes in DIY projects can save you a significant amount of time, resources, and heartache. This ensures your furniture transformation is both successful and genuinely satisfying!
To achieve this, it’s essential to approach each task with thorough preparation and a clear vision. Many enthusiasts often dive into a project without careful planning, which can result in mismatched designs and disappointing outcomes.
It s vital to map out each step and visualize the final product before you begin. Never underestimate the importance of choosing the right materials; opting for inferior supplies will likely lead to only short-term results.
By dedicating time to select high-quality components and aligning them with a cohesive design, you can enhance the durability of your furniture and elevate its overall aesthetic appeal.
Start your project today and transform your space beautifully!
13. Safety Tips for DIY Furniture Projects
Prioritizing safety is paramount when you embark on DIY furniture projects. It ensures a secure and enjoyable experience while transforming your space. Always stay informed about guidelines from the Environmental Protection Agency (the agency that protects our environment) when working with paints and finishes.
Prepare well to keep accidents at bay! Implementing essential safety measures can significantly reduce the risk of accidents and injuries. Wearing appropriate protective gear such as gloves, goggles, and masks is crucial, especially when handling materials that may pose hazards.
Proper ventilation is vital. Ensuring that your workspace is well-aerated while painting helps disperse potentially harmful fumes. Exercising caution with tools, whether hand-held or power-operated, is essential for maintaining vigilance and control throughout the process.
Being mindful of environmental guidelines not only encourages responsibility but also promotes the use of eco-friendly products and minimizes waste, creating a safer space for everyone involved.
14. Inspiration and Ideas for Future Projects
Gathering inspiration and ideas for your future projects can truly spark your creativity and motivation. Open up a world of possibilities for your DIY furniture journey by exploring avenues like Instagram and YouTube.
By immersing yourself in platforms like YouTube and Instagram, you can discover a treasure trove of innovative designs and techniques that others have successfully brought to life. These networks not only showcase stylish creations but also provide tutorials to guide you through every step of the process.
As you explore these resources, think about how you might adapt different concepts to reflect your personal taste and fit seamlessly into your space. Whether you envision a reclaimed wood coffee table or a chic bookshelf, inspiration is just a click away, inviting you to explore repurposing vintage furniture and transform your ideas into reality.
Frequently Asked Questions
What are some easy DIY vintage furniture projects for beginners?

Some easy DIY vintage furniture projects include repainting a wooden dresser, adding new hardware to a nightstand, and distressing a vintage coffee table.
Where can I find inspiration for DIY vintage furniture projects?
Browse vintage decor magazines or search online for tutorials and ideas to find inspiration for your DIY vintage furniture projects.
What tools and materials do I need to start DIY vintage furniture projects?
You will need basic tools such as a screwdriver, hammer, and sandpaper, along with materials like paint, primer, and new hardware. Having a good workspace and protective gear is also helpful.
How can I learn the basics of furniture restoration for my DIY vintage projects?
Learn the basics of furniture restoration by taking a class at a local community center, watching online tutorials, or reading books on the subject. Start with smaller, simpler projects before tackling larger pieces.
Are there any common mistakes to avoid when doing DIY vintage furniture projects?
Yes, avoid common mistakes such as not properly prepping the furniture before painting, using the wrong type of paint or finish, and failing to measure or plan before starting the project.
How can I make my DIY vintage furniture projects look more professional?
Make your DIY vintage furniture projects look more professional by paying attention to details like sanding and priming, using high-quality materials, and taking your time with each step. Having a clear vision and plan for the final look of the piece is also beneficial.
Start your DIY journey today! Explore ideas, gather your materials, and create something beautiful.


