Restoring Antique Lamps: A Step-by-Step Guide
Restoring antique lamps can be an incredibly rewarding journey that blends creativity with craftsmanship.
Whether you re a seasoned DIY enthusiast or a curious novice, this guide will take you through the entire process with ease. You ll explore the value and allure of these timeless treasures, and gather the essential tools and materials you need.
From taking apart, cleaning, fixing, and putting back together, each step is laid out clearly for your convenience. You ll find valuable tips to ensure your restoration truly shines, along with care instructions to keep your lamp looking its best.
Get ready to bring a cherished heirloom back to life and watch it transform before your eyes!
Contents
- Key Takeaways:
- Understanding the Value and Appeal
- Preparing for Restoration
- Step-by-Step Restoration Process
- Tips and Tricks for Successful Restoration
- Preserving and Displaying Your Restored Lamp
- Frequently Asked Questions
- What tools do I need to restore an antique lamp?
- Can I use any type of paint on an antique lamp?
- How can I safely rewire an antique lamp?
- What is the best way to clean an antique lamp?
- Can I replace missing or broken parts on an antique lamp?
- How can I ensure the value of my antique lamp is not affected by the restoration process?
Key Takeaways:
- Discover why antique lamps are treasures worth restoring to ensure proper treatment and preservation.
- Gather all necessary tools and materials before starting the restoration to avoid delays and ensure a smooth process.
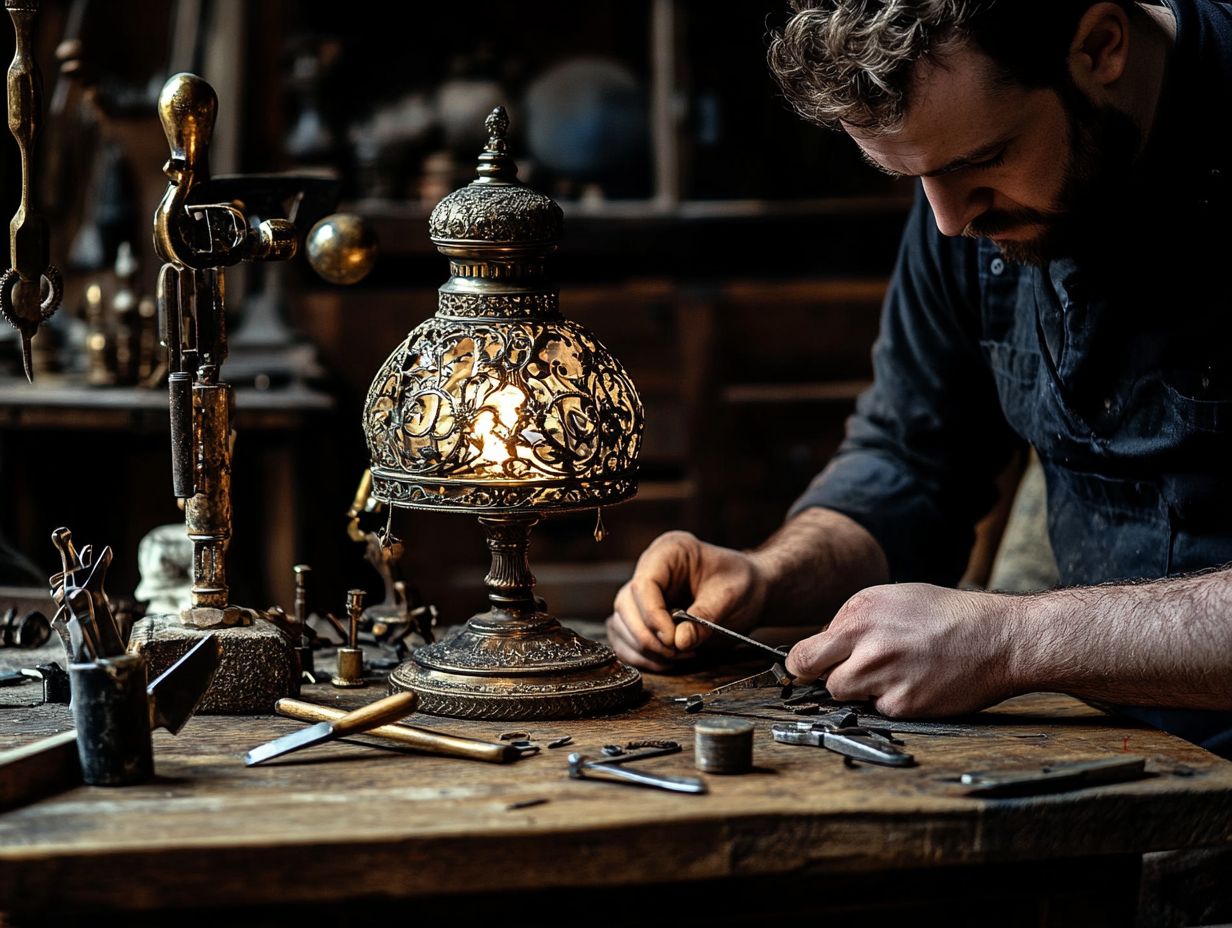
- Follow a step-by-step approach of taking apart, cleaning, fixing, and putting back together the lamp, paying attention to details for a successful restoration.
Understanding the Value and Appeal
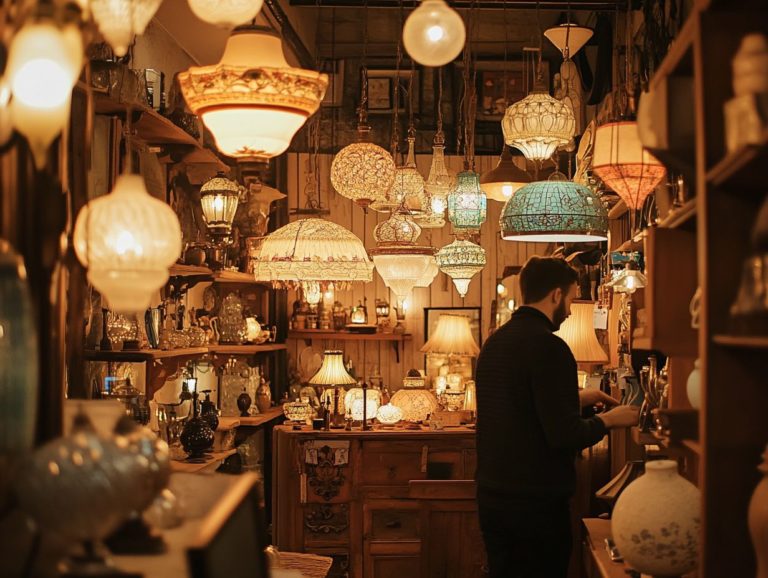
Antique and vintage lamps are not just beautiful; they carry rich stories, exquisite craftsmanship, and timeless decor that can elevate any space. Each lamp tells a captivating story, from intricate brass designs to the unique charm of milk glass, making them highly sought after in thrift stores, flea markets, and estate sales.
As a collector, you ll appreciate their intrinsic value. You may turn to detailed restoration guides or seek advice from experts like Rachel Granholm, alongside invaluable resources such as The Antiqued Journey.
Preparing for Restoration
Before you start restoring an antique or vintage lamp, proper preparation is essential for a successful and safe process. Gathering the right tools, such as a wiring kit for any electrical work, and familiarizing yourself with the lamp components will enhance your repair journey.
By following an organized approach in a comprehensive restoration guide, you ll preserve your lamp s unique character and ensure it operates safely and efficiently.
Gathering Necessary Tools and Materials
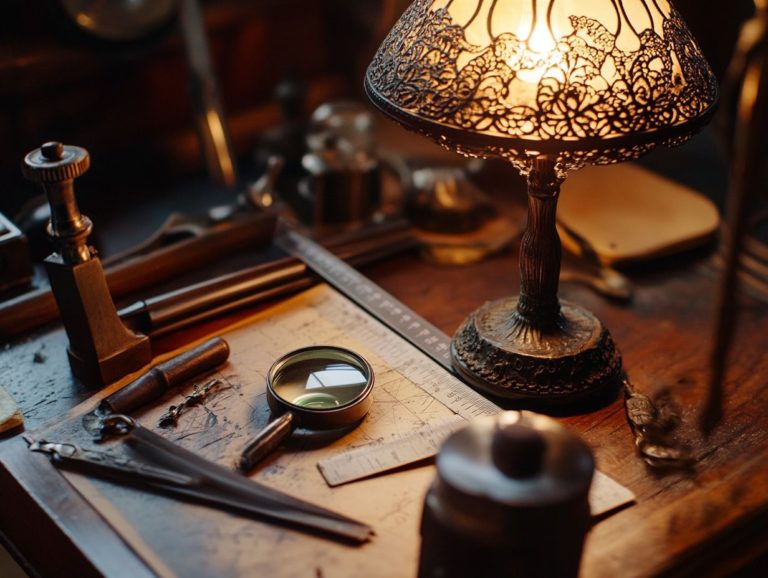
To successfully restore a vintage lamp, it s crucial to gather the right tools and materials. Ensure you have everything from a wiring kit (a set of tools to safely repair electrical wiring in lamps) to specialized cleaning materials that can restore antique lamps without causing any damage. This preparation phase can make a significant difference between a frustrating experience and a seamless restoration project.
Key items for your endeavor include vinegar and baking soda, which serve as effective yet gentle cleaning solutions, perfect for removing grime while preserving delicate finishes. Investing in a quality wiring kit will guarantee safety and functionality after your restoration. Don’t overlook the budget-friendly alternatives often found in thrift stores or local hardware shops.
Exploring these accessible options might save you some cash and unveil unique finds that enhance the charm of your vintage lamp. Pay close attention to the quality of materials; using subpar components could compromise the lamp’s authenticity and durability. Thoughtful selection is critical to achieving a successful and lasting restoration.
Step-by-Step Restoration Process
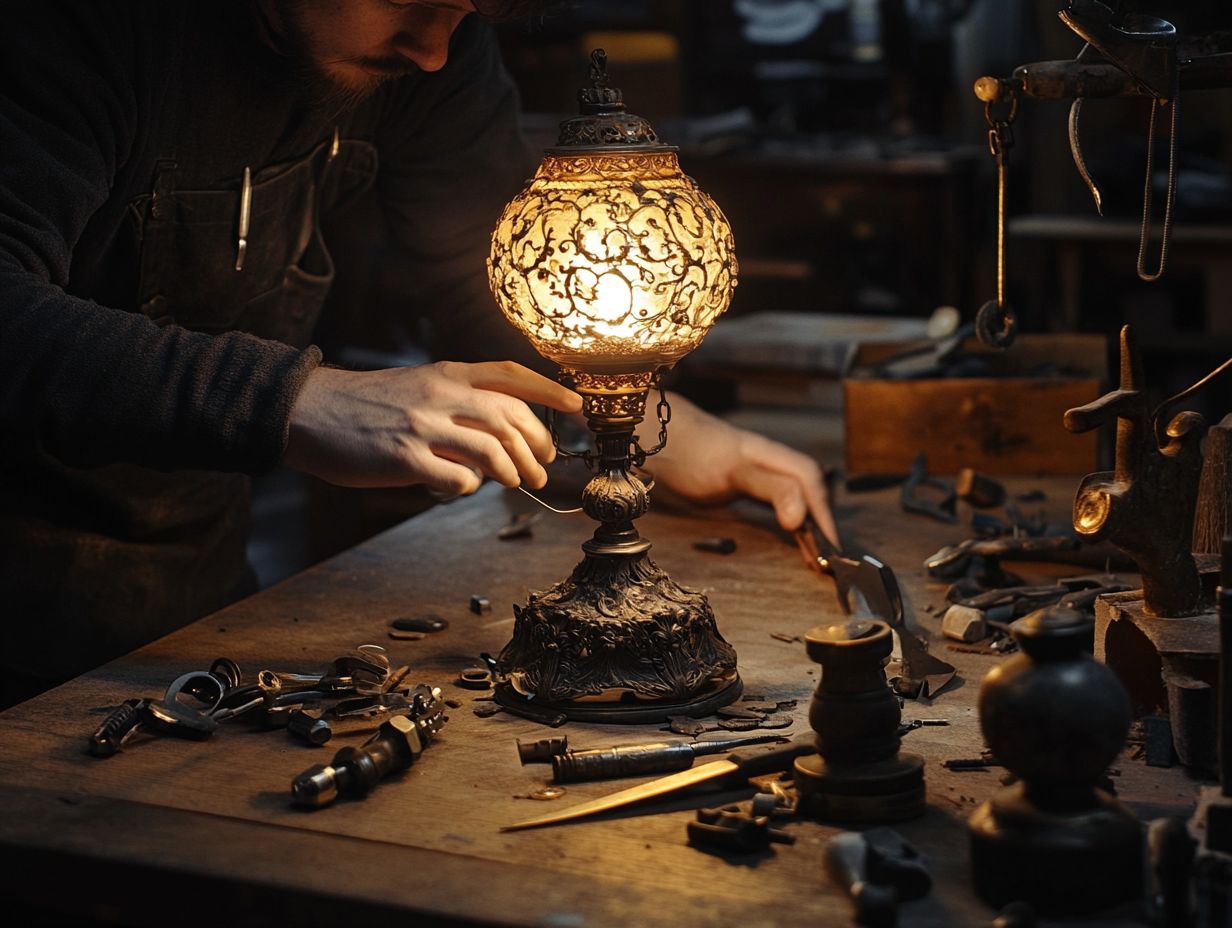
The step-by-step restoration process for antique lamps can transform a neglected piece into an exquisite focal point. By blending careful lamp repair with meticulous cleaning techniques and expert electrical work, you can breathe new life into these treasures.
Utilizing a comprehensive restoration guide allows you to tackle each stage methodically, ensuring that you preserve the integrity of the lamp s components while revealing their original beauty.
Start your restoration journey today and transform your space with a beautiful antique lamp!
Disassembling the Lamp
Disassembling the lamp is your first critical step in the restoration process. It grants you access to components that may need repair or cleaning. This task demands a careful approach to avoid damage during electrical work or component removal.
Start by documenting the layout of the components. Consider using photographs or sketches to make reassembly easier later. Identifying and labeling wires and screws will help you avoid confusion, especially with intricate designs. Handle tools like screwdrivers and pliers with care. Delicate lampshades and glass elements can crack or break if treated roughly.
Following a detailed restoration guide is essential. It offers step-by-step instructions and highlights common pitfalls. This will give you the confidence to navigate the process accurately. Treating each piece with care is key to a successful restoration.
Cleaning and Repairing Parts
Cleaning and repairing parts of an antique lamp requires a dedicated approach and specific cleaning methods to address issues like rust removal, while preserving the lamp’s original charm.
To maintain the elegance of cherished items, you need to adopt cleaning methods tailored to various materials.
For brass fixtures, a mixture of vinegar and baking soda works wonders, gently lifting away tarnish without scratching the surface.
When dealing with glass components, use an ammonia-free cleaner with a microfiber cloth to restore clarity while avoiding scratches.
Handle any damaged wiring or electrical parts with care. If you’re unsure about repairs, get professional help right away!
Regular dusting, along with periodic deep cleaning, will enhance the lamp’s longevity and keep it shining brightly.
Reassembling and Finishing Touches
Reassembling the lamp is an exciting phase where your hard work pays off. Attention to detail is crucial; ensure that the electrical work is completed safely and that each component, including the lamp shade, fits together seamlessly.
At this stage, it’s wise to revisit your restoration guide. This resource will help you reconnect any wires and secure the electrical components correctly. Taking your time now enhances both the longevity of your lamp and the safety of its operation.
Once you ve carefully followed the instructions for connecting the wires, attach the lamp shade. Ensure it is anchored securely; a poorly fitted shade could lead to damage or even pose electrical hazards.
By focusing and being diligent throughout this process, you’ll be rewarded with a beautifully restored lamp that you can display with pride.
Tips and Tricks for Successful Restoration
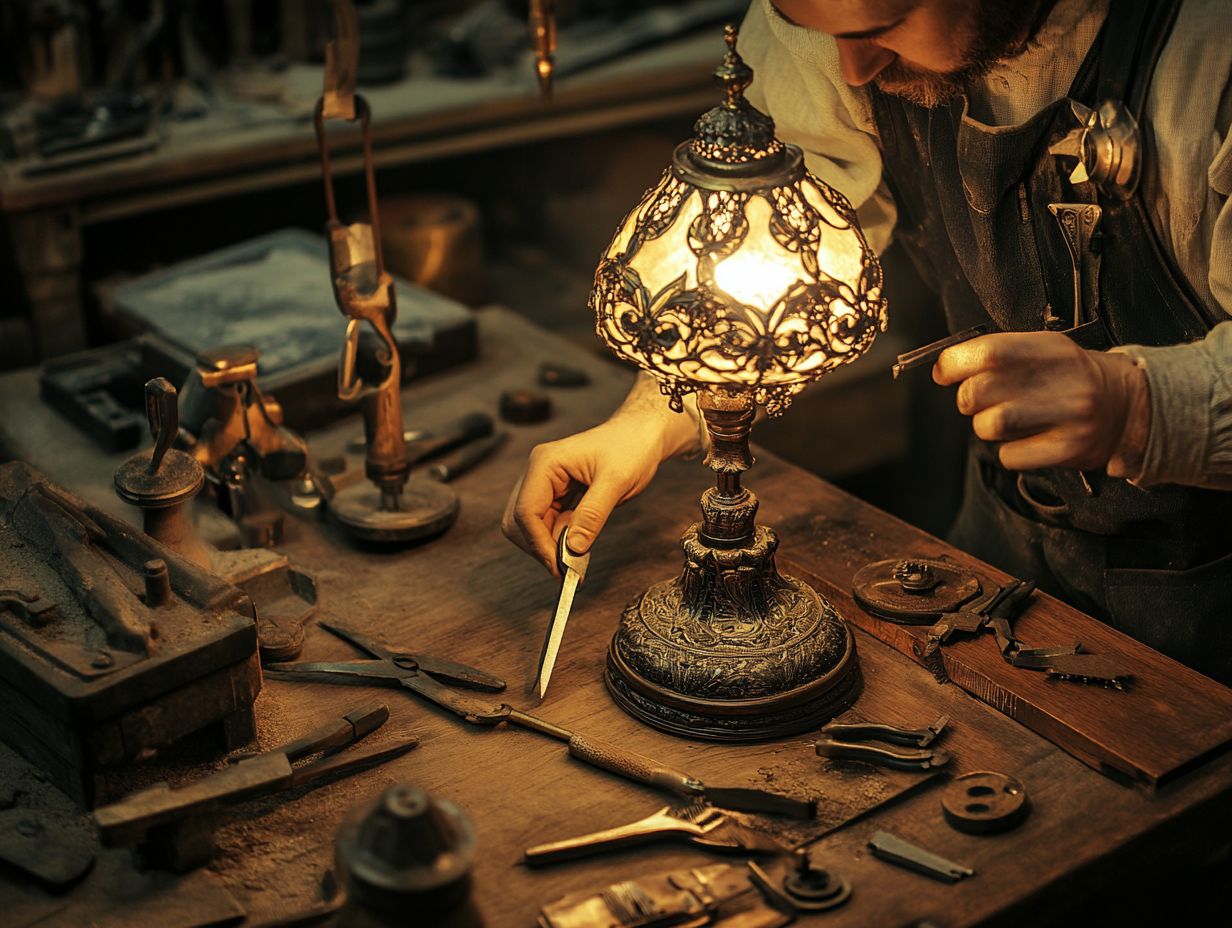
Successfully restoring antique lamps relies not just on your technical skills but also on expert advice and clever tips. These insights can simplify the challenges you may face during lamp repair and elevate your maintenance efforts. This ensures that you enjoy your beautifully restored lamps for years to come.
Expert Advice and Techniques
Expert advice is invaluable for lamp maintenance and restoration. It provides techniques that help preserve the beauty and functionality of your antique lamp.
If you cherish your vintage pieces, implementing proper cleaning methods is essential. Professionals recommend using a soft, lint-free cloth and a gentle detergent to carefully remove dust while avoiding damage to delicate surfaces.
Store your lamps in a climate-controlled environment (a space with stable temperature and humidity) to protect them from deterioration. Regularly check electrical components like wires and sockets. Enlist a qualified technician for any repairs to ensure both your safety and the lamp’s functionality.
As an enthusiast, consider consulting reputable restoration guides. These resources offer comprehensive tips and techniques that can enhance your understanding and skills in lamp care.
Key Points:
- Document your disassembly process with photos or sketches.
- Use appropriate cleaning methods for different materials.
- Handle electrical components with care.
- Consult expert resources for best practices.
Start your restoration journey today and enjoy the beauty of your antique lamps for years to come!
Preserving and Displaying Your Restored Lamp
Once your antique or vintage lamp has been restored, preserving its beauty and functionality is key. This is not just about maintaining its look within your antique decor; it s also about ensuring it continues to serve as a light fixture that enhances your living space’s ambiance.
Proper Care and Maintenance
Taking care of your restored lamp is key to keeping it beautiful! You should adopt a specific cleaning routine that respects the materials used in its construction while ensuring it continues to function beautifully as an essential light fixture.
Don’t wait dust your lamp regularly with a soft, lint-free cloth or a feather duster to prevent dirt from accumulating. Aim for a thorough cleaning every few months. Use a slightly damp cloth to tackle stubborn grime just be careful not to immerse the lamp in water. For the metal components, a gentle metal polish can really enhance the shine, but steer clear of cleaners that can scratch the finish. Antique decor deserves special attention, so avoid harsh chemicals that could damage delicate surfaces or finishes.
By following these maintenance tips, you’ll be well on your way to preserving the beauty and functionality of your cherished piece for years to come!
Frequently Asked Questions
What tools do I need to restore an antique lamp?
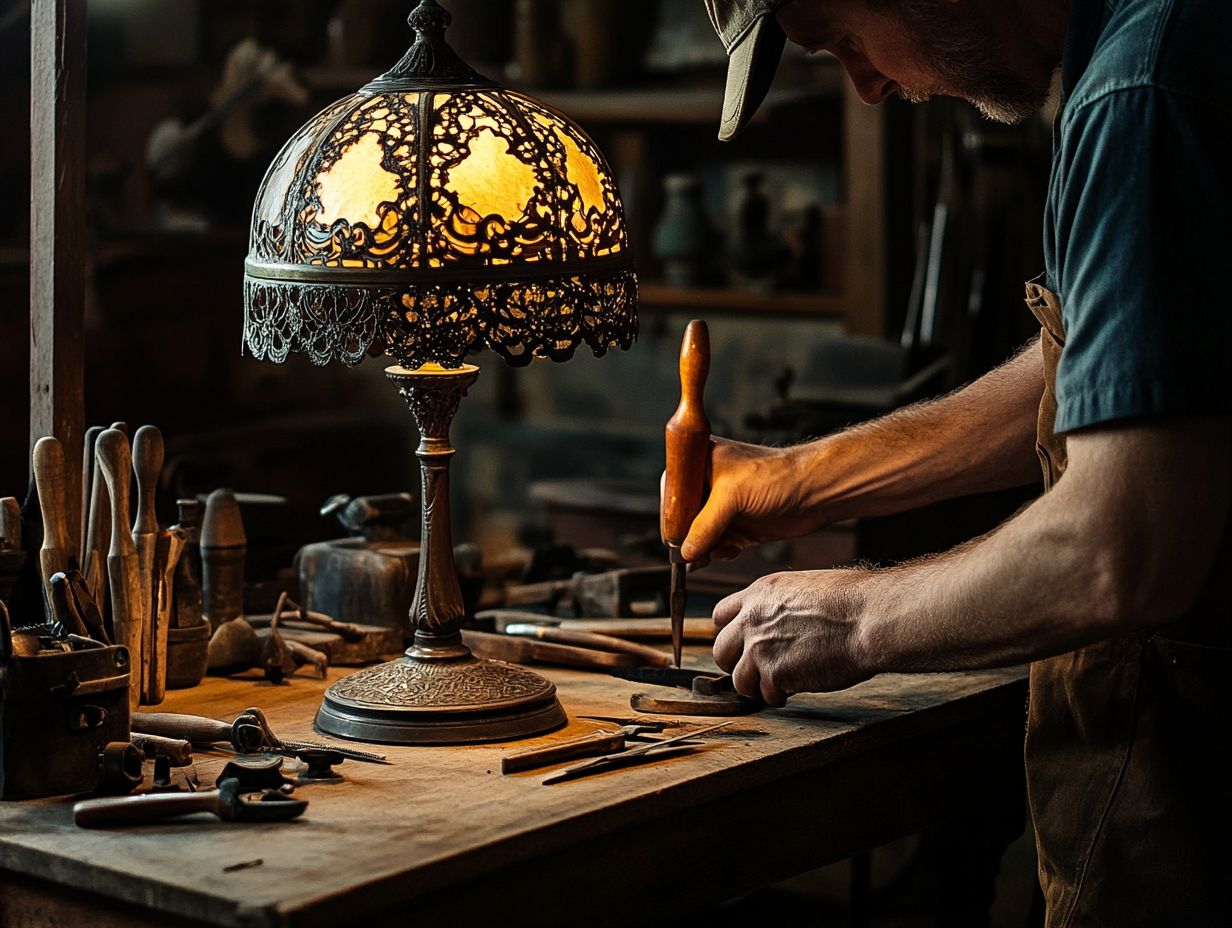
To restore an antique lamp, you will need a screwdriver, pliers, wire cutters, wire strippers, a socket wrench, and a hot glue gun. You may also need sandpaper, paint, and replacement lamp parts depending on your lamp’s condition.
Can I use any type of paint on an antique lamp?
No, it is important to use the correct type of paint for an antique lamp. Choose a high-quality, heat-resistant paint specifically designed for use on metal or ceramic surfaces. This will ensure the paint adheres properly and does not damage the lamp.
How can I safely rewire an antique lamp?
To safely rewire an antique lamp, make sure to unplug it and remove any light bulbs before starting. Use caution when handling the wiring and follow a step-by-step guide or seek the assistance of a professional if you are unsure about the process.
What is the best way to clean an antique lamp?
The best way to clean an antique lamp is to first dust it with a soft cloth or brush. Then, mix a small amount of mild soap with warm water and gently wipe down the lamp with a soft cloth. Avoid using harsh chemicals or abrasive cleaners, as they can damage the delicate surface of the lamp.
Can I replace missing or broken parts on an antique lamp?
Yes, it is possible to replace missing or broken parts on an antique lamp. You can purchase replacement parts at a hardware store or online, or visit a lamp restoration specialist who can help you find the correct parts for your specific lamp.
How can I ensure the value of my antique lamp is not affected by the restoration process?
To ensure the value of your antique lamp is not affected by the restoration process, it is important to use proper techniques and materials. Avoid making any permanent alterations or modifications to the lamp, and keep any original parts that may have been replaced. If you are unsure about the restoration process, consult a professional to help preserve the value of your antique lamp.
Start your lamp restoration journey today!


